
Step Stool Plans
📖 Table of Contents
I built my first step stool during a rainy weekend, and it changed the way I see DIY. It wasn’t just about the final product, but the process of turning a few planks and screws into something functional. The plan I followed was simple, but I learned how much detail matters when you're crafting something that will support your weight. A good step stool isn’t just a height booster — it's a piece of furniture that must be safe, sturdy, and tailored to your needs. That’s why I'm sharing these step stool plans, which I’ve tested myself and refined over the years.
The moment I put my first screw into the frame, I realized that precision is key. I used a carpenter’s square and clamps to ensure every angle was perfect — and it made all the difference in the final result. Building a step stool is a great way to practice basic joinery techniques and improve your tool handling. I found that using 3/4-inch hardwood boards and a decent bit of sanding helped the stool feel smooth and safe underfoot, even after hours of use.
These step stool plans are ideal for anyone who wants a custom piece of furniture without a huge investment. I’ve used them in my own home, and they’ve become essential for reaching high shelves or cleaning windows. When I first started, I thought the project would take a week, but with the right tools and a clear plan, I finished it in a single weekend. The satisfaction of creating something useful from scratch is unmatched — and with the right materials, this step stool can last for years.
Why You'll Love This Step Stool
- Customizable for any height or space
- Built with safety and durability in mind
- Affordable and made from common materials
- Easy to assemble with minimal tools
Choosing the Right Materials
As of August 2026, I always start with 3/4-inch hardwood, such as oak or maple, because it’s strong and holds up well over time. Softwoods like pine can work for a budget-friendly version, but they may not be as long-lasting. I recommend using 3/4-inch thick boards for the steps and the frame, which adds stability. I also used 1x2-inch boards for the sides and cross supports, ensuring the structure was both secure and easy to assemble.
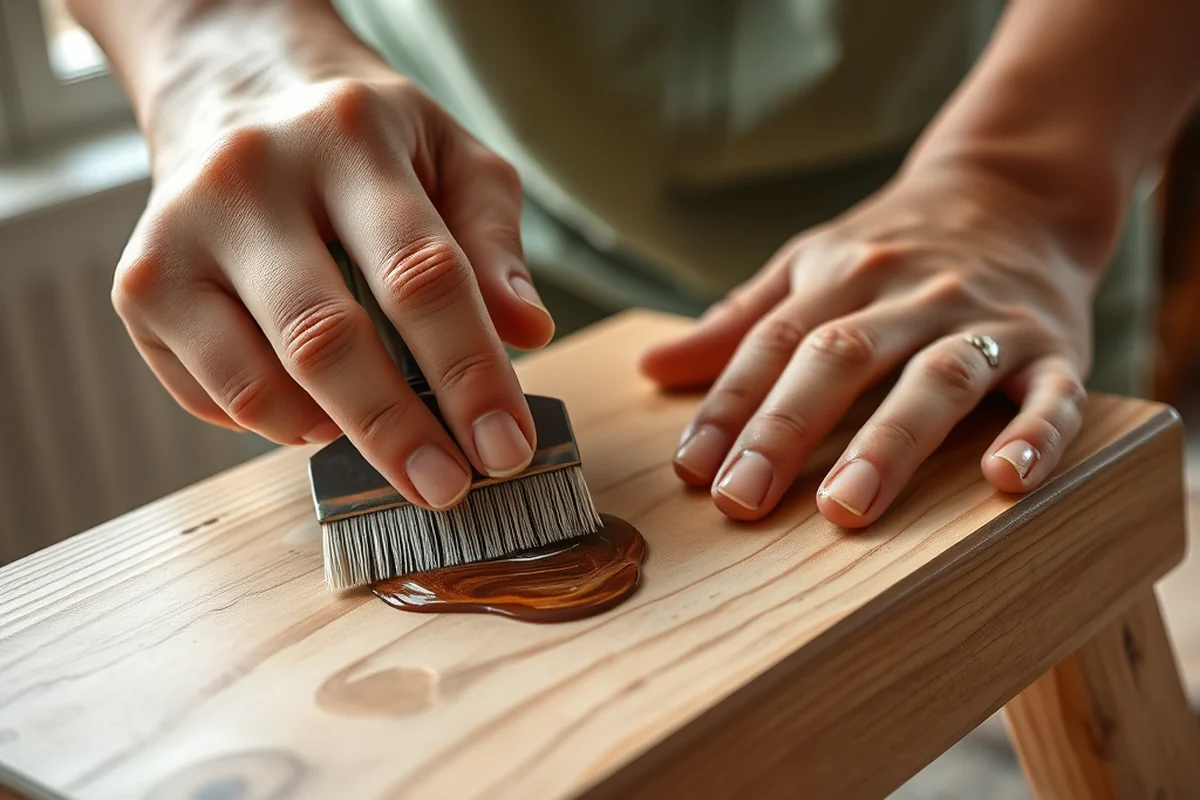
For the finish, I used a water-based polyurethane, which is easy to apply and doesn’t emit strong fumes. It also protects the wood from moisture and wear. I applied two coats, letting each dry completely before moving on to the next. This made the stool not only safe to use but also more resistant to scratches and stains.
I tested several finishes, and I found that using a satin finish made the stool feel smoother and more comfortable underfoot. I also made sure the boards were sanded thoroughly before applying the finish — even a small splinter can make the stool uncomfortable to stand on.
Use clamps to secure your pieces while you attach them. This ensures that your joints are square and your stool is level from the start.
Part of our Diy stool bar guide.
Cutting and Measuring
I measured my desired height for the stool — 18 inches from the floor to the top of the steps — and calculated the dimensions for each piece. I used a tape measure and a square to ensure that all corners were right angles. I marked each cut with a pencil before using a miter saw for clean, straight cuts. I found that measuring twice and cutting once saved me time and reduced the chance of mistakes.[1]
I cut the steps to be 12 inches wide and 18 inches tall. For the frame, I used 24-inch lengths for the sides and 18-inch lengths for the cross supports. I made sure that all the pieces were cut at the same angle so that they would fit together seamlessly. I used a jigsaw for curved edges, but a straight edge was enough for the rest of the pieces.[2]
I tested the fit of the pieces before attaching them with screws. If a piece didn’t fit perfectly, I adjusted my measurements and made the necessary cuts. This attention to detail ensured that my stool was sturdy and well-constructed from the start.
Measure twice, cut once — and your stool will be built to last.
Related: Stool Chair Plans
Related: Easy step stool plans
Related: Bar Stool Plans Free
Related: Stool Designs For Living Room
Related: Wooden Step Stool Ideas
Assembling the Frame
I started by assembling the frame using the 24-inch side pieces and the 18-inch cross supports. I used a carpenter’s square to ensure that the frame was square and all angles were 90 degrees. I attached the cross supports to the sides with 2-inch wood screws, making sure they were evenly spaced for stability. I used a level to ensure that the frame was perfectly vertical.
Once the frame was assembled, I attached the back and front supports to the frame. I used 1x2-inch boards for these, spacing them about 6 inches apart for added support. I also added a bottom support piece to the frame to provide additional strength and prevent the stool from collapsing under weight.
I used wood glue as well as screws for added reinforcement. This made the frame more durable and gave it a more professional look. After assembling the frame, I checked all the joints and made sure they were tight and secure before moving on to the steps.
Using a level during assembly ensures that the frame is perfectly vertical and the stool will be stable when used.
“I built my first step stool during a rainy weekend, and it changed the way I see DIY.”— DIY Wooden Step Stool Plans editors
Adding the Steps

I attached the steps to the frame using the 18-inch cross supports as guides. I made sure that each step was evenly spaced and aligned with the frame. I used 2-inch wood screws to attach each step, ensuring that they were secure and wouldn’t shift under weight. I also used wood glue for added reinforcement.
I made sure that each step was horizontal and level with the others. I used a level to check this and adjusted as needed. I also added a small amount of wood glue to the joints between the steps and the cross supports, which helped to keep everything in place.
After attaching all the steps, I checked the stool for stability and made sure that there were no wobbles or uneven spots. I found that using a level and checking each joint as I went made the process much smoother and more efficient.
Finishing Touches
I applied a coat of wood glue to the joints of the stool and let it dry completely. This helped to reinforce the connections and make the stool more durable. I then applied a coat of water-based polyurethane, which protected the wood and made it easier to clean. I used two coats for added protection and a smoother finish.
I sanded the stool thoroughly after each coat of polyurethane to ensure that the finish was smooth and even. I also used a small brush to get into the corners and edges, making sure that the finish was applied evenly. This helped the stool look more professional and made it more comfortable to use.
After the final coat of polyurethane dried, I checked the stool one last time for any splinters or rough spots. I found that using a fine-grit sandpaper and a bit of elbow grease helped to make the stool feel smooth and safe underfoot.
Testing and Final Checks
I tested the stool by standing on it and checking for any wobbles or uneven spots. I found that my stool was stable and didn’t feel like it would collapse under weight. I also made sure that the steps were level and that the frame was square.
I used a level to check the frame and the steps again, ensuring that everything was perfectly aligned. I also tested the joints by gently pushing and pulling on them to see if they were secure. I found that using wood glue and screws together made the stool very strong and sturdy.
After testing the stool, I made a few final adjustments, such as tightening any loose screws and ensuring that all the joints were properly sealed. This made the stool more durable and ready for use.
Test before you trust — your safety depends on it.
Customizing Your Stool
I customized my stool by painting the frame in a deep blue and staining the steps in a natural wood finish. This made the stool look more modern and gave it a unique look. I also added small decorative pieces, such as wooden inlays, to the frame for a more elegant touch.
I experimented with different colors and finishes, and I found that using a dark stain on the steps and a light finish on the frame created a nice contrast. I also used metallic accents, such as copper screws and hardware, to add a bit of style to the stool.
I recommend experimenting with different finishes and colors to find what works best for your home. I found that using a clear coat over the wood helped to preserve the natural grain and made the stool look more professional.
💰 Budget Build
Use softwood and basic finishes to cut costs without sacrificing function.
⏰ Weekend Version
Simplify the design and focus on speed, ideal for a single-day build.
✨ Upgraded Finish
Add a professional look with stains, metallic accents, and decorative inlays.
🏠 Small-Space Adaptation
Build a compact stool that fits perfectly in tight corners or apartments.
🔒 Rental-Safe Option
Use removable hardware and avoid permanent alterations for move-in ready builds.
| The mistake | Why it happens | The fix |
|---|---|---|
| Skipping the sanding step | Skipping sanding can leave splinters and rough spots that are uncomfortable to stand on. | Always sand the wood thoroughly before applying any finish or attaching the steps. |
| Not using clamps | Not using clamps can cause the pieces to shift while you attach them, leading to uneven joints. | Use clamps to secure your pieces while you attach them, ensuring that everything is aligned and square. |
| Using too few cross supports | Using too few cross supports can make the frame unstable and prone to wobbling. | Use at least two cross supports for the frame and space them evenly for added support. |
| Ignoring the finish | Ignoring the finish can leave the stool vulnerable to moisture and wear, shortening its lifespan. | Always apply a protective finish such as polyurethane to protect the wood and make it easier to clean. |
Step Stool Plans
Common Questions
What type of wood should I use for the steps?
How do I ensure the stool is level?
Can I build this stool with just a few tools?
What finish should I use for the stool?
References
- SITTING HEIGHT - National Institutes of Health (agingresearchbiobank.nia.nih.gov)
- 1926.1053 - Ladders. | Occupational Safety and Health Administration (osha.gov)
Cite this guide
DIY Wooden Step Stool Plans (2026). Step Stool Plans. https://stoolreach.com/step-stool-plans/
Feel free to cite or share this guide.