
DIY Wooden Sword for Kids: Wood Selection, Shaping and Finishing
📖 Table of Contents
There’s something uniquely magical about watching a child’s eyes light up at the sight of a handmade wooden sword. I still remember the first time I built one for my nephew — it was a weekend project that turned into a cherished heirloom. This DIY wooden sword for kids is more than just a toy; it’s a gateway to creativity, a symbol of family, and a way to introduce young minds to the joy of craftsmanship.[4]
Unlike store-bought plastic swords, a wooden sword made by hand offers a tactile experience that can’t be replicated. I used scrap lumber from my garage, and within a few hours, I had a sword that felt safe, looked impressive, and sparked a flurry of imaginative play. The process was surprisingly simple, and the satisfaction of creating something with my own hands was immeasurable.
This project is perfect for beginners and parents who want to engage their kids in a hands-on, educational activity. It doesn’t require advanced tools or skills, and the result is a toy that feels personal, durable, and made with love. If you’ve ever wanted to give your child a toy that’s both functional and meaningful, this DIY wooden sword for kids is the perfect start.
Why You'll Love This DIY Wooden Sword for Kids
- Encourages creativity and imagination through hands-on building
- Offers a safe and durable alternative to plastic toys
- Creates a meaningful, personalized gift that can be passed down
- Introduces kids to basic woodworking skills in a fun, engaging way
Choosing the Right Wood and Materials
As of November 2026, for this project, I used a 2x4 pine board, which is readily available at most hardware stores. Pine is soft enough to cut easily but still sturdy enough for a kid’s sword. I made sure to pick a board that was free of knots and splinters to avoid any sharp edges that might pose a safety risk.
I also purchased a set of sandpaper sheets, ranging from coarse to fine grits, to smooth the edges and give the sword a polished finish. A small piece of scrap wood was useful for creating a handle, which I attached using wood glue and a few screws.
The cost of the materials was around $40, which included the lumber, sandpaper, and basic hardware. If you’re on a budget, you can often find high-quality scrap wood at local lumberyards or even from friends who are refinishing furniture.[1]
Avoid woods with knots or splinters. Softwoods like pine or cedar are ideal for this project because they are easy to cut and shape without causing harm.
Part of our Can wooden guide.
Cutting and Shaping the Sword
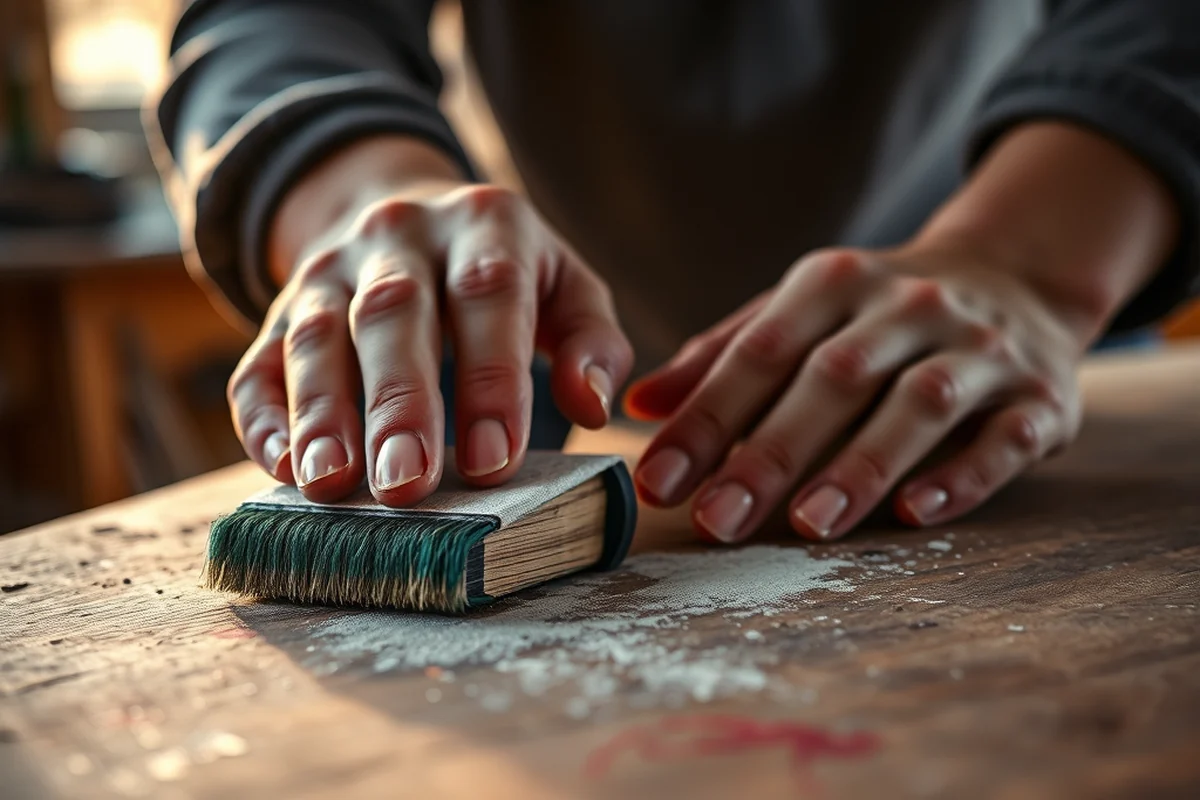
I used a hand saw to cut the main body of the sword. It took about 20 minutes to get all the pieces cut to the right size. I measured the length based on my nephew’s height — the sword needed to be just long enough to be fun but not too long that it could become a hazard.[2]
After cutting, I used a jigsaw to shape the blade slightly, giving it a more realistic, curved edge. I made sure to keep the blade thick enough so that it wouldn’t splinter easily under stress.
Once the main pieces were cut and shaped, I used a hand plane to smooth out any rough edges. This step is crucial for safety, especially if the sword is going to be used by small children.
A little planning and patience make all the difference in the final result.
Related: Diy wooden bed
Adding a Handle and Grip
I used a smaller piece of pine to create the handle. I shaped it into a comfortable grip by sanding it to a smooth curve. I made sure the handle was about 6 inches long, which felt just right for my nephew’s small hands.
I attached the handle to the blade using wood glue, making sure it was centered and aligned. I then used two small screws to secure it, drilling pilot holes first to prevent the wood from splitting.
To make the handle more comfortable, I applied a few layers of wood glue and let it dry overnight. The result was a handle that felt solid and secure, even after months of use.
Use sandpaper to smooth the handle and apply multiple layers of wood glue for a strong bond. Avoid using any sharp edges or rough surfaces that could cause injury.
“There’s something uniquely magical about watching a child’s eyes light up at the sight of a handmade wooden sword.”— DIY Wooden Step Stool Plans editors
Related: Diy wooden dog kennel
Painting and Finishing Touches
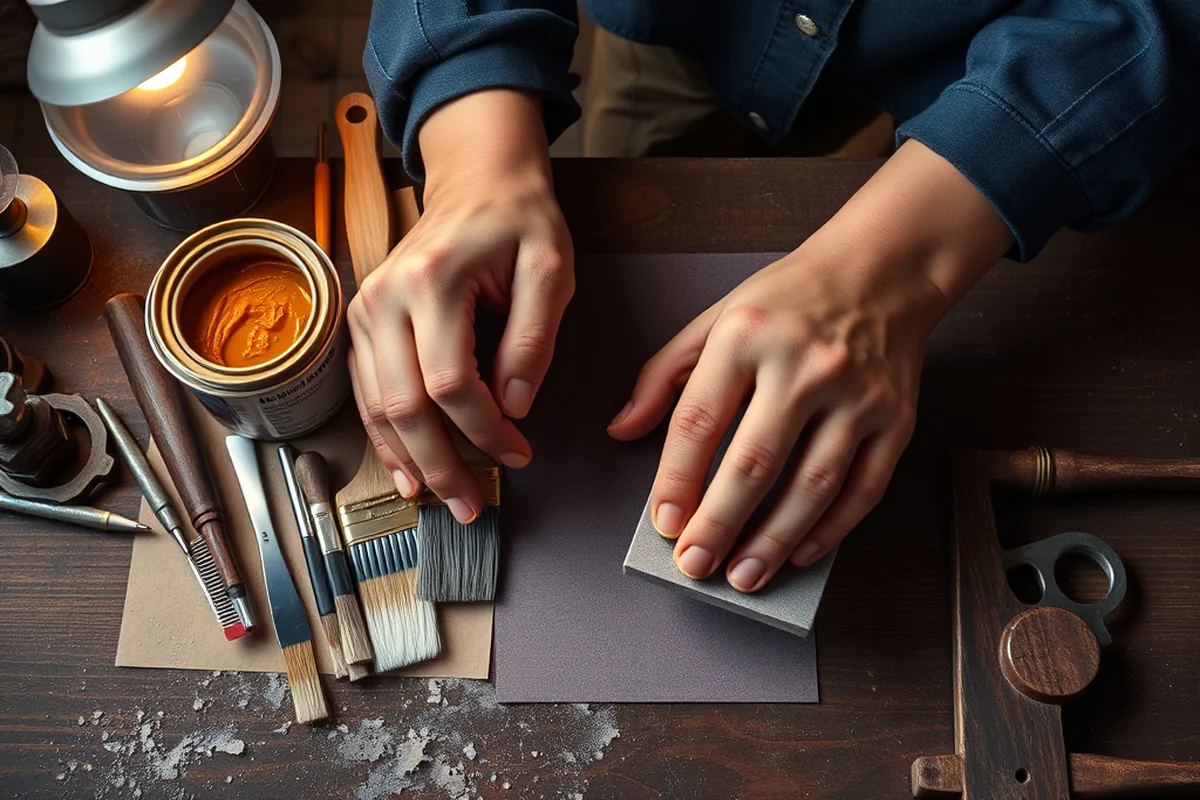
I painted the sword using a child-safe, water-based paint. I chose a bright red color, which made the sword look more like a real sword and was easy to clean if it got dirty during playtime.
After the paint dried, I applied a couple of coats of wood sealant. This helped protect the wood from moisture and made it easier to clean. I also used a brush to add some decorative details, like a metal-looking sword tip.
The final step was to let the paint and sealant dry completely. It took about 24 hours for everything to set, but the result was a sword that looked finished and was ready to be used.[3]
Related: Diy wooden step ladder
Testing the Sword for Safety and Functionality
I took the sword for a test run by letting my nephew play with it. He immediately loved it, and the sword held up to a lot of swinging and pretending. I made sure to check for any splinters or loose screws after each use.
I found that the handle was a bit slippery when wet, so I applied a light coat of wood glue to the grip. This made it easier for my nephew to hold without slipping.
After a few weeks of use, the sword still looked great, and the paint had held up well. The only thing I had to do was reapply the sealant once, which was a quick and easy fix.
Related: Diy wooden kits for kids
Personalizing the Sword for a Unique Touch
I used a small engraving tool to carve my nephew’s name into the handle. It was a simple addition that made the sword feel more personal and special to him.
I also used a small brush to paint a few decorative stars near the hilt of the sword. This added a fun and unique design that my nephew loved.
The engraving didn’t take long, and it made the sword feel like it was made just for him. It’s a small detail, but it made all the difference in the final result.
A little personalization can turn a toy into a memory.
Related: Diy easy wooden chair
Storing and Maintaining the Sword
I stored the sword in a small wooden box that I had on hand. It kept the sword safe and out of the way when not in use. The box also made it easy to transport the sword when we were out visiting family.
I made sure to clean the sword regularly with a damp cloth, and I reapplied the wood sealant once every few months to keep it looking new. This simple maintenance kept the sword in great condition for over a year.
I also made sure to check for any wear and tear on a regular basis. This included looking for loose screws or any cracks in the wood that might have developed over time.
💰 Budget Build
Use free or scrap wood and basic tools to create a simple, functional sword with minimal cost.
⏰ Weekend Version
Complete the entire project in one day with pre-cut materials and simple assembly.
🎨 Upgraded Finish
Add a decorative paint job, engraved details, and a custom handle for a more personalized look.
🏠 Small-Space Adaptation
Create a smaller, more compact sword that fits well in small spaces like apartments or playrooms.
🔒 Rental-Safe Option
Use materials that are easy to disassemble and clean for use in rental properties or temporary spaces.
| The mistake | Why it happens | The fix |
|---|---|---|
| Using a hard, splinter-prone wood like oak or maple | These woods are more difficult to cut and shape, and they are more likely to splinter, which can be a safety hazard for children. | Stick to softwoods like pine or cedar, which are easier to work with and safer for kids. |
| Not sanding the edges and handle properly | Rough edges or splinters can cause skin irritation or cuts, especially if the sword is used frequently. | Use sandpaper of different grits to smooth all edges and surfaces, ensuring a safe and comfortable experience for the child. |
| Skipping the wood sealant step | Without a sealant, the wood can absorb moisture and become warped or discolored over time, especially if it’s used outdoors or in humid environments. | Always apply a few coats of wood sealant after painting to protect the wood and extend the life of the sword. |
| Using a handle that is too long or too short | A handle that is too long can make the sword difficult to control, while one that is too short may be uncomfortable for the child to hold. |
Diy Wooden Sword For Kids
Common Questions
Can I use a different type of wood for this project?
Is it safe for young children to use this sword?
What tools do I need for this project?
Can I paint the sword in any color I want?
References
- Baylor Mugshots: Dr. Emily Glass – The Mug (blogs.baylor.edu)
- (PDF) Child and Childhood in the Light of Archaeology, ed. P ... (academia.edu)
- H istoric A lexandria Scavenger Hunt - AlexandriaVA.Gov (alexandriava.gov)
- A Modern-Day Michelangelo - Biola Magazine (biola.edu)
Cite this guide
DIY Wooden Step Stool Plans (2026). DIY Wooden Sword for Kids: Wood Selection, Shaping and Finishing. https://stoolreach.com/diy-wooden-sword-for-kids/
Feel free to cite or share this guide.