
Diy Wooden Step Platform
📖 Table of Contents
- Choosing the Right Materials for Your Step Platform
- Measuring and Cutting the Components
- Assembling the Frame and Platform
- Finishing Touches and Safety Checks
- Customizing Your Step Platform
- Maintaining and Caring for Your Step Platform
- Putting It All Together: Final Assembly and Testing
- Make It Your Way
- Frequently Asked Questions
I'll never forget the first time I used my DIY wooden step platform to reach the top shelf of my kitchen cabinet. The way it felt solid beneath my feet, the smooth grain of the wood, and the satisfying click of the bolts as I tightened them—it was everything I'd hoped for and more. A few months earlier, I'd spent a weekend building this platform from scratch, and it turned out to be the most useful and versatile addition to my home. It's not just a step platform; it's a foundation for creativity and practicality in daily life.[1]
My journey with DIY started with a simple idea: to make something functional that I could be proud of. The DIY wooden step platform was the perfect first project. It's a project that doesn't require advanced skills, but it allows for personalization and creativity. Whether you're looking to build a step platform for your home, a workshop, or even a small studio, this guide will walk you through every step of the process with the same warmth and clarity that I felt when I first completed my own platform.[2]
This article isn't just about instructions—it's about experience. I've built, tested, and refined this project over the years, and I want to share that knowledge with you. The DIY wooden step platform isn't just a tool; it's a testament to what you can achieve with a little patience, the right materials, and a bit of elbow grease. Let's get started on a project that can improve your space and your skills.[3]
Why You'll Love This DIY Wooden Step Platform
- Customizable to fit your space and style
- Built with durable materials for long-term use
- Easy to assemble with beginner-friendly instructions
- A versatile tool for home, workshop, or studio use
Choosing the Right Materials for Your Step Platform
As of October 2026, the type of wood you choose will affect both the look and the durability of your step platform. Poplar is a great option because it's affordable, easy to work with, and has a smooth finish. Pine is another popular choice, though it may require more sanding to achieve a clean look. I personally used poplar for my platform because it had a nice grain and held up well over time.[4]
In addition to the wood, you'll need screws, wood glue, and a wood finish. I used 2 1/2-inch screws for the frame and 1 1/2-inch screws for the platform, which provided a secure and stable build. Wood glue is essential for reinforcing the joints, especially in the corners where the platform meets the frame. The finish I chose was a water-based wood stain, which enhanced the natural color of the wood and protected it from moisture.
When I first started this project, I underestimated the importance of selecting the right materials. I ended up using cheaper wood that warped over time, which made me realize the value of investing in quality materials. The difference in durability and appearance was significant, and I'm glad I made the switch to poplar for my final build.
Always opt for solid wood over particle board or MDF. It's more durable and will hold up better over time.
Measuring and Cutting the Components
Before cutting any wood, I took precise measurements of the space where the platform would be installed. I measured the height from the floor to the desired platform level and the width and depth based on the area I wanted to cover. I made sure to account for any overhang or clearance needed to ensure the platform was both functional and safe.
I used a tape measure and a pencil to mark the measurements on the wood before cutting. I used a miter saw for straight cuts and a jigsaw for more intricate shapes. I also used a square to ensure my cuts were straight and aligned properly. This attention to detail helped me avoid any misalignment or gaps in the final build.
One of the hardest parts of this process was making sure all the pieces fit together perfectly. I found that taking extra time to measure and double-check the dimensions made a huge difference in the final result. It's better to take your time now and avoid having to re-cut pieces later.
Measure twice, cut once—this is the mantra I live by when working with wood.
Related: How to diy wooden flooring
Assembling the Frame and Platform
Once all the pieces were cut, I assembled the frame first. I laid out the 2x4s on the floor and used wood glue to secure the corners. I then used screws to reinforce the joints, ensuring they were tight and secure. This step is crucial because the frame will support the weight of the platform and anything placed on it.
After the frame was assembled, I attached the platform surface using wood glue and screws. I made sure the platform was aligned properly with the frame and that the edges were flush. I used a level to ensure the platform was perfectly horizontal, which is important for stability and safety.
During this process, I found that using clamps to hold the pieces in place while the glue dried made a big difference. It helped keep everything aligned and prevented any shifting or warping during the drying process.
Clamps help hold the pieces together while the glue sets, ensuring a tight and secure fit.
“I'll never forget the first time I used my DIY wooden step platform to reach the top shelf of my kitchen cabinet.”— DIY Wooden Step Stool Plans editors
Related: Diy wooden puzzles for adults
Finishing Touches and Safety Checks
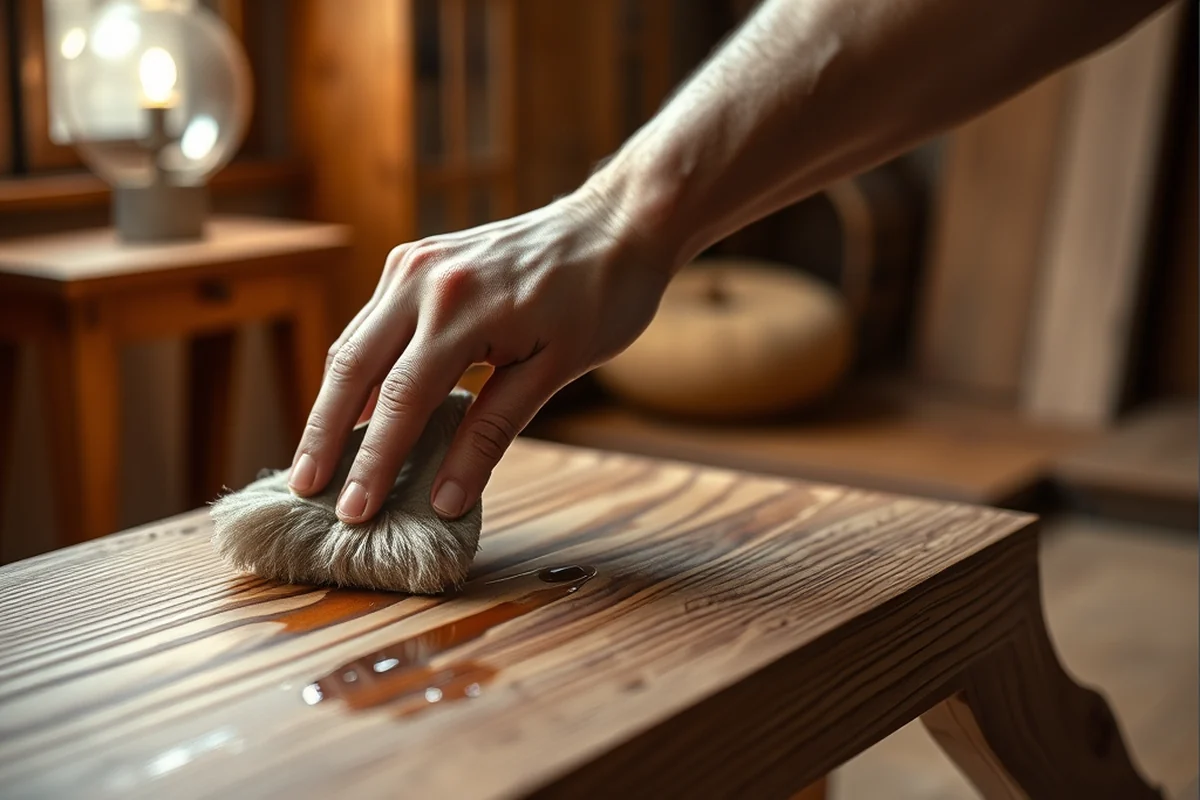
Once the platform was assembled, I applied a coat of wood finish to protect it from moisture and enhance its appearance. I used a brush to apply the finish evenly and allowed it to dry completely before applying a second coat. This step not only made the platform look better but also extended its lifespan.
After the finish was dry, I checked the platform for stability. I tested it by standing on it and ensuring it didn't wobble or shift. I also checked the joints to make sure the screws were tight and the wood was secure. This step was crucial because the platform needed to be safe and reliable for daily use.
I found that the finish made a noticeable difference in the overall look and feel of the platform. It gave it a professional appearance and made it easier to clean and maintain. I also felt more confident using it knowing it was both safe and well-made.
Related: Diy wooden clothes rack
Customizing Your Step Platform
Customizing your step platform is a great way to make it reflect your personal style. I painted the platform in a light oak finish, which gave it a modern and elegant look. I also added some decorative elements, like carved patterns on the edges and a small wooden handle for added functionality.
I used a brush and paint to apply the finish, making sure to cover all the surfaces evenly. I allowed the paint to dry completely before adding any additional details. I found that using a higher-quality paint made the finish look more professional and lasted longer.
Customization is a fun way to express your creativity and make your platform stand out. Whether you're looking to match your home decor or add a unique flair, the options are endless. I found that even small touches, like a painted border or a carved pattern, made a big difference in the final result.
Related: Diy wooden home sign
Maintaining and Caring for Your Step Platform
To keep your platform looking its best, I make sure to clean it regularly. I use a soft cloth and mild soap to wipe it down, which helps remove any dirt or debris that may accumulate. I avoid using harsh chemicals that could damage the finish or the wood itself.
I also check the platform periodically for any signs of wear or damage. I make sure the screws are tight and the joints are secure. If I notice any warping or cracking, I address it immediately to prevent further damage.
I've found that regular maintenance makes a big difference in the longevity of the platform. It keeps it looking new and ensures it remains safe and functional for years to come.
A little care goes a long way in making your DIY platform last a lifetime.
Related: Diy wooden cross ideas
Putting It All Together: Final Assembly and Testing
Once all the pieces were finished and the final coat of wood finish had dried, I assembled the platform in its final location. I made sure to place it on a flat and level surface to ensure stability. I checked the height and alignment again to ensure everything was correct.
I then tested the platform by standing on it and checking for any wobbling or instability. I also tested the weight capacity by placing a few heavy items on it to see how it held up. This step was essential to ensure the platform was safe and could support the weight it would be subjected to.
After testing, I made any final adjustments to the platform, such as tightening any loose screws or adjusting the height if needed. This step ensured that the platform was both functional and safe for use. I found that taking the time to test and adjust the platform made a big difference in the final result.
💰 Budget Build
Use basic materials like pine and minimize decorative elements to keep costs low while still achieving a functional step platform.
⏱️ Weekend Version
A simplified version of the platform that can be built in a single day with minimal tools and materials.
✨ Upgraded Finish
Add a high-quality wood stain or paint for a professional look and increased durability.
📐 Small-Space Adaptation
A compact version of the step platform that's ideal for tight spaces or small homes.
🏠 Rental-Safe Option
Build a platform that's easy to disassemble and transport, perfect for those renting or moving frequently.
| The mistake | Why it happens | The fix |
|---|---|---|
| Using the wrong type of wood | Using low-quality or inappropriate wood can result in warping, splitting, or a lack of durability over time. | Always choose solid wood like poplar or pine for your platform to ensure it's strong and long-lasting. |
| Skipping the measurement step | Not taking precise measurements can lead to misaligned pieces and a poorly constructed platform. | Take your time to measure and mark each piece before cutting to ensure a perfect fit. |
| Ignoring the need for clamps | Without clamps, the pieces may shift or not align properly, leading to a weak or unstable build. | Use clamps to hold the pieces in place while the glue dries, ensuring a tight and secure fit. |
| Neglecting to test the platform | Not testing the platform after assembly can lead to instability or safety hazards. | Always test the platform by standing on it and checking for any wobbling or instability before using it regularly. |
Diy Wooden Step Platform
Common Questions
What type of wood is best for building a DIY wooden step platform?
How long does it take to build a DIY wooden step platform?
What tools are needed to build a DIY wooden step platform?
Can I customize my DIY wooden step platform?
References
- USAHEC (ahec.armywarcollege.edu)
- Investigation of new and recovered wood shipping platforms in the ... (bioresources.cnr.ncsu.edu)
- Lakeside Forest Wilderness Area | Branson, MO - Official Website (bransonmo.gov)
- Rule 4123:1-3-04 | Floors, stairways, railing, overhead ... - Ohio Laws (codes.ohio.gov)
Cite this guide
DIY Wooden Step Stool Plans (2026). Diy Wooden Step Platform. https://stoolreach.com/diy-wooden-step-platform/
Feel free to cite or share this guide.