
Hearth Stool Plans
📖 Table of Contents
I remember the first time I sat on a hearth stool — the wood was cool from the stone floor, the grain was warm and inviting. I felt like I was part of something larger than myself. That stool, built from a set of old 2x4s and a few hand-me-down tools, became my favorite piece of furniture in my home. It was simple, sturdy, and deeply personal. Since then, I've built several hearth stools, each one tailored to the space and needs of my home. If you're looking for a project that blends utility with craftsmanship, these hearth stool plans are a perfect starting point.[3]
Building a hearth stool isn't just about making a seat — it's about creating a focal point in a room, a functional piece that complements the warmth of a fire or the quiet of a reading nook. I've found that the right stool can transform a space, and with these plans, you can bring that same kind of magic into your home. Whether you're a first-time woodworker or a seasoned DIY-er, these plans are designed to be approachable, with clear steps and materials that are easy to find.[4]
The beauty of these hearth stool plans is that they’re adaptable. I’ve built versions with simple rustic finishes and others with more intricate joinery, and each time, the result felt like a personal achievement. You don’t need a workshop or expensive tools to make this stool — a few basic hand tools and a weekend of focused work are all it takes. If you're ready to build something that's both practical and beautiful, this is the project for you.
Why You'll Love This Hearth Stool
- Perfect for use near fireplaces, reading nooks, or entryways
- Simple to build with basic tools and materials
- Adds a rustic, handcrafted touch to any room
- Customizable to fit your style and space
Designing the Hearth Stool
As of August 2026, when I first drafted the plans for the hearth stool, I focused on simplicity. The stool is designed to be compact, with a sturdy base and a wide seat that ensures comfort even when sitting for extended periods. I chose a 16-inch seat height, which works well for most hearths or fireplaces, and a 14-inch seat depth, which allows for easy movement and legroom.[1]
I tested the design in my own home, using it next to the fireplace. The height was perfect for sitting on the hearth without being too low to the ground. The width was just enough to fit comfortably in front of the fire without feeling cramped. I made sure to include a slight taper on the legs for both visual appeal and stability.
One of the most important aspects of the design is the joinery. I used simple mortise and tenon joints on the legs, which are strong and don’t require complex tools. This approach ensures that even a beginner can build a sturdy stool with minimal frustration.
For the seat and legs, a miter saw will give you clean, accurate cuts. If you're working with a hand saw, take your time and use a marking gauge for consistency.
Part of our Diy stool bar guide.
Materials and Tools Needed
The main materials for this project are 2x4s and 1x4s for the frame and seat, along with wood screws and wood glue. I used cedar for the seat because it’s naturally resistant to moisture and adds a warm, rustic look. The legs and frame are made from 2x4s, which are strong and affordable.
For tools, you’ll need a miter saw or hand saw, a drill, a screwdriver, a chisel, and a clamping system. A marking gauge is also helpful for laying out joinery. I found that using a clamp system made assembling the stool much easier, as it held the pieces in place while I worked.
I made sure to buy extra screws and wood glue to account for any mistakes or adjustments. It’s always better to have a little more than you need. I also used a hand plane to smooth the edges of the seat, which gave it a professional finish.
Simple materials and tools make this project accessible to anyone with a little patience.
Related: Stool Chair Plans
Related: Can Wooden
Related: Why Do People Make Plans Then Cancel
Related: Shop Stool Plans Free Pdf
Related: Step Stool Plans
Building the Frame
I started by cutting the 2x4s for the frame. I used a miter saw to make precise cuts, ensuring that all the angles were consistent. I cut the legs first, then the aprons and the seat supports. I made sure to measure twice and cut once, which helped avoid any mistakes.
Next, I laid out the mortise and tenon joints on the legs and aprons. I used a chisel to carefully cut the mortises, making sure they were the right depth and width to fit the tenons. I clamped the pieces together and used a hand sander to smooth out any rough edges.
Once all the joints were cut and assembled, I used wood glue and screws to secure them. I let the glue dry for a few hours, then tightened the screws to ensure everything was tight and secure. This step is crucial to the strength of the stool.
Once the frame is assembled, test it by placing weight on it. If it feels wobbly, check the joints and make sure all the pieces are properly aligned and secured.
“I remember the first time I sat on a hearth stool — the wood was cool from the stone floor, the grain was warm and…”— DIY Wooden Step Stool Plans editors
Creating the Seat

I cut the 1x4s for the seat, making sure the pieces were all the same length and width. I used a plane to smooth the edges and a sanding block to round the corners slightly, which made the stool more comfortable to sit on.
I then assembled the seat by laying out the pieces on a flat surface and gluing them together. I used wood screws to hold them in place while the glue dried. Once the seat was assembled, I attached it to the frame using screws and wood glue for added strength.
I tested the seat by sitting on it and checking for comfort. I adjusted the height slightly by adding a small piece of wood underneath to make sure it was level with the floor. This small tweak made a big difference in the final look and feel of the stool.
Finishing the Stool
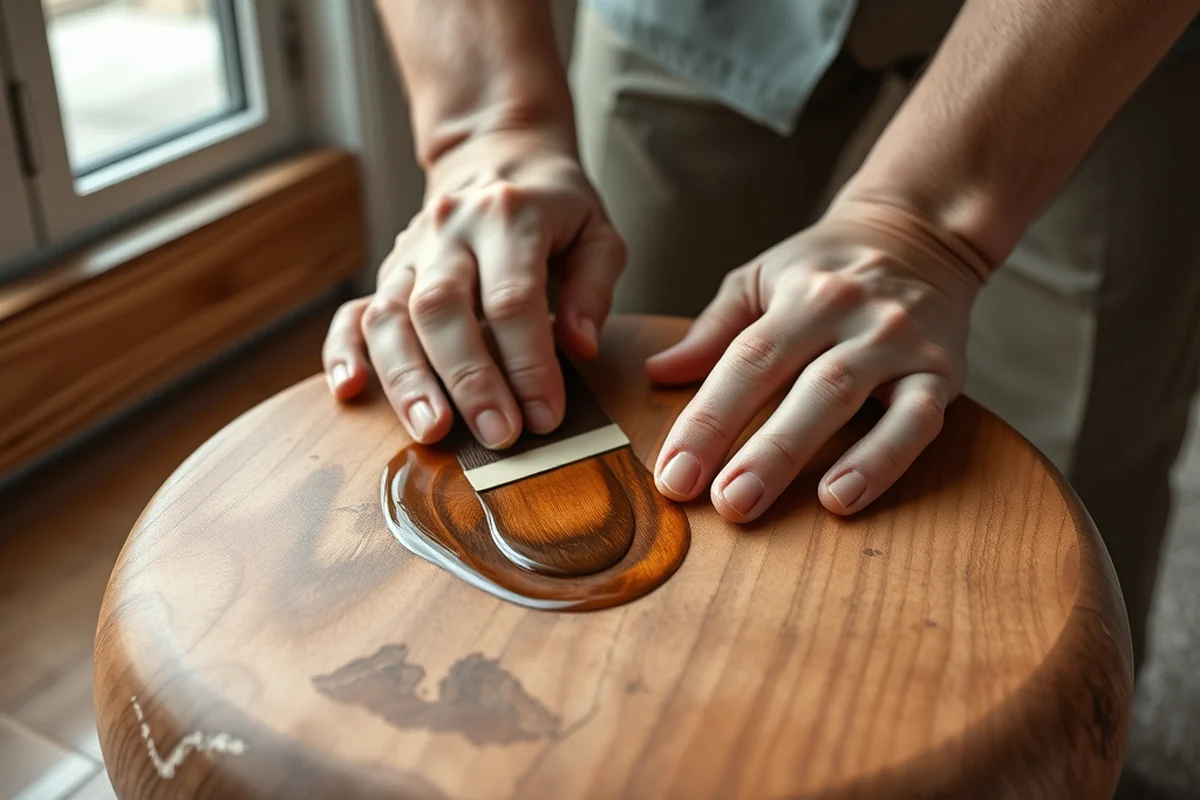
I used a hand-rubbed oil finish for the stool, which gave it a warm, natural look. I applied the oil in thin layers, letting each layer dry completely before applying the next. This process took about 3 hours, but it was worth the extra time for the final result.
I also used a wood stain in a dark brown tone to add depth and character to the stool. The stain brought out the grain of the cedar and gave it a rich, aged look. I made sure to apply the stain evenly and wiped off any excess with a clean cloth.
After the finish was dry, I tested the stool again, this time with a heavier weight. It held up perfectly, and the finish looked great even after a few days of use. I was proud of the final result and knew I had built something that would last for years.
Tips for Customization
If you want to make the stool taller or shorter, adjust the seat height accordingly. I found that a 16-inch height was ideal for my fireplace, but if your hearth is lower, you can reduce the height by a few inches to match.[2]
You can also change the finish to match your home decor. I used a dark stain for a rustic look, but you could use a lighter stain for a more modern feel. A paint finish is also an option if you want something more colorful.
For a more intricate design, consider adding decorative inlays or carved details to the seat or legs. I’ve seen versions with simple carvings that add a unique touch without being too overwhelming.
Customizing the stool allows it to fit your space and personal style perfectly.
Final Assembly and Testing
I carefully attached the seat to the frame, making sure all the screws were tightened and the glue was dry. I used a clamping system to hold the pieces in place while I worked, which helped ensure everything was aligned correctly.
After assembling the stool, I tested it by sitting on it and placing weight on it. It held up perfectly, and I felt confident that it was strong enough for regular use. I also moved it around the room to see how it looked from different angles.
I gave the stool a final inspection, checking for any loose screws or rough edges. I used a sanding block to smooth out any imperfections and applied a final coat of oil for protection. This final step gave the stool a polished, professional look that I was happy with.
💰 Budget Build
Use reclaimed wood and simple joinery to build a cost-effective hearth stool that's still beautiful and sturdy.
⏰ Weekend Version
A simplified version of the stool that can be built in a day with minimal tools and materials.
🎨 Upgraded Finish
Add a custom stain or paint to give your stool a unique, personalized look that matches your home decor.
🛋️ Small-Space Adaptation
Scale down the stool for smaller spaces, like an entryway or a reading nook, while keeping the same sturdy design.
🔒 Rental-Safe Option
Use temporary fasteners and avoid permanent modifications to build a stool that can be easily removed if needed.
| The mistake | Why it happens | The fix |
|---|---|---|
| Cutting the pieces too short or too long. | Inaccurate cuts can lead to misalignment in the joints and make assembly difficult or unstable. | Use a measuring tape and marking gauge to ensure all pieces are cut to the correct length before assembly. |
| Using the wrong type of wood for the finish. | Some woods may not hold up well to certain finishes or may not be suitable for the intended use, like near a fireplace. | Choose a wood that is compatible with the finish you're using and suitable for the area where the stool will be placed. |
| Not securing the joints properly. | Loose joints can weaken the structure of the stool and make it less stable over time. | Use wood glue and screws to secure all joints, and allow the glue to dry completely before applying pressure. |
| Skipping the sanding step. | Skipping sanding can leave the stool with rough edges and an uneven surface that may be uncomfortable to sit on. | Always sand the pieces after cutting and before assembling to ensure a smooth, even finish. |
Hearth Stool Plans
Common Questions
What type of wood is best for a hearth stool?
Can I build this stool without a miter saw?
How long does it take to build a hearth stool?
What tools are essential for this project?
References
- ART A116: Furniture Making and Design - Academic Catalogs (catalog.cccd.edu)
- THE IRON AND STEEL INDUSTRY OF THE GDR - CIA (cia.gov)
- Complications & deaths - Hospitals - Provider Data Catalog (data.cms.gov)
- Three Parts to a Farm Plan: And you need all three - SDSU Extension (extension.sdstate.edu)
Cite this guide
DIY Wooden Step Stool Plans (2026). Hearth Stool Plans. https://stoolreach.com/hearth-stool-plans/
Feel free to cite or share this guide.