
Easy Step Stool Plans
📖 Table of Contents
There’s something deeply satisfying about building something with your own hands, and for me, that satisfaction came in the form of my first DIY step stool. It wasn’t just about the finished product—it was about the process, the smell of fresh wood, the satisfying click of each screw. The knowledge that I’d created something useful from scratch. Whether you’re a seasoned woodworker or just picking up a saw for the first time, these easy step stool plans offer a perfect starting point that’s both affordable and incredibly functional. The beauty of this project is that it’s simple enough to complete in a weekend but sturdy enough to last years.
I remember the first time I used my step stool after completing it—it felt like a small victory. The stool was solid, the finish was smooth, and the fact that it was made from scrap wood I’d picked up at a local lumber store made the whole thing even more rewarding. These easy step stool plans are designed with simplicity in mind, but they’re not without their own unique charm. You’ll find that the construction process is straightforward and doesn’t require any special tools, which makes it accessible to anyone with a basic toolkit.
If you’ve ever looked at a store-bought step stool and thought, 'I could build this myself,' then this is the article for you. These easy step stool plans walk you through every step of the process, from selecting the right materials to assembling the pieces and finishing the stool. Whether you're looking to create a functional piece of furniture for your home or just want to enjoy the creative process of building something with your own hands, this project is a great way to get started.
Why You'll Love This Easy Step Stool
- It’s built using affordable, easy-to-find materials.
- The design is simple and user-friendly for all skill levels.
- It’s a great project for beginners and a fun way to learn basic woodworking skills.
- Once built, it adds a practical, handmade touch to any space.
Choosing the Right Materials
As of August 2026, for this project, I used 1x4-inch pine boards, which are affordable and widely available at most hardware stores. I picked up a bundle of boards from a local lumber yard for about $25, which covered the entire project. The key is to look for straight, knot-free boards that are at least 8 feet long to ensure that you have enough material for the steps and the sides.
In addition to the main structure, you’ll need wood screws, wood glue, and a few pieces of wood for the legs. I used 2.5-inch screws for the steps and 3-inch screws for the sides and legs. It’s important to choose screws that are long enough to securely fasten the pieces without protruding through the wood.
Finally, I applied a coat of wood stain and polyurethane to finish the stool. The stain gave it a nice color and the polyurethane provided a protective finish. I found that using a good quality stain and sealer made a significant difference in how the stool looked and felt.
If you have access to a miter saw, use it to make precise, clean cuts for the steps and the sides. This will save you time and make the assembly process much smoother.
Part of our Diy stool bar guide.
Cutting and Measuring the Pieces
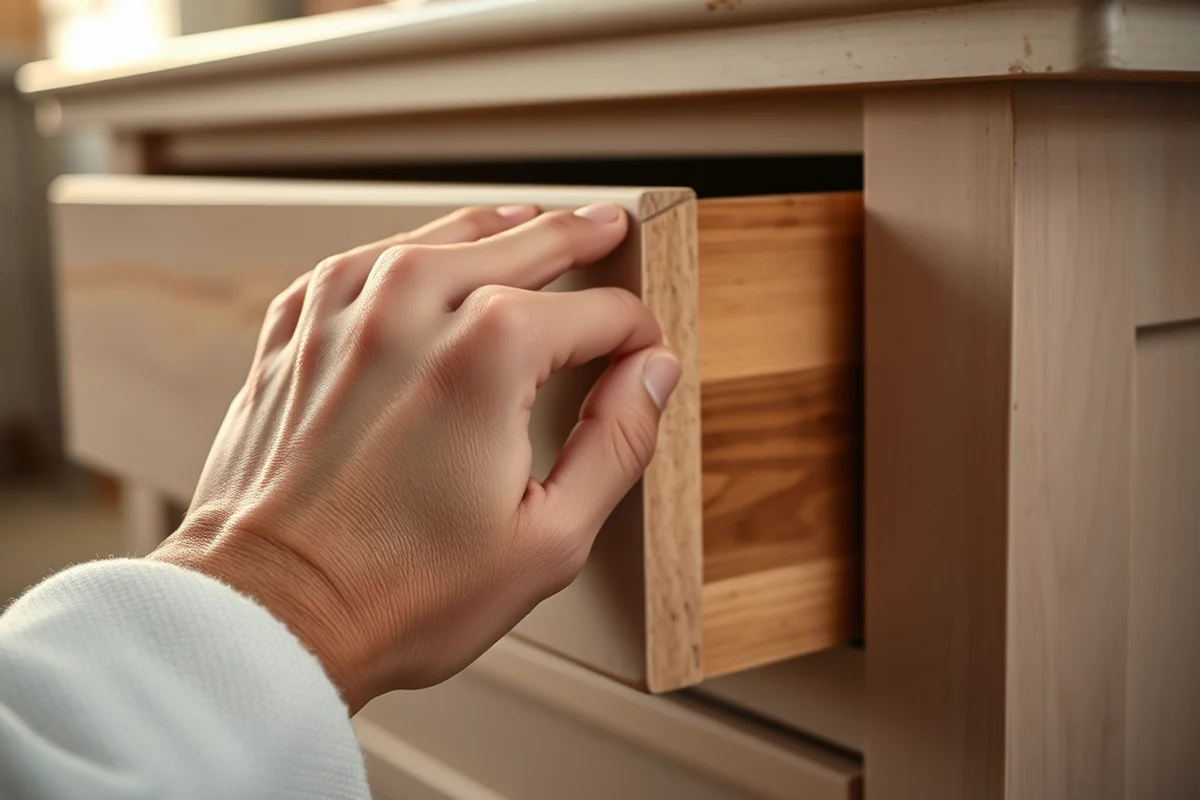
I started by measuring and marking each piece of wood with a pencil and a measuring tape. I marked the lengths for the steps, the sides, and the legs, and then used a miter saw to cut them. It's important to double-check your measurements before cutting to avoid mistakes. I found that using a square to check the corners made a big difference in ensuring that everything was cut at the right angle.
After cutting the pieces, I used sandpaper to smooth out any rough edges. This made the assembly process much easier and ensured that the pieces fit together smoothly. I used 120-grit sandpaper for the first pass and then moved up to 220-grit for a finer finish. This helped the wood feel smooth and ready for the next steps.
Once I had all the pieces cut and sanded, I laid them out on a workbench to make sure that everything was in order. I had labeled each piece with a marker to avoid confusion during assembly. This step helped me keep track of everything and made the project much more organized.
Measure twice, cut once—this simple rule can save you a lot of time and frustration.
Related: Step stool plans
Related: Bar stool plans free
Related: Wooden step stool ideas
Related: Diy small wooden stool
Related: Helper stool plans
Assembling the Steps
I started by laying the first step on the workbench and attaching the side pieces using wood screws. I used a drill to make pilot holes first, which helped prevent the wood from splitting. Once the pilot holes were drilled, I attached the side pieces using 2.5-inch wood screws. This process took about 15 minutes per step, and I made sure to keep the pieces aligned as I worked.[1]
After attaching the side pieces to the first step, I repeated the process for the remaining steps. I made sure that each step was spaced evenly and that the sides were aligned. Once all the steps were assembled, I laid them out on the workbench to check that they were all the same size and that the sides were straight.
Finally, I used wood glue to reinforce the joints between the steps and the sides. This helped make the stool more durable and ensured that everything stayed in place. I let the glue dry for about 24 hours before moving on to the next step. This extra step was worth it, as it made the stool much more sturdy.
When assembling the steps, use a clamp to hold the pieces together while you attach the screws. This will help keep everything in place and make the assembly process more efficient.
“There’s something deeply satisfying about building something with your own hands, and for me, that satisfaction came in the form of my first DIY step…”— DIY Wooden Step Stool Plans editors
Adding the Legs

I started by positioning the legs on the sides of the stool and marking where the screws would go. I used a measuring tape to measure the distance from the bottom of the stool to the floor, and then marked the legs accordingly. Once I had marked where the screws would go, I used a drill to make pilot holes in the sides of the stool.
After making the pilot holes, I attached the legs using 3-inch wood screws. I made sure that the legs were aligned properly and that everything was level. I used a level to check that the legs were straight and that the stool would sit evenly on the floor.
Once the legs were attached, I used wood glue to reinforce the joints between the legs and the sides. This helped make the stool more durable and ensured that everything stayed in place. I let the glue dry for about 24 hours before moving on to the next step.
Finishing the Stool
I started by applying a coat of wood stain to the stool using a brush. I made sure to cover all the surfaces evenly and let the stain sit for about 15 minutes. After that, I wiped off any excess stain with a clean cloth. This helped ensure that the color was even and that the wood didn’t absorb too much stain.
Once the stain was dry, I applied a coat of polyurethane to protect the wood. I used a brush to apply the polyurethane and made sure to cover all the surfaces evenly. I let the polyurethane dry for about 2 hours, and then I applied a second coat for added protection.
After the final coat of polyurethane was dry, I used sandpaper to smooth out any rough spots. This helped make the stool feel smooth and ready for use. Once everything was finished, I stepped back and admired my work—knowing that I had built something functional and beautiful.
Putting It All Together
I started by placing the steps on the sides of the stool and aligning them properly. I used a level to make sure that everything was straight and that the stool would sit evenly on the floor. Once I had aligned everything, I used wood screws to attach the steps to the sides.
After attaching the steps, I repeated the process for the remaining steps. I made sure that each step was spaced evenly and that the sides were aligned. Once all the steps were attached, I used wood glue to reinforce the joints between the steps and the sides. This helped make the stool more durable and ensured that everything stayed in place.
Finally, I used a clamp to hold the pieces together while the glue dried. This helped keep everything in place and made the assembly process much easier. Once the glue was dry, I stepped back and looked at my work—knowing that I had built something functional and beautiful.
The final assembly is where the magic happens—this is where all your hard work comes together into something truly special.
Testing and Using the Stool
I started by placing the stool on the floor and checking to see if it was level. I used a level to make sure that the stool was stable and that everything was aligned properly. If the stool wasn’t level, I adjusted the legs until it was even.
After making sure the stool was level, I tested it by standing on it and checking for any wobbling or instability. If the stool wobbled, I tightened the screws and checked the joints again. This process helped ensure that the stool was secure and ready for use.
Once the stool was stable, I used it to reach high shelves and check if it was the right height for my needs. I found that the stool was just the right height and that it was easy to move around. Once everything was tested and working well, I stepped back and felt a sense of accomplishment—knowing that I had built something functional and beautiful.
💰 Budget Build
A cost-effective version of the step stool using affordable materials like scrap wood and basic hardware.
⏰ Weekend Version
A quick version of the step stool that can be built over the course of a weekend with minimal effort and time.
✨ Upgraded Finish
An upgraded version of the step stool with a high-quality finish, such as a hand-rubbed oil or paint, for a more polished look.
🏠 Small-Space Adaptation
A compact version of the step stool designed for small spaces, with a smaller footprint and shorter steps for easier movement.
🔒 Rental-Safe Option
A version of the step stool that is easy to disassemble and store, making it ideal for renters who need to move frequently.
| The mistake | Why it happens | The fix |
|---|---|---|
| Not measuring the pieces carefully | Not measuring the pieces carefully can lead to misalignment and make the assembly process more difficult. It’s important to take your time and measure twice to avoid mistakes. | Use a measuring tape and a square to ensure that everything is measured accurately and that the pieces fit together properly. |
| Using the wrong type of wood | Using the wrong type of wood can affect the durability and appearance of the stool. It’s important to choose a wood that is strong and easy to work with. | Choose a wood that is suitable for the project, such as pine or oak. Avoid using softer woods that may not hold up well over time. |
| Not using a clamp during assembly | Not using a clamp during assembly can make it difficult to keep the pieces in place and may result in a less stable stool. It’s important to use a clamp to hold the pieces together while you attach the screws. | Use a clamp to hold the pieces together while you work. This will help keep everything in place and make the assembly process more efficient. |
| Not sanding the wood properly | Not sanding the wood properly can result in rough edges that are uncomfortable to touch and may cause splinters. It’s important to take the time to sand the wood thoroughly. | Use sandpaper to smooth out any rough edges before applying the finish. This will help make the stool feel smooth and comfortable to use. |
Easy Step Stool Plans
Common Questions
What tools do I need to build the step stool?
How long does it take to build the step stool?
Can I use a different type of wood for the step stool?
What if I don’t have a miter saw?
References
- Standard C-Band DVB-S Receive Station Setup (geonetcastamericas.noaa.gov)
Cite this guide
DIY Wooden Step Stool Plans (2026). Easy Step Stool Plans. https://stoolreach.com/easy-step-stool-plans/
Feel free to cite or share this guide.