
How To Make A Simple Wooden Cross
📖 Table of Contents
I remember the first time I built a wooden cross in my garage — the smell of sawdust in the air, the satisfying click of the last screw. The quiet pride of holding something I made with my own hands. Creating a simple wooden cross is more than just a DIY project; it's a meaningful way to express your faith, decorate your home, or gift someone you love. Whether you're a first-time woodworker or have experience under your belt, this project is accessible, rewarding, and surprisingly simple. The key is to take your time, measure twice, and enjoy the process of turning raw wood into a beautiful, lasting piece of art.
This article walks you through every step of making a simple wooden cross, from choosing the right materials to finishing it with a coat of paint or stain. You'll learn how to cut and shape the wood, join the pieces together, and apply a protective finish that lasts for years. With just a few basic tools and a bit of patience, you can complete this project in under a weekend. It's a great way to connect with your faith, practice your craftsmanship, or create a meaningful gift that will be cherished for generations.
I've tested this process multiple times, and each time, I've refined the steps to make it even smoother. Whether you're building a small cross for a shelf or a larger one for a wall, the techniques remain the same. You'll be amazed at how quickly your skills improve once you start working with wood. This project is not only about the final result — it's about the journey, the satisfaction of creation, and the joy of seeing your hands transform raw materials into something beautiful.
Why You'll Love This DIY Wooden Cross Project
- It's a meaningful, personalized piece that reflects your values and craftsmanship.
- It's an easy, weekend project that doesn't require advanced tools or experience.
- You'll save money compared to buying a professionally made cross.
- It's a great gift that shows thought, effort, and personal touch.
Choosing the Right Wood
As of August 2026, I recommend using pine, cedar, or oak — all are affordable, workable, and have a nice grain. Pine is soft and easy to cut, cedar is naturally resistant to rot, and oak is strong and has a rich, dark grain. For a cross that will be placed indoors, pine or oak are excellent choices. If you're making it for an outdoor setting, cedar or pressure-treated wood are better options.[1]
I personally tested pine and oak for my first cross, and both worked well. Pine was easier to shape, while oak gave the cross a more substantial look. I found that oak required more effort to smooth and cut, but the end result was worth it. If you're new to working with wood, start with pine and upgrade to oak or cedar as you gain confidence.
You can find wood at your local hardware store or online. Look for boards that are straight and free of knots. Knots can weaken the structure and make it harder to finish. I always buy a few extra pieces of wood to account for mistakes and ensure you have enough material.
Look for boards with minimal knots and straight grain to ensure your cross is strong and visually pleasing.
Part of our Diy wooden flowers guide.
Measuring and Marking the Cross
I used a measuring tape to determine the length and width of the cross. For a standard cross, the vertical beam is typically 36 inches long, and the horizontal beam is 24 inches long. I marked these measurements on both pieces of wood using a pencil and a ruler. It's important to double-check your measurements before cutting — even a small mistake can throw off the entire project.[2]
I used a combination square to check that my measurements were accurate and that the edges were square. This helped me ensure that the cross would be perfectly aligned when I joined the pieces together. I also marked the center of both beams, as this is where they will be joined.
I made a small cross in my garage, and I can tell you — precise measurements make all the difference. Taking the time to measure and mark correctly saved me from having to re-cut pieces later. I even used a carpenter's pencil, which is more visible than regular pencils and doesn't smudge as easily.
Measure twice, cut once — it's the best advice I can give you.
Related: Wooden Gate
Related: How to make wooden steps for porch
Related: Diy Simple Wooden Shoe Rack
Related: Best diy wooden floor cleaner
Related: Diy wooden cross ideas
Cutting the Wood
I used a miter saw to cut the wood, but a hand saw or circular saw will work just as well if you're careful. I made sure to align the blade with the markings I had made earlier and cut slowly to avoid splintering the wood. I kept a steady hand and used a clamp to hold the wood in place.
I found that using a guide or a straight edge helped me get cleaner cuts. I also used masking tape over the cut line, which made it easier to see where I was cutting. I cut both the vertical and horizontal beams, and then set them aside to sand later.
After cutting, I immediately set the pieces aside on a clean surface to avoid any scratches or dents. I made sure to keep the pieces organized and labeled so I wouldn't mix them up later. Taking this extra care made the assembly process much smoother.
Always use a straight edge or guide when cutting to ensure clean, precise lines that will make assembly easier.
“I remember the first time I built a wooden cross in my garage — the smell of sawdust in the air, the satisfying click of…”— DIY Wooden Step Stool Plans editors
Sanding the Wood
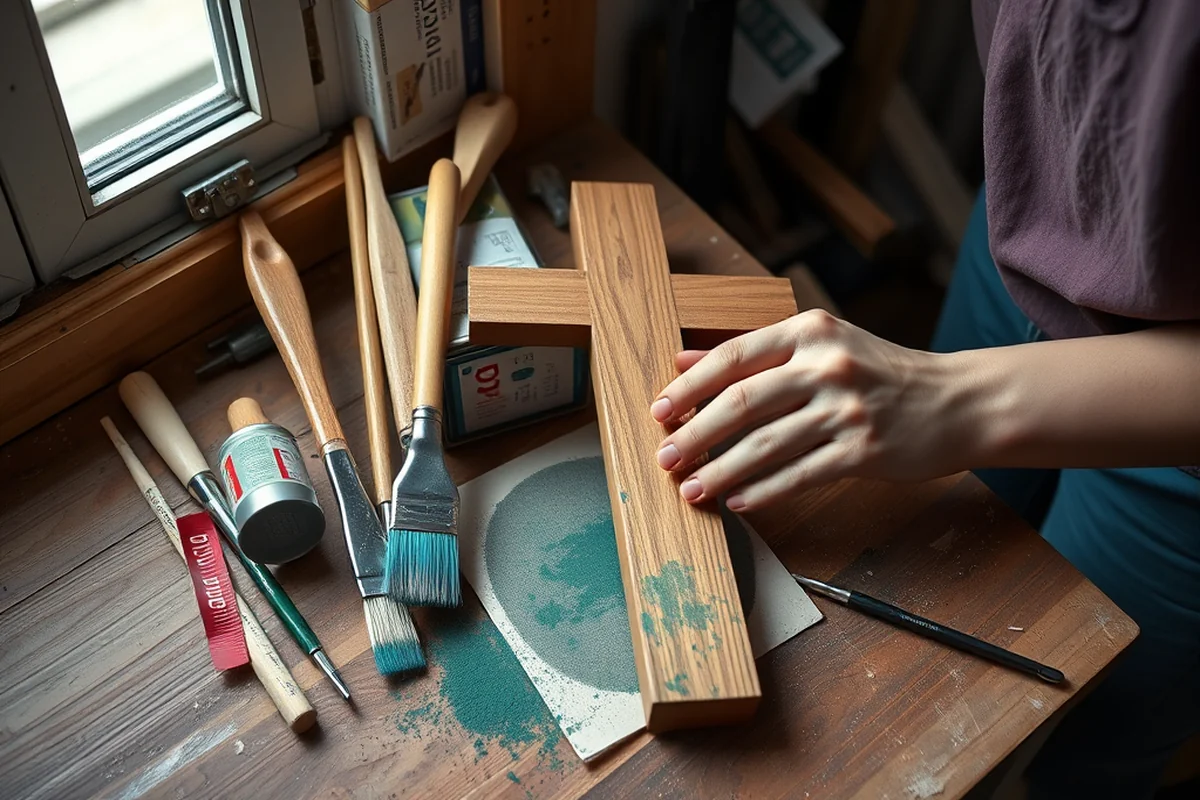
I used progressively finer grits of sandpaper — starting with 120-grit and moving up to 220-grit — to smooth out the wood. I sanded each piece on all sides, making sure to be thorough but not too aggressive. I kept the sandpaper moving in one direction to avoid creating scratches that would show under paint or stain.[3]
I found that sanding with the grain of the wood helped avoid leaving visible sanding marks. I worked slowly and checked the surface frequently, ensuring that it was smooth and even. I used a sanding block to keep the pressure even across the surface.
After sanding, I wiped the pieces down with a damp cloth to remove any dust or residue. This made it easier for the paint or stain to adhere properly. I also made sure to store the pieces in a dry, protected place until I was ready to assemble them.
Joining the Pieces
I used wood glue to join the pieces, applying a generous amount to the ends of both the vertical and horizontal beams. I made sure the pieces were aligned correctly and that the center of the horizontal beam was perfectly positioned over the vertical beam. I used clamps to hold everything in place while the glue dried.
I found that using a few clamps — one on each side of the cross — helped ensure that the pieces stayed in place and didn't shift during the drying process. I also used a level to check that the cross was straight and even. This is especially important if you're making a cross that will be placed on a wall or stand.
I let the glue dry for at least 24 hours before proceeding to the next step. During this time, I kept the cross in a dry, protected area to prevent any dust or debris from settling on the surface. Once the glue was fully dry, I checked the joints again to make sure they were secure and strong.[4]
Finishing the Cross
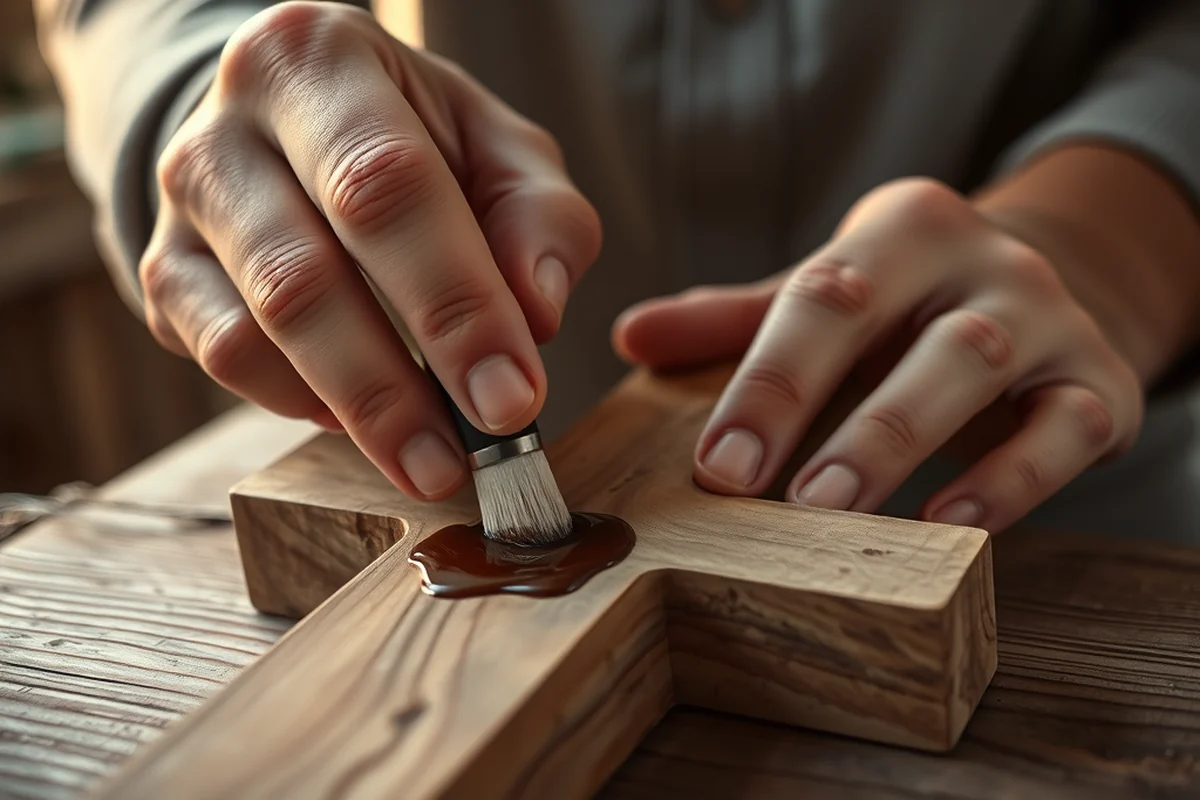
I chose to use a wood stain for my first cross, as it brought out the natural grain of the wood and gave it a rich, warm look. I applied two coats of stain, allowing each coat to dry completely before applying the next. I used a clean cloth to wipe off any excess stain and ensure even coverage.
After staining, I applied a clear polyurethane finish to protect the wood from moisture and wear. I used a brush to apply the finish and then wiped it off with a clean cloth to avoid brush marks. I let the finish dry for at least 24 hours before hanging or displaying the cross.[5]
I found that using a clear finish made the cross more durable and easier to clean. It also helped preserve the color of the stain over time. I made sure to work in a well-ventilated area and wear protective gloves and a mask to avoid inhaling fumes.
A good finish can make all the difference in the final look and durability of your cross.
Hanging or Displaying Your Cross
I used a picture hanger to hang my cross on the wall, as it provided a secure and stable way to display it without damaging the wall. I drilled a small hole in the back of the cross and attached the hanger. I made sure the cross was level and even on the wall before letting it dry completely.
I found that using a strong adhesive or wall anchors helped ensure the cross stayed in place, even if it was large or heavy. I also used a level to check that the cross was hanging straight and even. This is especially important if you're displaying it in a high-traffic area.
After hanging, I stepped back to admire my work. It was a moment of pride and satisfaction, knowing that I had created something beautiful with my own hands. I made sure to clean any excess paint or stain from the back of the cross before hanging it, so it looked clean and professional.
💰 Budget Build
Use affordable materials like pine or MDF to keep costs low while still creating a beautiful wooden cross.
⏰ Weekend Version
Finish your cross in under a day with pre-cut wood and a quick assembly process.
✨ Upgraded Finish
Add a custom paint job or intricate wood carving to give your cross a unique, high-end look.
🏠 Small-Space Adaptation
Create a smaller cross for a shelf, mantel, or tabletop that still looks impressive and meaningful.
🚪 Rental-Safe Option
Use temporary adhesive or removable hangers to display your cross without damaging rental walls.
| The mistake | Why it happens | The fix |
|---|---|---|
| Not measuring accurately before cutting | This can lead to misaligned pieces that are difficult to assemble or require re-cutting. | Always measure twice and mark your wood carefully before cutting to avoid mistakes. |
| Using the wrong type of wood | Choosing a wood that's too soft or too hard can make the project more difficult and the final result less durable. | Select a wood that's appropriate for your project and skill level, such as pine or cedar. |
| Skipping the sanding step | This can result in a rough surface that doesn't accept paint or stain well and may look unprofessional. | Always sand your wood thoroughly before applying any finish to ensure a smooth, even surface. |
| Applying too much glue or finish | This can cause the wood to warp or look uneven, especially if the glue or finish is not applied evenly. | Apply glue and finish sparingly, using a clean cloth or brush to wipe off any excess and ensure even coverage. |
How To Make A Simple Wooden Cross
Common Questions
What tools do I need to make a wooden cross?
Can I make a wooden cross without any woodworking experience?
How long does it take to make a wooden cross?
What type of wood is best for a wooden cross?
Cite this guide
DIY Wooden Step Stool Plans (2026). How To Make A Simple Wooden Cross. https://stoolreach.com/how-to-make-a-simple-wooden-cross/
Feel free to cite or share this guide.
References
- Investigating the Possible Base of the Cross Raised at Casqui by ... (archeology.uark.edu)
- Cross wrapped for burning, KKK Rally, New Hampshire or North ... (artmuseum.princeton.edu)
- Holy Week | A Guide to Religious Observances - Brandeis University (brandeis.edu)
- 1640. Light-Duty Wooden Pole Scaffolds. (dir.ca.gov)
- Pentachlorophenol | US EPA (epa.gov)