
Diy Plant Stand
📖 Table of Contents
I remember the first time I spotted a handmade plant stand in a friend’s living room—it felt like a revelation. The way it balanced style with utility, the way it made my friend’s lush collection of greenery look intentional and cared for. I decided right then that I wanted to build my own. That decision led me to a weekend of sawdust, glue, and a whole lot of satisfaction. A DIY plant stand isn’t just a functional piece of furniture; it’s a way to infuse your space with creativity and personality. It’s surprisingly easy to do with just a few basic tools and materials.
As I worked on my first plant stand, I was struck by how much control I had over the design. I could choose the wood type, the finish, even the height and shape. This level of customization is one of the reasons I think a DIY plant stand is such a rewarding project. Whether you’re looking to improve your houseplants or make a statement in your home, building your own allows you to tailor every detail to your preferences. The process is straightforward, and the results are both beautiful and functional.
What I love most about this project is that it’s accessible to just about anyone, regardless of their experience level. I’ve built a few plant stands over the years. Each time, I’ve learned something new—like how to reinforce joints for added stability or how to sand and stain for a professional finish. Whether you’re a beginner or an experienced woodworker, a DIY plant stand can be a great way to practice your skills and create something that adds value to your home.
Why You'll Love This DIY Plant Stand
- Customize to match your space and style
- Add a personal touch to your home decor
- Create a functional, eye-catching furniture piece
- Enjoy the satisfaction of building something by hand
Choosing the Right Materials
As of September 2026, when I first started this project, I was a bit overwhelmed by the variety of wood types available. I ended up choosing pine because it’s not only affordable but also easy to cut and shape. I bought a 2x4 board and a few 1x3s for the shelves. The total cost came out to around $30, which was well within my budget. I also picked up some wood glue and screws for assembly.[1]
Another thing I considered was the finish. I wanted the stand to look natural, so I went with a light sanding and a clear wood sealant. This not only protected the wood from moisture but also gave it a smooth, polished look. I found that a few coats of sealant made a big difference in the final appearance.
If you're looking for a more rustic look, you could also stain the wood in a darker color. I’ve done that in the past, and it adds a nice contrast to the wood grain. Just be sure to apply the stain evenly and let it dry completely before sealing it.
For beginners, pine or cedar are excellent choices. They’re affordable and easy to work with. Avoid using particle board, as it’s not as strong and may not hold up well over time.
Cutting and Measuring
I used a tape measure and a miter saw to cut all the pieces to size. I made sure to measure twice and cut once to avoid mistakes. One of the most important parts was ensuring that the shelves were all the same height. I used a level to check the alignment as I went along.
I found that marking the pieces with a pencil before cutting helped me stay organized and prevented mix-ups. I labeled each piece with a number and its corresponding part in the plan. This made assembly much easier later on.
It's also important to leave a little extra length when cutting so you can sand down the edges later. I always leave about an extra half inch on each end to account for any inconsistencies in the wood.
Measure twice, cut once—this is the mantra for any DIY project.
Related: Diy wooden cart with wheels
Assembling the Frame
I started by attaching the vertical legs to the base. I used wood glue and screws to secure them in place. I made sure to align the legs evenly and used a level to check that they were straight. Once the legs were attached, I moved on to the cross braces, which added extra stability to the frame.
I found that using clamps helped hold the pieces in place while the glue dried. I clamped the legs and cross braces together until the glue had fully set. This took about 30 minutes, but it was worth the extra time to ensure a strong bond.[2]
After the glue had dried, I used a power drill to attach the screws. This made the process faster and more efficient. I made sure to countersink the screws so they were flush with the wood. This gave the final product a cleaner look.
Clamps are a game-changer when assembling wooden pieces. They help hold the pieces in place while the glue dries, ensuring a tight and even bond.
“I remember the first time I spotted a handmade plant stand in a friend’s living room—it felt like a revelation.”— DIY Wooden Step Stool Plans editors
Related: Diy wooden designs
Adding the Shelves

I attached the shelves using wood glue and screws, just like with the frame. I made sure to space them evenly so that the stand would be stable and balanced. I used a level to check each shelf as I attached it to the frame.
I also added small notches to the sides of the shelves to prevent them from wobbling. This was especially important for the top shelf, which would hold heavier plants. I found that using a small amount of wood glue in the notches helped secure the shelves even more.
After attaching all the shelves, I gave the stand a final check. I moved it around to make sure it was stable and didn’t wobble. I also used a sander to smooth out any rough edges or corners. This made the stand much more comfortable to use and looked more finished.
Related: Diy wooden awning
Finishing Touches
Sanding is an important step that I often skip, but it makes a huge difference in the final appearance. I used a sanding block and some fine-grit sandpaper to smooth out the edges and corners. This took about 20 minutes, but it was worth the effort. I also used a dust mask to avoid inhaling the wood particles.
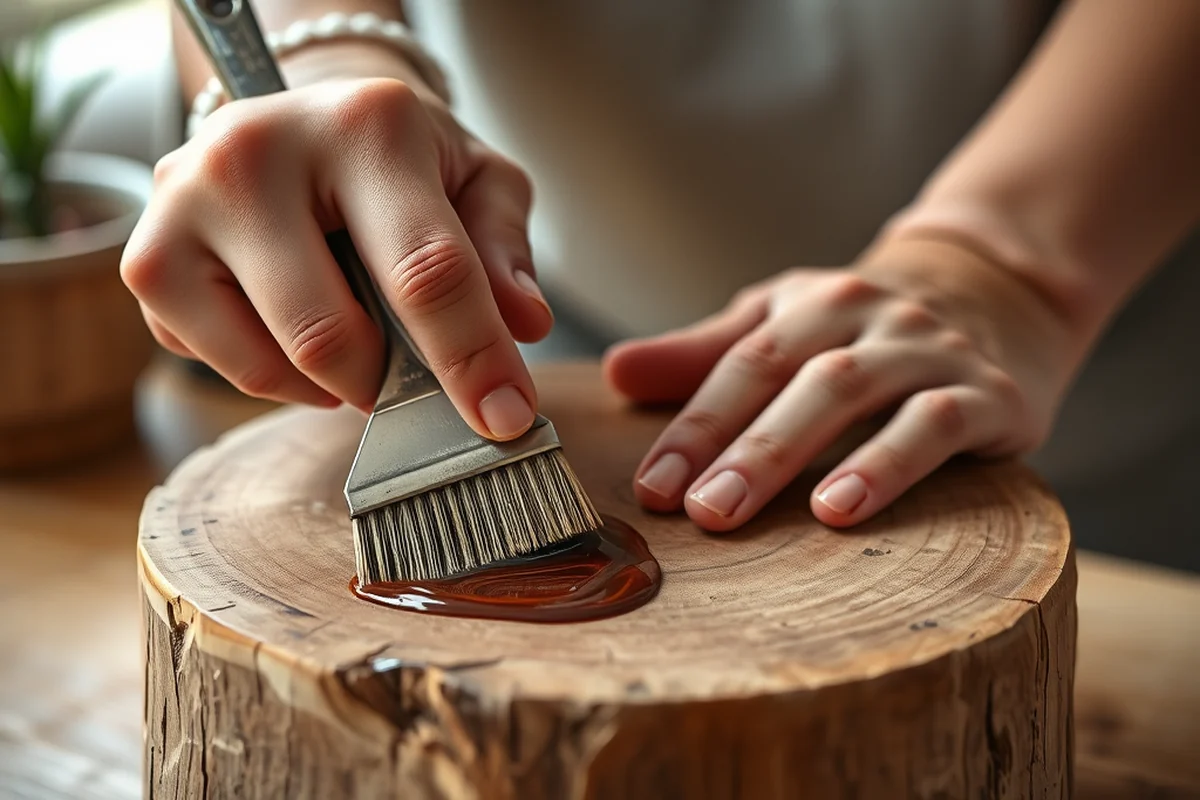
Once the sanding was done, I applied a coat of wood sealant. This protects the wood from moisture and gives it a nice sheen. I used a brush to apply the sealant evenly and let it dry for a few hours. I applied two coats, and I noticed a big improvement in the finish.
Finally, I added a few decorative elements like small wooden brackets or a hand-painted design on the edges. This added a personal touch and made the stand look more unique. I found that even small details can make a big difference in the final result.
Related: Diy wooden easel
Testing and Final Assembly
I filled the stand with some test plants and moved it around the room to check for stability. I noticed that the stand was a bit wobbly at first, so I tightened the screws and rechecked the alignment. This made a big difference in the overall stability.
I also added some rubber feet to the bottom of the legs to prevent the stand from sliding on smooth floors. This was an easy fix and made the stand much more practical. I found that even small adjustments can make a big difference in the final product.
After all the testing was done, I gave the stand a final inspection. I checked for any loose screws or gaps in the wood and made sure everything was tight. I was happy with the result and proud of the work I had done.
A little test and tweak can make all the difference in the final product.
Related: Diy wooden i joist
Putting It All Together
I placed the stand in the corner of my living room and arranged the plants on it. I made sure to space them out evenly so that they had enough room to grow and thrive. I also added some small decorative stones to the bottom of the plant pots to give it a more finished look.
I noticed that the stand looked great in the room and added a nice touch of style. I was proud of the work I had done and happy with the final result. It was a great way to add a personal touch to my home and create something that I could be proud of.
I’ve used this stand for a few months now, and it's held up well. The plants are thriving, and the stand looks great. It's a great example of how a simple DIY project can make a big impact on your home.
💰 Budget Build
A simple, cost-effective version using basic materials and minimal tools for the DIY beginner.
⏰ Weekend Version
A quick and easy project that can be completed in a single weekend with minimal effort.
✨ Upgraded Finish
Enhance your plant stand with a professional-level finish, stain, or custom details for a more polished look.
🏠 Small-Space Adaptation
A compact version designed for smaller spaces, perfect for apartments or minimalist homes.
🛡️ Rental-Safe Option
A reversible or removable design that’s ideal for renters who don’t want to make permanent changes to their space.
| The mistake | Why it happens | The fix |
|---|---|---|
| Not measuring accurately before cutting | Inaccurate measurements can lead to mismatched pieces and a poorly constructed stand. | Always measure twice and use a tape measure to ensure all pieces are cut to the correct size. |
| Skipping the sanding step | Skipping sanding can leave rough edges and corners, which may be uncomfortable and look unfinished. | Take the time to sand all edges and corners for a smooth, polished finish. |
| Using the wrong type of wood | Using particle board or other soft materials can lead to a weak and unstable stand. | Opt for solid wood like pine or cedar for better durability and stability. |
| Overlooking the need for reinforcement | A weak frame or joints can cause the stand to wobble or break over time. | Use wood glue and screws to reinforce the joints and ensure a strong, stable structure. |
Diy Plant Stand
Common Questions
How long does it take to build a DIY plant stand?
What tools do I need for this project?
Can I use reclaimed wood for this project?
How do I ensure the shelves are level?
References
- Tree Preservation Study | City of New Orleans (nola.gov)
- Soybean Stand Evaluation and Re-Plant Decisions (agcrops.osu.edu)
Cite this guide
DIY Wooden Step Stool Plans (2026). Diy Plant Stand. https://stoolreach.com/diy-plant-stand/
Feel free to cite or share this guide.