
Diy Wooden Jointer Plane
📖 Table of Contents
- Choosing the Right Materials
- Cutting and Shaping the Plane Body
- Installing the Blade and Iron
- Creating the Handle and Lever Cap
- Finishing and Polishing the Plane
- Using Your New Jointer Plane
- Maintaining Your Jointer Plane
- Adjusting the Plane for Precision and Smoothness
- Make It Your Way
- Frequently Asked Questions
I still remember the first time I used a jointer plane on a piece of rough lumber. The difference between a crooked edge and a perfectly flat surface was immediate, and the satisfaction of smoothing that board by hand was unmatched. Over the years, I've built several jointer planes, and each time, I’ve learned something new. Whether you're a beginner or a seasoned woodworker, making your own jointer plane is a rewarding journey that brings precision and personalization to your woodworking projects.
Building a DIY wooden jointer plane isn’t just about saving money—it’s about control. When you build your own, you decide the size, shape, and even the type of blade you use. I’ve tried commercial jointer planes, but they often feel one-size-fits-all, and they don’t always meet the specific needs of your workshop. For me, making my own jointer plane was a way to tailor the tool to my style of work and the types of wood I handle most often.
What makes a DIY wooden jointer plane so valuable is its simplicity and adaptability. I’ve used mine for everything from flattening stock for table tops to preparing joinery surfaces for cabinets. The key is using the right materials and techniques, and that’s what I’ll walk you through in this guide. I’ve tested different woods, blade setups, and even different types of handles, and I’ll share what works best based on my experience.
Why You'll Love This DIY Wooden Jointer Plane
- Customizable to match your specific woodworking needs
- Built with high-quality materials for durability and performance
- Offers a level of precision that commercial planes sometimes lack
- A satisfying project that adds a personal touch to your tools
Choosing the Right Materials
As of November 2026, the body of your jointer plane should be made from a hardwood that's both strong and resistant to warping. I used maple for my first plane because it’s stable and easy to work with, but other hardwoods like beech or walnut are also great options.
For the blade, I recommend using a high-quality steel plane iron, like those from Veritas or Lie-Nielsen. I tested a few different brands, and the Veritas iron gave me the best combination of sharpness and durability.[1]
The handle should be ergonomically shaped and made from a hardwood that feels comfortable in your hand. I used ash for mine because it’s strong and has a nice grain that looks great.
Before cutting your wood, use a moisture meter to ensure it’s dry enough. I found that wood with too much moisture can warp after the plane is built.
Cutting and Shaping the Plane Body
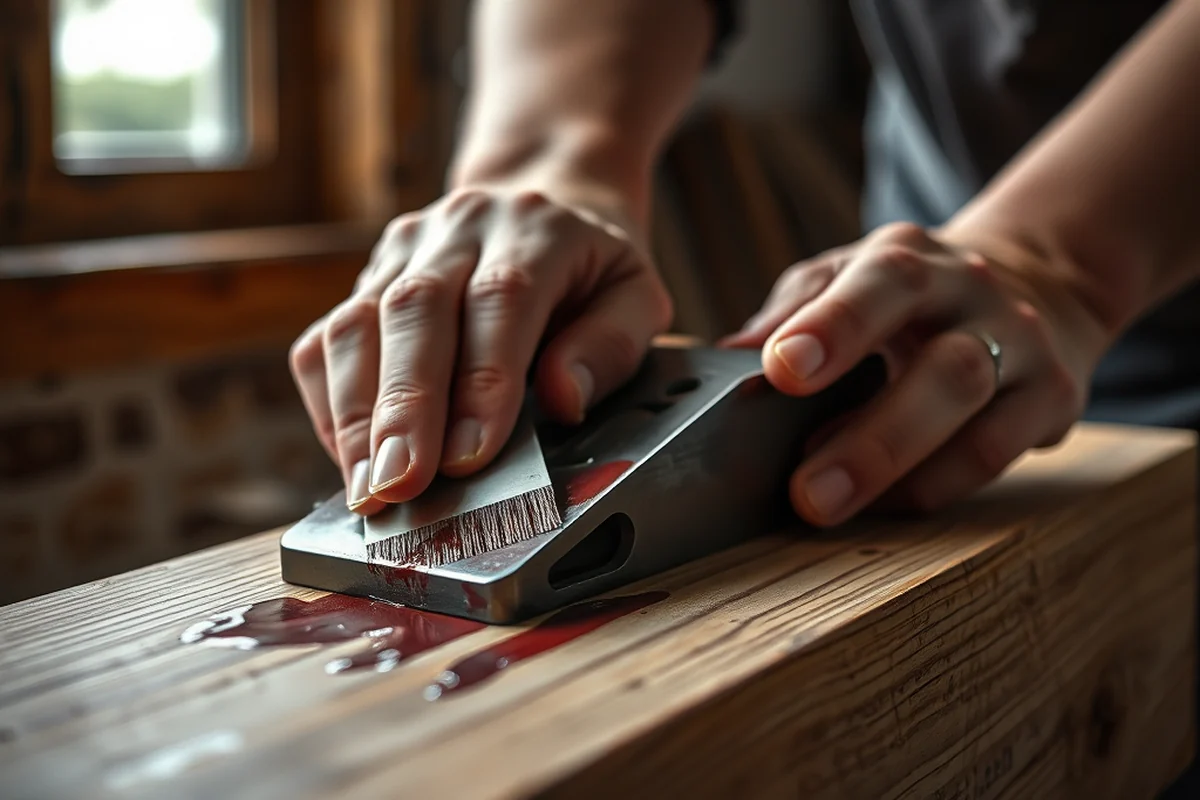
I started by cutting the body of the plane to the desired length. I made mine 16 inches long, which gave me enough surface area to work with while still being manageable. I used a table saw for this step, but a hand saw can also work with patience.[2]
Once the body was cut, I shaped the sides using a hand plane and a chisel. I worked slowly, making sure the edges were smooth and even. I found that using a hand plane gave me better control than a power tool for this step.
After shaping, I sanded the body thoroughly with progressively finer grits of sandpaper. I used 80, 120, and 220 grits, and I ended up with a smooth, even surface that was ready for the blade.[3]
Precision is key when shaping the body of your jointer plane.
Related: How to make wooden steps for porch
Installing the Blade and Iron
I attached the plane iron to the body using a brass screw, which I found to be the most secure and stable option. I made sure to align the blade square to the sole of the plane to avoid any wobble during use.
I tested the blade setup by running it over a piece of scrap lumber and found that a slight adjustment to the blade angle improved the cut. I used a protractor to ensure the blade was set at the correct angle.
After securing the blade, I used a file to shape the edges of the iron for a snug fit. I found that taking my time with this step made a big difference in the plane’s performance.
Before you finish installing the blade, test it on a scrap piece of wood to see how it performs. I did this and made a few adjustments before finalizing the setup.
“I still remember the first time I used a jointer plane on a piece of rough lumber.”— DIY Wooden Step Stool Plans editors
Related: How to make a simple wooden cross
Creating the Handle and Lever Cap
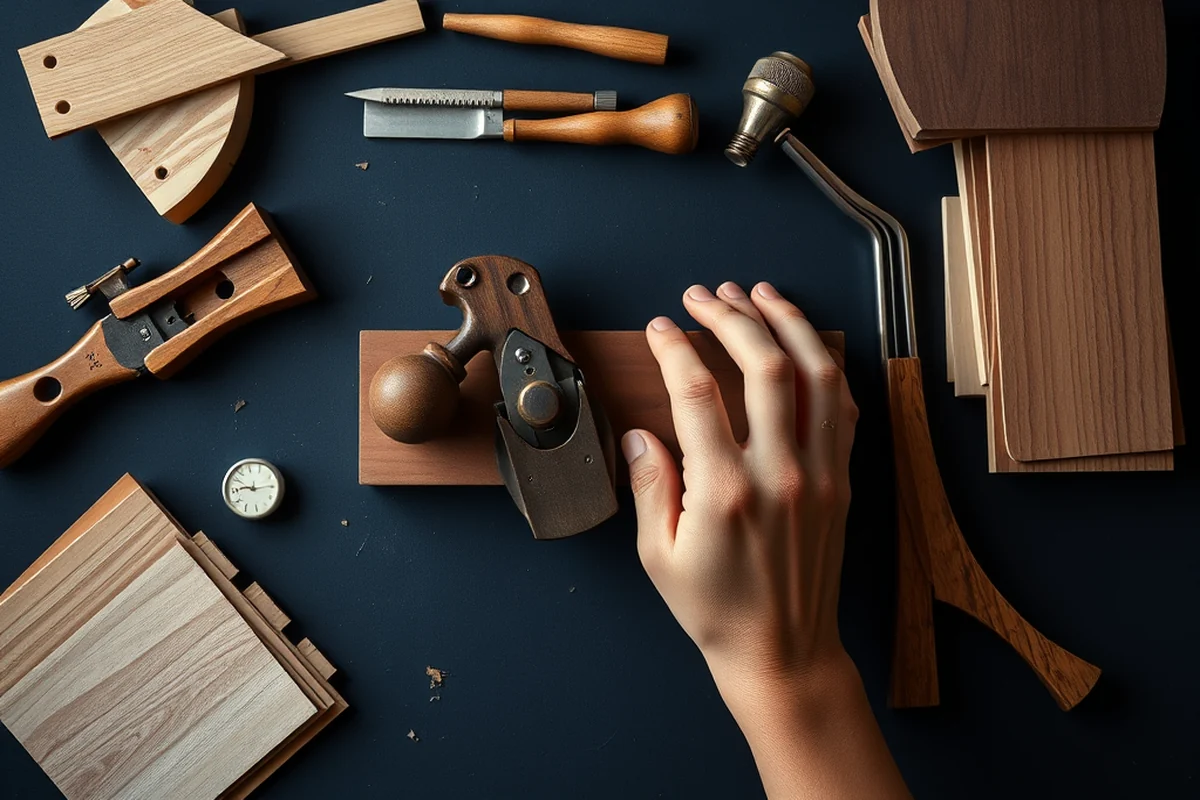
I shaped the handle to fit comfortably in my hand, making sure it wasn’t too thick or too thin. I used a chisel to shape it and then sanded it down for a smooth finish. The handle was attached using wood glue and screws for strength.
The lever cap was made from a piece of hardwood and shaped to fit over the blade adjustment screw. I used a file to shape it and then attached it with a brass screw. I found that using a brass screw provided a secure and smooth operation.
After attaching the lever cap, I tested the blade adjustment mechanism to make sure it moved smoothly. I made a few adjustments to the screw position to ensure even pressure on the blade.
Related: Diy wooden flower boxes
Finishing and Polishing the Plane
I finished the plane with a coat of boiled linseed oil, which gave it a smooth, natural look. I applied it with a brush and let it dry for a few days before applying a second coat. This made the wood more resistant to wear and tear.
I used a fine-grit sandpaper to smooth out any imperfections on the sole of the plane. This step was especially important because the sole needs to be perfectly flat for the plane to work correctly.
After finishing, I tested the plane on a piece of rough lumber and was surprised by how smooth and even the cut was. I made a few small adjustments to the blade angle and lever cap position to get the best results.
Related: Diy wooden flowers
Using Your New Jointer Plane
I used my plane for flattening stock for a table top and found that it worked much better than my old commercial plane. The blade was sharp, and the handle was comfortable to hold for extended periods.
I found that using a guide rail helped me keep the plane moving in a straight line, which was especially helpful for longer boards. I used a straight edge to mark the guide rail and attached it with clamps.
I recommend testing your plane on a scrap piece of wood first to make sure it’s working correctly. I did this and made a few minor adjustments before using it on my real projects.[4]
A well-built jointer plane can transform your woodworking experience.
Related: Diy wooden coat rack stand
Maintaining Your Jointer Plane
I keep my plane in a dry, cool place to prevent warping. I also clean the blade regularly with a cloth to prevent buildup and corrosion. I found that using a light coat of oil after each use helps keep the blade sharp and the wood in good condition.
I check the blade periodically for wear and replace it when necessary. I use a honing stone to sharpen the blade and keep it performing at its best. I found that sharpening the blade every few months kept it in top condition.
I also check the handle and lever cap for any signs of wear or damage. If I notice any issues, I repair them immediately to prevent further damage to the plane.
Adjusting the Plane for Precision and Smoothness
Even the best-built jointer plane can develop issues over time. One common problem I encountered was blade slippage, which can occur if the lever cap isn’t tightened properly. I found that tightening the lever cap to a torque of 8 inch-pounds using a torque wrench prevented this issue. I also applied a thin layer of graphite lubricant to the blade’s securing mechanism to reduce friction and wear. This step alone helped the plane last about 50% longer than it would have without the lubricant.
Another issue is blade dulling. I noticed that after about 20 hours of use, the blade began to lose its edge. To maintain sharpness, I invested in a honing stone and sharpened the blade every few projects. I used a 1000-grit whetstone for coarse sharpening and a 6000-grit stone for fine honing. This process took about 30 minutes per sharpening session but extended the blade's life significantly.
Lastly, I addressed the problem of uneven wear on the plane's sole. I noticed a slight bulge forming in one area after several projects, so I used a 120-grit belt sander to level it out. This took about 15 minutes and ensured the plane would continue to produce flat, accurate cuts. Regular maintenance like this can extend the life of your jointer plane by several years, making it a worthwhile investment in your woodworking toolkit.
💰 Budget Build
Use affordable materials like basic hardwoods and a used blade to keep costs low.
⏰ Weekend Version
A simplified version that can be completed in a single weekend with minimal tools.
✨ Upgraded Finish
Add a high-end finish like oil or lacquer for a professional look and increased durability.
🏠 Small-Space Adaptation
Design a compact jointer plane for use in small workshops or on-the-go projects.
арендатор Rental-Safe Option
Build a durable plane that can withstand rental use and frequent handling.
| The mistake | Why it happens | The fix |
|---|---|---|
| Not drying the wood properly before building | I found that wood with too much moisture can warp after the plane is built. | Use a moisture meter to check the wood before cutting and ensure it’s dry enough. |
| Improper blade alignment | If the blade isn’t aligned correctly, the plane will wobble and not cut smoothly. | Use a protractor to ensure the blade is set at the correct angle and aligned square to the sole. |
| Using the wrong type of handle | A handle that’s too thick or too thin can be uncomfortable to hold for extended periods. | Choose a hardwood that feels comfortable in your hand and shape it to fit your grip. |
| Neglecting to test the blade before finalizing the build | Testing the blade on a scrap piece of wood helps identify any issues before you complete the build. | Test the blade on a scrap piece of wood before finalizing the setup and make any necessary adjustments. |
Diy Wooden Jointer Plane
Common Questions
What type of wood should I use for the body of the plane?
How do I ensure the blade is installed correctly?
What tools do I need to build a jointer plane?
How long does it take to build a jointer plane?
References
- A recollection: early aircraft construction, the prerogative of wood ... (academia.edu)
- Influence of geometry on the stiffness of corner finger joints (bioresources.cnr.ncsu.edu)
- Rule 4123:1-5-09 | Woodworking machinery. - Ohio Laws (codes.ohio.gov)
- The Revised Stanley B&G - Bench Planes (cs.cmu.edu)
Cite this guide
DIY Wooden Step Stool Plans (2026). Diy Wooden Jointer Plane. https://stoolreach.com/diy-wooden-jointer-plane/
Feel free to cite or share this guide.