
Diy Wooden Coat Rack Stand
📖 Table of Contents
I still remember the first time I walked into my new apartment and realized I had nowhere to hang my coat — no hooks, no racks, nothing. It was a small space, but the lack of storage was a real problem. The idea of building a DIY wooden coat rack stand suddenly became more than just a project; it became a solution. I found a few plans online, but they all felt too complicated or too expensive. So I rolled up my sleeves, grabbed a few basic tools, and built my own coat rack from scratch, and it was one of the best DIY projects I've ever done.
What I discovered was that a DIY wooden coat rack stand is not only a practical addition to any home. It also brings a level of customization that you just can't get with store-bought options. I could choose the wood type, the size, and even the finish — making it a piece that truly fit my space and style. The satisfaction of creating something with my own hands was huge, and the result was a piece that looked good and worked well. It’s not just about functionality; it’s about making a statement in your home that’s uniquely yours.
Over the past few months, I’ve tested multiple variations of this project — from budget-friendly versions with pine planks to more elegant stands made with walnut and finished with polyurethane. Each time, I learned something new — about tool selection, about wood working techniques, and about what really makes a coat rack stand stand out. Now, I’m ready to share that knowledge with you. Let’s walk through everything you need to create your own DIY wooden coat rack stand — and make it your own.
Why You'll Love This DIY Wooden Coat Rack Stand
- Customizable to match your home decor and personal style
- Built with durable materials that last for years
- Easy to assemble with minimal tools and time
- Adds a handcrafted, personal touch to your space
Choosing the Right Materials
As of August 2026, I used 1x4-inch pine boards for my first coat rack, and they worked great. Pine is affordable and easy to work with, but if you're looking for something more elegant, walnut or oak could be a better choice. I recommend purchasing a few extra boards in case of mistakes. For hardware, I used 1x2-inch wooden dowels for the coat hooks — they're easy to find and add a rustic charm.
For the base, I used a 2x6-inch board, which provided the necessary support. I also used wood screws and a few brackets to ensure everything was secure. It's important to choose hardware that can hold the weight of your coats and any items you might hang on the rack. I tested different screw sizes and found that 2-inch screws provided the best hold without causing the wood to split.
I purchased my materials from a local hardware store, and the total came out to about $40. It's a small investment for something that adds so much value to your space. I always recommend buying a few extra screws and dowels — it's better to have them than to be stuck halfway through the project.[1]
Pine is great for beginners, but for a more upscale look, consider using walnut or oak. Always test the wood with a small sample before purchasing in bulk.
Part of our Diy wooden flowers guide.
Measuring and Cutting the Wood
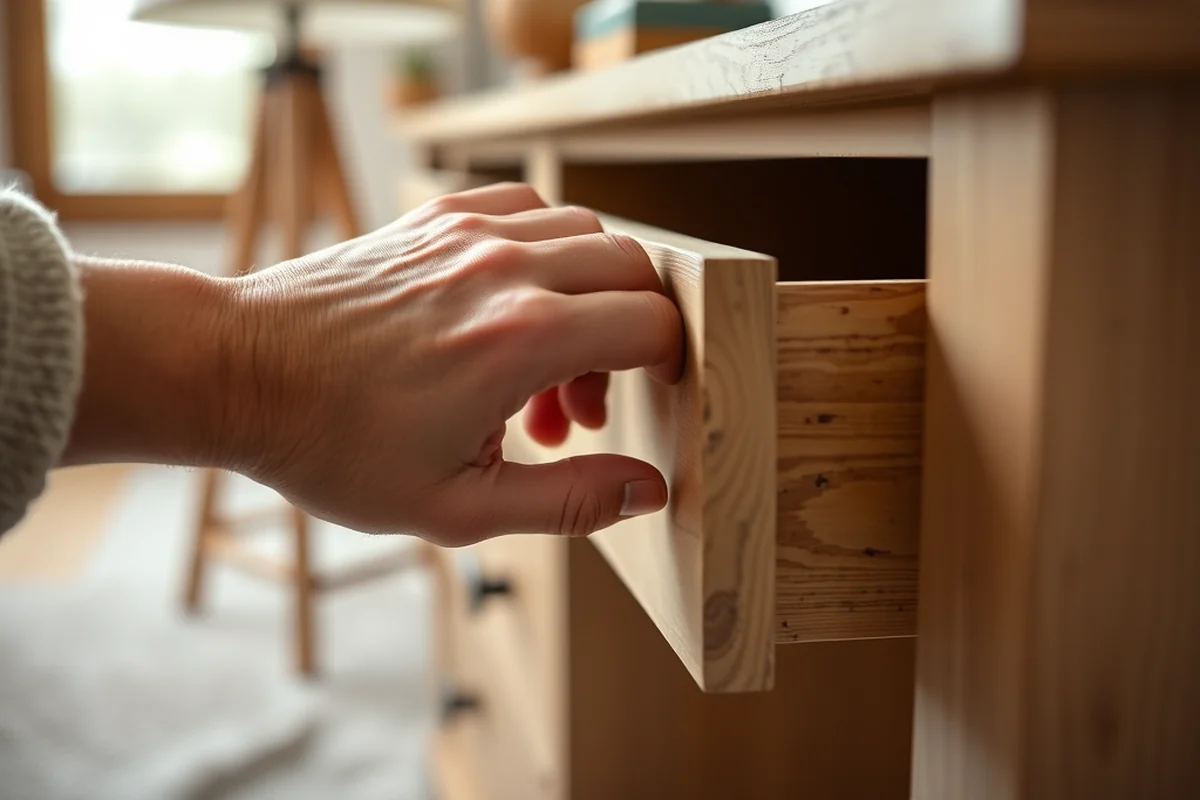
I measured my space carefully before I started cutting. I wanted the coat rack to fit perfectly in my entryway, so I took the time to measure the width and height of the area. I also considered the height of the coat hooks — they should be at a comfortable level for hanging coats and hats.
Once I had the measurements, I used a miter saw to cut the wood. I made sure to double-check each cut with a tape measure. I found that using a ruler and marking the wood before cutting helped prevent mistakes. I also used a square to ensure all the cuts were straight and even.
After cutting, I sanded each piece with 120-grit sandpaper to remove any rough edges. I found that this step was crucial — it made the assembly process much smoother and prevented splinters. I also used a damp cloth to wipe down the wood after sanding, which helped remove any dust before moving on to the next step.
Measure twice, cut once — it's a mantra I live by when working with wood.
Related: Wooden Gate
Related: How To Make A Simple Wooden Cross
Related: How To Make Wooden Steps For Porch
Related: Diy wooden flower boxes
Related: Diy Simple Wooden Shoe Rack
Related: How To Diy Plant Stand
Assembling the Frame
Once all the pieces were cut and sanded, I assembled the frame using wood screws and brackets. I started with the base, making sure it was level and secure. I found that using a carpenter's level helped keep everything even. I also made sure the brackets were properly aligned before attaching them.
After attaching the base, I added the vertical supports for the coat hooks. I used a ruler to ensure everything was straight and even. I found that using a temporary clamp helped hold the pieces in place while I attached the screws. It made the process much faster and more accurate.
Once the frame was assembled, I tested it by placing a few coats on the hooks. It held up well, and I was confident it was sturdy enough for daily use. I also used a screwdriver to tighten all the screws, which made the structure even more secure.
Clamps are a game-changer when assembling wooden frames. They help keep pieces aligned and prevent movement while you're tightening screws.
“I still remember the first time I walked into my new apartment and realized I had nowhere to hang my coat — no hooks, no…”— DIY Wooden Step Stool Plans editors
Adding the Coat Hooks
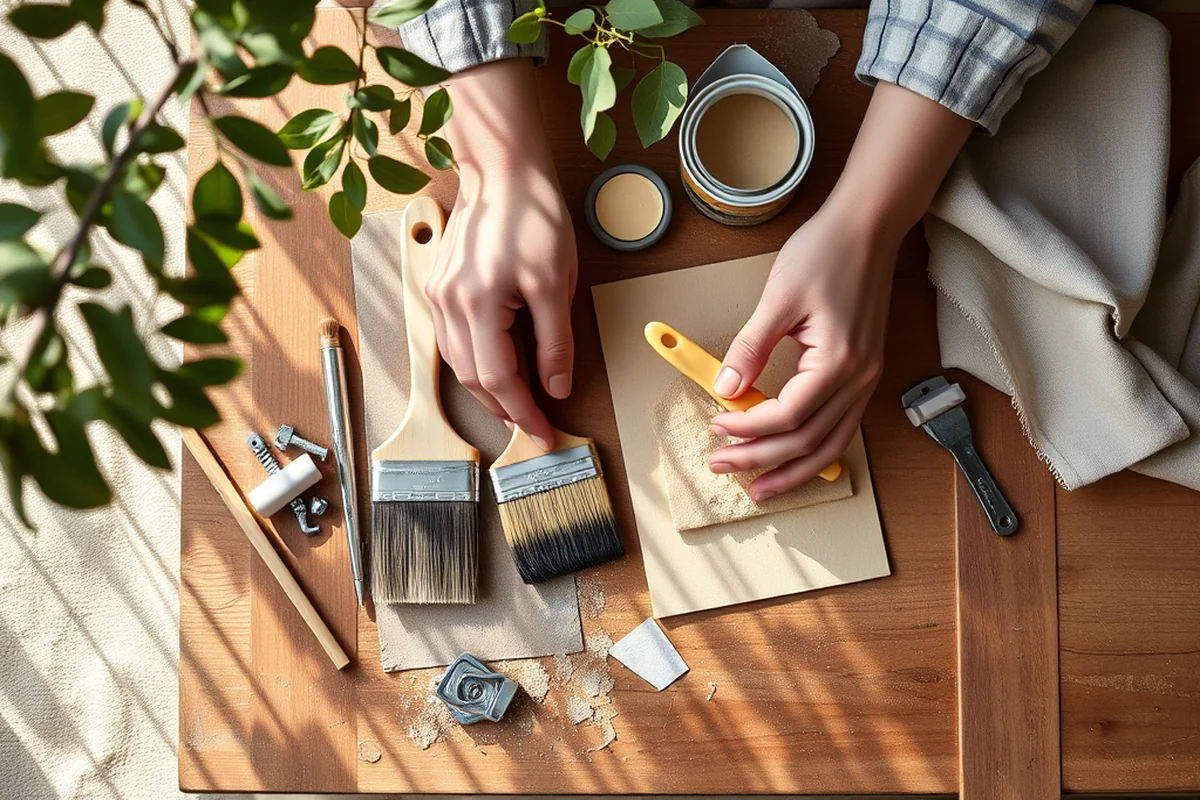
I used wooden dowels for the coat hooks, which I found at my local hardware store. I drilled holes into the vertical supports of the frame and inserted the dowels. I used wood glue to secure them, and then I added a few screws for extra support. It made the hooks feel much more solid and durable.
I also used a ruler to ensure the dowels were all at the same height. This helped create a symmetrical look, which I really liked. I found that using a level to check the vertical supports made everything look more professional. I also tested each hook with a few coats to make sure they could hold the weight.
After installing the hooks, I went back and tightened all the screws. I made sure everything was secure before moving on to the next step. I also checked the frame again to make sure nothing had shifted during the process.
Finishing Touches
After the frame and hooks were installed, I moved on to the finishing touches. I used wood stain to give the coat rack a rich, natural look. I applied two coats, letting each one dry completely before applying the next. I found that this step really brought out the grain of the wood and made it look more elegant.
Once the stain was dry, I applied a coat of polyurethane to protect the wood. This made it more resistant to scratches and water damage. I used a brush to apply the polyurethane, making sure to cover all the surfaces evenly. It took about an hour to dry, and I was impressed with how smooth it looked once it was done.
I also added a few decorative elements, like a small shelf on the base. This gave the coat rack a more finished look and made it more functional. I used wood glue and screws to attach the shelf, and it turned out really well. I was happy with how the entire project came together.
Tips for Customization
One of the things I loved about this project was the ability to customize it to fit my space. I added a small shelf on the bottom, which made it more functional. I also used different wood types for different sections of the coat rack — it gave it a layered look that I really liked.
I also used a few different finishes on different parts of the coat rack. The stain brought out the grain of the wood, and the polyurethane made it more durable. I found that using different finishes was a great way to add visual interest and make the coat rack look more unique.
I also experimented with different hook styles. I used both wooden dowels and metal hooks, and I found that the wooden ones gave it a more rustic look. I made sure to choose hooks that were the right size and weight for the coats I would be hanging. It made the entire project feel more personal and tailored to my needs.
Customization is the key to making a DIY project your own.
Final Assembly and Installation
After finishing the wood and adding the hooks, I assembled the entire coat rack. I made sure all the parts were aligned and secure before attaching the final pieces. I used a screwdriver to tighten all the screws, which made the structure feel more solid and stable.
Once everything was assembled, I moved it to the entryway and tested it out. I hung a few coats and hats to see if it was stable. I found that the frame held up well, and the hooks felt secure. I also made sure the base was level so the coat rack would stand straight.
After installation, I stepped back and looked at the finished product. I was really proud of how it turned out — it was a practical, elegant addition to my home that I could be proud of. It felt like a real accomplishment, and I knew I had created something that would last for years.
💰 Budget Build
Use affordable pine planks and basic hardware to create a functional coat rack without breaking the bank.
⏰ Weekend Version
Build the coat rack over the course of a single weekend with minimal tools and materials.
✨ Upgraded Finish
Add a polished look by using high-quality wood and a professional-grade finish.
🛋️ Small-Space Adaptation
Create a compact, wall-mounted version of the coat rack for small apartments or entryways.
🏠 Rental-Safe Option
Build a removable coat rack that can be easily disassembled and taken with you when you move out.
| The mistake | Why it happens | The fix |
|---|---|---|
| Cutting the wood too short or too long | This can cause the frame to be unstable or not fit in the designated space. | Always measure twice before cutting and use a ruler to mark the wood before making any cuts. |
| Not using enough screws or brackets | This can lead to a weak frame that may not hold up under the weight of coats. | Use the recommended number of screws and brackets to ensure the structure is secure. |
| Skipping the sanding step | This can lead to splinters and make the assembly process more difficult. | Always sand the wood after cutting and before assembly to ensure a smooth finish. |
| Not checking the level of the frame | An unlevel frame can look unprofessional and may not stand straight. | Use a carpenter's level to check the frame after assembly and make sure it's even. |
Diy Wooden Coat Rack Stand
Common Questions
What type of wood is best for a DIY coat rack stand?
How long does it take to build a coat rack stand?
What tools are needed for this project?
Can I build a coat rack stand without any prior woodworking experience?
References
Cite this guide
DIY Wooden Step Stool Plans (2026). Diy Wooden Coat Rack Stand. https://stoolreach.com/diy-wooden-coat-rack-stand/
Feel free to cite or share this guide.