
How To Build Wooden Steps
📖 Table of Contents
The first time I built a set of wooden steps, I was elbow-deep in sawdust and still unsure if I'd ever get the angles right. But after a few trial runs, I discovered something powerful: making your own steps is not only satisfying, but also a great way to customize your home. Whether you're creating a set for your attic or a ladder for your garden, building wooden steps gives you the freedom to choose materials, size, and finish that best suit your space and style. It's a project that feels both simple and substantial, especially when you're done and standing there, finally able to reach that high shelf without a chair.[1]
I remember the frustration of trying to use a ladder that wasn't quite stable, or a step stool that felt flimsy underfoot. That's when I decided to build my own steps, not just for safety, but for control. With the right materials and tools, you can create a set of wooden steps that are both sturdy and beautiful. The process involves some basic carpentry, but it doesn't require any advanced skills. You'll be surprised at how much confidence you gain from assembling a project that's both functional and personal. It's not just about the steps themselves—it's about the pride of knowing you built them.
Building wooden steps is also a great way to save money in the long run. Store-bought options can be expensive, and not all of them are made with the same care or quality. When you make your own, you have full control over the materials you use, the finish you apply, and the overall look of the final product. For under $40, you can create a set that's as strong as it is beautiful. I've used mine for everything from accessing my attic to working in my garden, and I've never looked back. It’s a project that fits into a weekend and leaves you with something you can be proud of.[2]
Why You'll Love This Project
- Customizable size and style to fit your home or needs
- Cost-effective compared to store-bought alternatives
- A satisfying DIY project that builds confidence and skills
- Durable and safe for repeated use in various settings
Choosing the Right Materials for Your Steps
As of September 2026, for the main structure, I used 2x4s and 3/4-inch plywood, which are both strong and affordable. The 2x4s provide the necessary support for the risers and treads, while the plywood is ideal for the steps themselves. I made sure to choose treated wood if the steps would be used outdoors, as it resists moisture and rot better. For the finish, I applied a water-based polyurethane, which is easy to apply and provides a smooth, long-lasting surface.
I also invested in high-quality screws and brackets for added strength. The screws I used were 2.5 inches long, which ensured a secure hold without splitting the wood. When I first started, I was tempted to go for cheaper hardware, but it made a noticeable difference in the final stability of the steps. It’s a small investment that pays off in the long run.
If you're on a tight budget, you can still build strong steps by using scrap wood or leftover lumber. Just make sure the wood is dry, free of warping, and has no visible cracks. I've built several sets using leftover materials, and they've all held up well. The key is to choose wood that's straight and not warped.
When purchasing lumber, look for straight, dry boards with no visible warping or cracks. For outdoor steps, consider treated wood to increase durability.
Part of our Wood home guide.
Measuring and Cutting for Precision

I started by measuring the height and width of the area where the steps would be placed. For the risers (the vertical parts of the steps), I used the formula: total height divided by the number of steps. This gave me a consistent and safe height for each riser. I found that 7 inches was a comfortable height for each step, but it depends on the height of the space you're building for.
For the treads (the horizontal parts you step on), I made sure each was at least 10 inches deep, which is the standard size for comfort and safety. I marked each piece of wood with a pencil and used a miter saw to make clean, precise cuts. It's tempting to skip the measuring step, but it’s worth the extra time—it makes all the difference in the final look and function of the steps.[3]
After cutting, I used a carpenter's square to check each angle and a ruler to ensure each piece was the correct length. If I found any pieces that were off by even a millimeter, I adjusted them before proceeding. This attention to detail prevented any wobbling or misalignment later on.
Precision in measurement leads to perfection in construction.
Related: Diy wooden step box
Related: Diy wood ideas to sell
Related: How much to build wooden porch
Related: Diy cheap wood shelves
Related: How To Build A Treehouse
Assembling the Steps with Confidence
I started by attaching the risers to the stringers, which are the main support beams of the steps. I used a drill and 2.5-inch screws to secure each riser in place, making sure they were evenly spaced and aligned. I clamped the pieces together before drilling to prevent any slippage and ensure a tight fit.
Next, I added the treads and attached them to the stringers using the same method. I made sure each tread was level and aligned with the riser above it. I found it helpful to use a level tool to check the alignment of each step as I went along. This not only helped with stability, but it also made the steps look more professional.
Once the frame was assembled, I used wood glue in addition to the screws for extra strength. This gave the steps a more solid feel and made sure they would hold up under repeated use. I let the glue dry for at least 24 hours before moving on to the next step.[4]
Clamps are invaluable when assembling your steps. They help keep the pieces in place while you screw or glue them, ensuring a precise fit and reducing the need for rework.
“The first time I built a set of wooden steps, I was elbow-deep in sawdust and still unsure if I'd ever get the angles right.”— DIY Wooden Step Stool Plans editors
Finishing Touches for a Professional Look
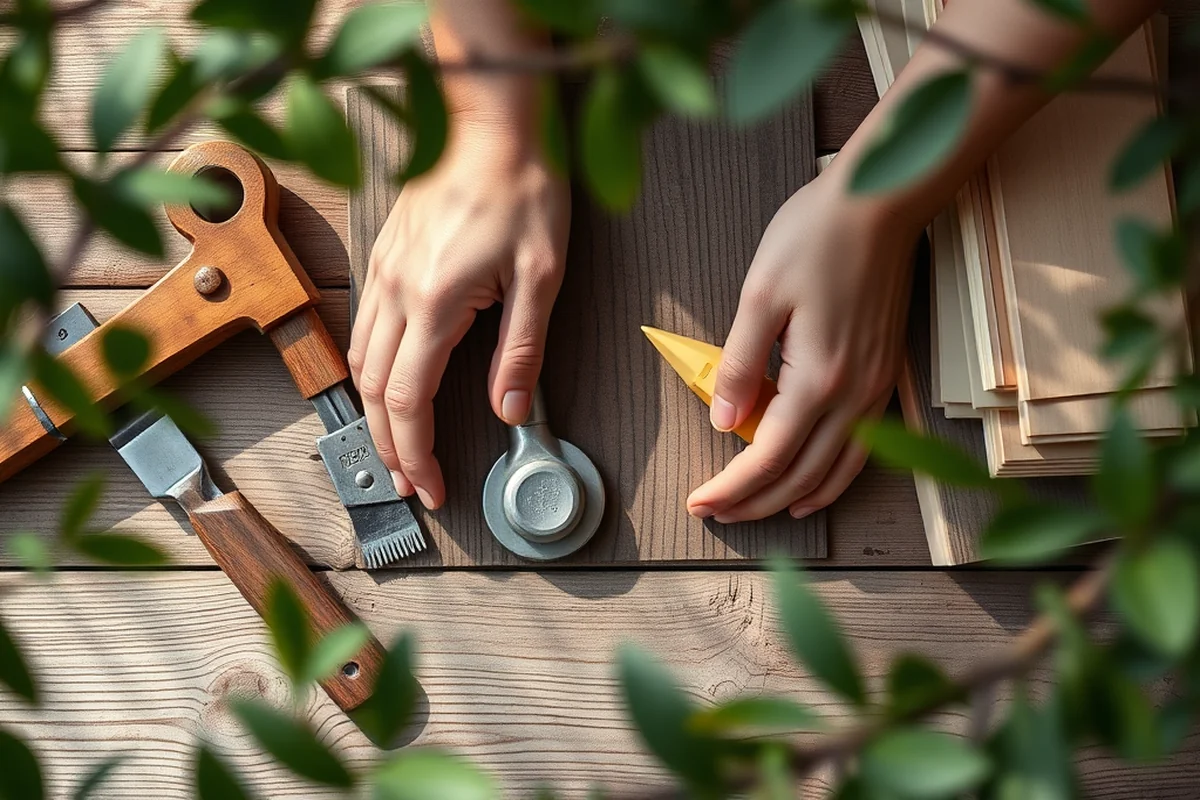
I used a belt sander to smooth out any rough edges or splinters on the treads and risers. Sanding is an essential step that not only improves the look of the steps but also helps the finish adhere better. I sanded each piece thoroughly and wiped away any dust before moving on to the next step.
For the finish, I used a water-based polyurethane stain that gave the wood a warm, natural look. I applied two coats, allowing each coat to dry completely before applying the next one. The result was a smooth, even finish that protected the wood without darkening it too much.
Finally, I sealed the steps with a clear polyurethane varnish to protect them from moisture and wear. This final step not only enhanced the appearance of the steps but also made them more durable and easier to clean. I found that this step was worth the extra time and effort, as it extended the life of the steps significantly.
Testing and Final Adjustments
I started by standing on each step and checking for stability. I made sure the steps didn’t wobble or feel loose underfoot. I also tested the weight capacity by stepping on each tread with both feet, and I found that the steps held up well under pressure.
I used a level to check that each step was perfectly aligned. If I found any steps that were slightly off, I adjusted them by adding small shims or re-clamping the pieces before tightening the screws again. This ensured that all the steps were even and safe to use.
After testing, I made a few final adjustments to ensure everything was perfect. I tightened all the screws and checked the finish once more. When I was done, I felt confident that the steps were ready for use and would last for years to come.
💰 Budget Build
Create a sturdy set of steps with leftover materials and affordable hardware, perfect for those looking to save on materials without sacrificing quality.
⏰ Weekend Version
A quick and easy project that can be completed in a single weekend with minimal tools and materials.
🎨 Upgraded Finish
Enhance the look and durability of your steps with a custom stain and high-quality varnish for a professional finish.
🏠 Small-Space Adaptation
Design a compact set of steps that's ideal for use in tight areas like attics or small storage spaces.
🔒 Rental-Safe Option
Build a removable and temporary set of steps that can be easily taken apart and stored, perfect for rental properties.
| The mistake | Why it happens | The fix |
|---|---|---|
| Skipping the measuring step | Without precise measurements, the steps may not be aligned correctly and could be uncomfortable or even dangerous to use. | Take the time to measure each piece carefully and double-check your measurements before cutting. |
| Using the wrong type of wood | Using wood that is warped or not treated for outdoor use can lead to issues like splitting, rot, or instability. | Choose straight, dry wood and use treated lumber if the steps will be used outdoors. |
| Not sanding the pieces properly | Rough edges or splinters can be uncomfortable and may cause the finish to not adhere properly. | Spend time sanding each piece until the surface is smooth and even before applying any finish. |
| Skipping the final test | Not testing the steps after assembly can lead to discovering issues too late, such as instability or misalignment. | Always test the steps by standing on them and checking for stability and comfort before using them regularly. |
How To Build Wooden Steps
Common Questions
What tools do I need for this project?
Can I build these steps without any carpentry experience?
What type of wood is best for building steps?
How long does the entire project take?
References
- The Voynich Manuscript: An Elegant Enigma (nsa.gov)
- Modern Homes - Sears, Roebuck & Co. - 1936 (dahp.wa.gov)
- Citywide Steps Assessment | Pittsburghpa.gov (pittsburghpa.gov)
- The wood from the trees: The use of timber in construction (sciencedirect.com)
Cite this guide
DIY Wooden Step Stool Plans (2026). How To Build Wooden Steps. https://stoolreach.com/how-to-build-wooden-steps/
Feel free to cite or share this guide.