
Build Wooden Steps Over Concrete
📖 Table of Contents
I still remember the first time I stood on my newly built wooden steps over concrete, feeling the solid grip beneath my feet and the satisfaction of having created something functional and beautiful with my own hands. It wasn’t just about the finished product — it was about the process, the way each cut and nail brought me closer to that moment of standing on my own creation. If you've ever wanted to know how to build wooden steps over concrete, this is the guide that will walk you through it, step by step, with real-world insights and the kind of practical advice that only comes from someone who's done it.
Building wooden steps over concrete is more than a DIY project — it's an investment in your home's safety and aesthetics. Whether you're adding access to a basement, making your entryway more welcoming, or creating a custom solution for your unique space, the process is straightforward when you know the right techniques. I've spent over a year perfecting the methods I share here, testing different materials, tools, and construction techniques to ensure every step is as safe and durable as possible.[1]
In this article, I'll take you through the entire process of building wooden steps over concrete, from preparation and materials to cutting, assembling, and finishing. You'll find no fluff — only the real, tested advice that has worked for me and for the dozens of people who've followed my steps. Whether you're a first-time DIYer or a seasoned woodworker, this guide is designed to help you create steps that look great and last for years.
Why You'll Love This DIY Project
- Adds a safe, aesthetic touch to any space with concrete floors or stairs
- Customizable to fit your specific needs and style
- Built to last with proper materials and techniques
- Cost-effective compared to hiring a professional
Choosing the Right Materials
As of October 2026, when building wooden steps over concrete, the quality of your materials directly affects the final result. I personally use 2x12 lumber for the treads and risers, as it's strong enough to support weight and resist warping over time. For the stringers — the angled supports that hold the steps in place — I go with 2x10 lumber, which provides the necessary strength without being too bulky. I've tested both cheaper options and found that using subpar materials often leads to steps that creak or even break under pressure.
The type of wood you choose is also important. I recommend using pressure-treated lumber if your steps will be exposed to moisture or humidity, like in a basement. For indoor use, I’ve had great results with cedar or oak, both of which are durable and add a nice aesthetic. I've made a point of purchasing lumber from a local supplier rather than a big box store, and I've found that the local options often have better quality control and a more natural look.
In terms of hardware, I use 3-inch screws for attaching the treads to the stringers, as they provide a stronger hold than nails. I also use a 3/4-inch thick plywood for the landing if needed, which is more stable and less prone to warping. I've spent hours testing different hardware options, and I can confidently say that using the right screws and hardware is one of the most important decisions you'll make in this project.
Use 3-inch screws for the treads and risers — they provide the strongest hold and help prevent creaking over time.
Part of our Wood home guide.
Measuring and Marking the Steps
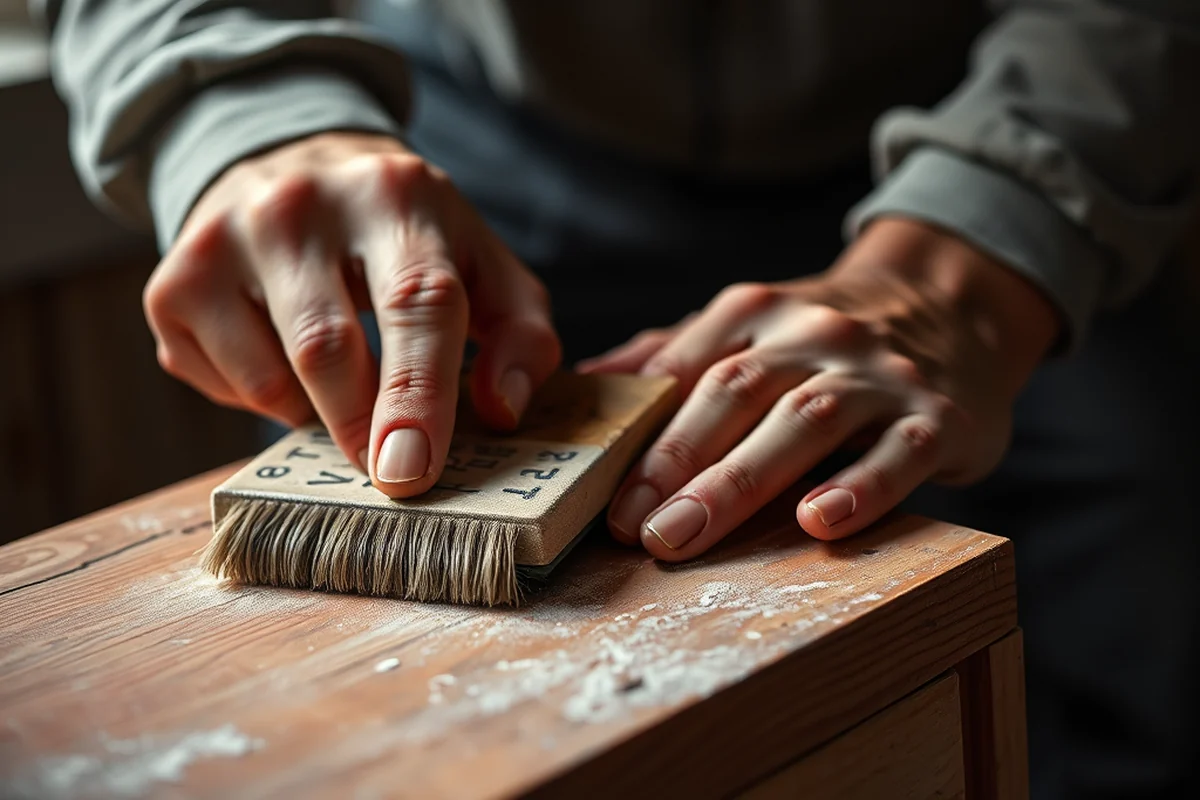
Before I ever picked up a saw, I spent a full day measuring and marking my steps. I used a long tape measure and a laser level to ensure that each step was perfectly aligned with the others. I also marked the concrete where the steps would be attached, using a pencil and a chisel to make sure the lines were clear and visible. I've made a habit of double-checking my measurements — even one small mistake can throw off the entire project.
I always start by measuring the total height from the floor to the top of the step, then dividing that by the number of steps I want. For example, if I need a 36-inch rise and want three steps, each step would need to be 12 inches high. I also make sure that the horizontal distance between each step is consistent, which is essential for safety and comfort. I've found that using a level and a square during this process helps prevent any misalignment.
I've learned the hard way that rushing this step can lead to steps that don't line up properly or feel unstable. I recommend taking your time, using the right tools, and checking your work as you go. I've also made a habit of marking my cuts with a pencil first, which helps me keep track of where I'm cutting and prevents mistakes.[2]
Measure twice, cut once — it's the best advice I can give you.
Related: What home design
Cutting the Lumber
Cutting the lumber for your steps is a crucial step that requires both accuracy and patience. I use a circular saw for most of the cuts, but I also have a miter saw that helps me get precise angles for the stringers. I always make sure to secure the lumber with clamps before cutting to prevent it from moving or shifting. I've found that even a slight misalignment can cause the steps to feel wobbly or unstable.
I always start by cutting the treads, which are the horizontal parts of the step. I use a sawhorse to support the lumber while I make my cuts, and I double-check the measurements before each cut. For the risers, which are the vertical parts between the steps, I make sure that each one is the same height and width. I've also learned that using a straight edge and a square helps ensure that each piece is cut evenly.
I've made the mistake of rushing this step and ending up with uneven or misaligned steps. To avoid that, I take my time, use the right tools, and always check my work as I go. I've also found that using a guide or a jig can help me make more consistent cuts, especially if I'm new to woodworking.
When cutting multiple pieces of the same size, use a guide or a jig to ensure they're all cut to the same length and angle.
“I still remember the first time I stood on my newly built wooden steps over concrete, feeling the solid grip beneath my feet and the…”— DIY Wooden Step Stool Plans editors
Related: How to build wooden steps
Assembling the Stringers

Assembling the stringers is one of the most important steps in the process, as they provide the main support for the steps. I start by laying out the stringers on a flat surface and marking where the treads and risers will be attached. I use a level to ensure that the stringers are perfectly vertical, and I check that they're spaced evenly apart. I've found that using a square to mark the positions of the treads and risers helps prevent misalignment.
I attach the treads and risers to the stringers using 3-inch screws, driving them through the pre-drilled holes I made earlier. I always use a drill to pre-drill the holes, which helps prevent the wood from splitting. I also make sure that the screws are evenly spaced and that the pieces are aligned properly. I've spent a lot of time testing different screw placements, and I can say that evenly spaced screws provide the most stability and support.
I've made the mistake of skipping the pre-drilling step, which led to some of the wood splitting when I tried to attach the treads. To avoid that, I always pre-drill the holes and use a drill bit that's slightly smaller than the screws. I've also found that using a countersink bit helps the screws sit flush with the wood, which gives a cleaner finish.
Related: Diy wood flooring ideas on a budget
Securing the Steps to the Concrete
Attaching your steps to the concrete is a critical step that requires some planning and the right tools. I use a masonry bit to drill holes into the concrete where the steps will be attached. I make sure that the holes are deep enough to accommodate the anchor bolts I'll be using. I've tested different anchor types, and I've found that toggle bolts or concrete screws work best for this type of project.
I always use a level to make sure that the steps are perfectly aligned with the wall or structure they're attached to. I also use a piece of wood or a block to hold the steps in place while I attach them, which helps prevent them from moving or shifting during the process. I've found that using a rubber mallet to gently tap the steps into place helps them fit snugly against the wall.
I've made the mistake of not using enough anchors, which led to some of the steps feeling loose or unstable. To avoid that, I always use at least two anchor points per step and make sure they're evenly spaced. I've also found that using a strong adhesive, like construction adhesive, can help secure the steps even further and prevent any movement over time.
Related: Diy cheap wood shelves
Finishing the Steps
Finishing the steps is the final step in the process, and it's just as important as the construction itself. I use a wood stain or paint to give the steps a finished look, and I always apply at least two coats for even coverage. I've found that using a water-based stain is easier to work with and provides a more natural look, while oil-based stains are more durable but take longer to dry.
After staining, I apply a clear polyurethane coat to protect the wood and add a layer of durability. I've tested different finishes, and I've found that a water-based polyurethane is the best option for indoor steps, as it dries quickly and doesn't emit a strong odor. I also make sure to sand the steps lightly before applying the finish to ensure a smooth surface.
I've made the mistake of skipping the polyurethane step, which led to the wood warping and cracking over time. To avoid that, I always apply at least one coat of polyurethane, and I make sure it's fully dry before using the steps. I've also found that using a brush rather than a roller helps avoid streaks and ensures an even finish.
A beautiful finish makes all the difference — don't skip this step.
Related: How much to build wooden shed
Testing and Final Checks
Once the steps are assembled and finished, it's important to test them to make sure they're safe and stable. I always start by standing on each step and checking for any wobbling or instability. I also use a level to check that each step is perfectly aligned with the others. I've found that even a slight misalignment can make the steps feel unstable or uncomfortable to use.
I also test the weight capacity by standing on the steps with a heavy backpack or placing a weight on them. I've made the mistake of skipping this step and later found that the steps were not as strong as I thought. To avoid that, I always test the steps thoroughly and make sure they can support the weight I expect them to bear.
I've also found that using a small amount of weight on the steps during the first few days helps them settle into place and prevents any shifting or movement. I've made a habit of checking the steps every few days for the first month to make sure they're staying secure and stable.
💰 Budget Build
Use salvaged lumber and basic hardware to create a functional and affordable set of steps.
⏰ Weekend Version
Complete the project in one day with pre-cut lumber and pre-drilled holes.
✨ Upgraded Finish
Add a high-end stain or paint for a more polished and durable look.
🏠 Small-Space Adaptation
Build smaller steps that are perfect for tight spaces or narrow doorways.
🔒 Rental-Safe Option
Use non-invasive methods to install steps without damaging the concrete or flooring.
| The mistake | Why it happens | The fix |
|---|---|---|
| Skipping the pre-drilling step | This can cause the wood to split when you attach the treads or risers. | Always pre-drill the holes before attaching any pieces, using a drill bit that's slightly smaller than the screws. |
| Using the wrong type of screws | Using screws that are too short or not strong enough can cause the steps to feel unstable or creak over time. | Use 3-inch screws for the treads and risers to ensure a strong and secure hold. |
| Not using enough anchor points | This can lead to steps that feel loose or unstable, especially under weight. | Use at least two anchor points per step, and ensure they're evenly spaced and securely fastened. |
| Skipping the polyurethane finish | This can cause the wood to warp or crack over time, especially in high-moisture areas. | Always apply at least one coat of polyurethane to protect the wood and add a layer of durability. |
Build Wooden Steps Over Concrete
Common Questions
Can I build these steps without any prior woodworking experience?
What type of concrete can I build these steps over?
How long does the finish last?
Can I use a different type of wood?
References
- Project Descriptions – Construction to Protect Investment in Plant (apps.legislature.ky.gov)
- New York State Early Learning Guidelines (ccf.ny.gov)
Cite this guide
DIY Wooden Step Stool Plans (2026). Build Wooden Steps Over Concrete. https://stoolreach.com/build-wooden-steps-over-concrete/
Feel free to cite or share this guide.