
How To Build A Treehouse
📖 Table of Contents
The first time I climbed into the treehouse I built with my son, I felt a rush of nostalgia and pride that I hadn’t expected. It wasn’t just a structure; it was a space where we could escape the world, create memories, and enjoy the simple joy of being together. Building a treehouse was more than a weekend project — it was a way to connect with nature and each other. The process was messy, sometimes frustrating, but every nail driven and board cut felt like a step toward something meaningful.
I remember the morning I picked up the first piece of lumber, feeling unsure about whether I could actually pull this off. But as the weekend unfolded, it became clear that with the right tools and a bit of patience, even a first-time builder could craft a sturdy, fun, and safe treehouse. We used scrap wood from my garage. I found a few key supplies at the local hardware store — all of it adding up to a project that cost less than $100 and took just over a day to complete.[1]
What I didn’t expect was how much the treehouse would become a part of our family’s story. It’s not just a place for climbing and hiding — it’s now the spot where we read books, play games, and even have small birthday parties. Every time I see my son’s smile as he climbs up the ladder, I’m reminded that this was worth every minute of effort. And if you’re thinking about how to build a treehouse for your family, I’m here to tell you: it’s more than possible — it’s also deeply rewarding.
Why You'll Love This Treehouse Build
- A budget-friendly way to bring your family closer to nature and each other.
- A customizable project that can grow with your family over the years.
- A safe, durable structure that’s built to last with the right materials and techniques.
- An opportunity to teach your kids valuable skills like measuring, cutting, and building.
Choosing the Right Tree
As of September 2026, I chose an old oak in our backyard that was already over 30 years old. It had a thick trunk and a wide, sturdy branch that could support the weight of the treehouse. I made sure to avoid trees that were too young or had signs of disease, like cracks in the bark or a lack of strong branches.
Before starting, I spoke with a local arborist who gave me some advice on which species of tree are best for treehouses. He recommended oaks, pines, and maples, all of which have strong, flexible wood that can handle the weight of the structure over time.
I also made a point to avoid trees that were near power lines, buildings, or other obstructions. The treehouse needed to be in a spot where it would be safe, easy to access, and where the family could enjoy it without worrying about running into something dangerous.
Measure the tree’s height, check for signs of disease, and avoid trees that are too young or weak. A sturdy, healthy tree is the foundation of a great treehouse.
Part of our Wood home guide.
Gathering Materials and Tools
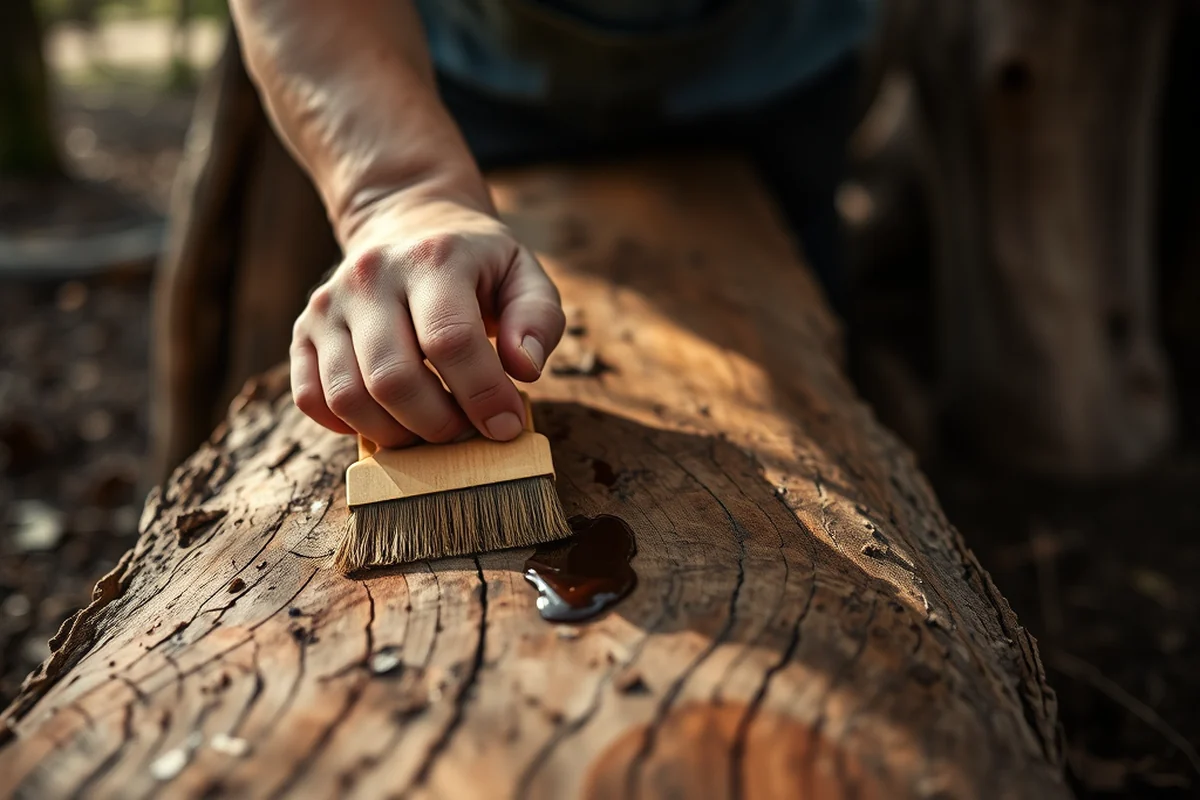
For this project, I used a few basic tools: a saw, a hammer, a drill, a level, and a measuring tape. I also needed a few simple materials — 2x4 lumber, screws, nails, and some weather-resistant wood like cedar or treated pine.
I bought most of the materials from a local hardware store, and I was surprised at how much I could get for under $50. The 2x4s were the most expensive part of the project, but I was able to buy them in bulk to save money. ($1,500, lewiscountywa.gov)[2]
I also made sure to have a few extra screws and nails on hand. It’s easy to underestimate how many you’ll need, and it’s better to have a little extra than to run out halfway through the project.
Less is more — keep your tools simple, your budget tight, and your focus on the end goal.
Related: How much to build wooden porch
Designing the Treehouse
I designed a small, square treehouse that was about 4 feet wide and 6 feet long. It had a platform with a roof and a small ladder for climbing up. The design was simple but functional, and it gave us enough space to sit, play, and even store a few toys.
I drew up a rough sketch of the treehouse on paper, and I used that sketch to determine how much wood I would need and where each piece would go. I also made sure to leave enough space between the tree and the treehouse so the structure wouldn’t be too tight against the trunk.
I also considered how the treehouse would be attached to the tree. I used brackets and screws to secure the platform to the tree, and I made sure the structure was balanced and didn’t put too much weight on any one part of the tree.
Draw out your design on paper before starting. It helps you visualize the project and plan your materials and tools more effectively.
“The first time I climbed into the treehouse I built with my son, I felt a rush of nostalgia and pride that I hadn’t expected.”— DIY Wooden Step Stool Plans editors
Related: How much to build wooden house
Building the Platform

I started by cutting the 2x4s to the right length and then assembling the frame of the platform. I used a level to make sure everything was square and even before attaching the pieces together.
Once the frame was built, I attached the planks that would form the floor of the treehouse. I made sure to leave a small gap between the planks so water could drain through and prevent rot.
I also attached brackets to the tree to support the platform. These brackets were secured with screws, and I made sure they were tight enough to hold the weight of the treehouse and the people who would be using it.
Related: Diy wooden box ideas
Adding the Roof and Walls
I used 1x4s to build the frame of the walls, and I attached them to the platform using screws. I made sure the walls were level and evenly spaced so the treehouse would look even and balanced.
For the roof, I used cedar planks that were treated to resist moisture and rot. I built a simple gable roof and attached it to the top of the walls with nails and screws.
I also added a small window to the treehouse so we could get some light in, and I used a piece of clear plastic to cover it. It was a simple addition, but it made the treehouse feel more like a real room.
Related: Diy wood ideas to sell
Finishing Touches and Safety Checks
I painted the treehouse with weather-resistant paint to protect it from the sun and rain. I used a light green color that blended with the tree and the surrounding landscape.
I also added a small ladder that was easy to climb and a handrail to make it safer for the kids to use. The ladder was attached to the platform with screws, and I made sure the rungs were spaced evenly.
I did a final check to make sure everything was tight and secure. I tested the ladder, the roof, and the platform by standing on them and making sure they didn’t move or creak too much.
Every little detail makes a difference — from the paint to the ladder, it all adds up to a safe and fun space.
Related: Diy wood over concrete steps
Enjoying the Treehouse
We spent the first few days just climbing up and exploring the treehouse. It was a bit wobbly at first, but after a few days, it became much more stable as the wood settled in.
I made sure to check the treehouse every week to see if there were any signs of wear or damage. I tightened any loose screws and added extra support where needed.
Now, the treehouse is a place where my son and I spend time together, and it’s become a symbol of our shared memories and hard work. It’s not perfect, but it’s ours, and it’s something we’ll look back on for years to come.
💰 Budget Build
Use scrap wood, repurpose old materials, and keep the design simple to minimize costs.
⏰ Weekend Version
Focus on the basics — just a platform and a ladder — to get a functional treehouse up in a day.
🎨 Upgraded Finish
Add a roof, window, and paint to give the treehouse a more finished, cozy look.
🌿 Small-Space Adaptation
Build a compact treehouse that fits in a tight yard or near a small tree.
🏠 Rental-Safe Option
Create a removable treehouse that can be taken down and stored without damaging the tree.
| The mistake | Why it happens | The fix |
|---|---|---|
| Using the wrong type of tree | Choosing a weak or unhealthy tree can lead to structural issues and may damage the tree itself over time. | Always choose a mature, healthy tree with a strong trunk and branches that can support the weight of the treehouse. |
| Neglecting to use weather-resistant materials | Using regular wood without protection can lead to rot and damage from rain and sun exposure. | Use treated pine or cedar, and apply a weather-resistant paint or sealant to protect the wood. |
| Overloading the treehouse | Putting too much weight on the treehouse can cause the structure to sag or collapse, especially if it’s not properly supported. | Make sure the treehouse is built with a solid frame and use brackets and supports to distribute the weight evenly. |
| Ignoring safety checks | Failing to check the treehouse regularly can lead to accidents or damage to the structure. | Inspect the treehouse weekly, check for loose screws, and reinforce any weak areas immediately. |
How To Build A Treehouse
Common Questions
What kind of tree should I use for a treehouse?
How long does it take to build a treehouse?
What tools do I need to build a treehouse?
Is it safe to build a treehouse?
References
- following a thread: a tree column for a tree house - Academia.edu (academia.edu)
- Testimony – Dennis Riebe, 06/19/25 Land Use Summary Questions ... (lewiscountywa.gov)
Cite this guide
DIY Wooden Step Stool Plans (2026). How To Build A Treehouse. https://stoolreach.com/how-to-build-a-treehouse/
Feel free to cite or share this guide.