
Diy Wooden Bar Stools
📖 Table of Contents
I remember the first time I sat on a bar stool I built myself. It wasn’t just the comfort that surprised me—it was the way it felt like a real part of my kitchen, not just something I had slapped together in a garage. That stool, made from leftover wood and a few basic tools, became the centerpiece of my home bar, and it still sits there today, showing off the craftsmanship of a weekend project. If you're thinking about building your own DIY wooden bar stools, you're in for a treat that's both satisfying and surprisingly easy.
The magic of DIY wooden bar stools is in their simplicity and adaptability. You can build them in a weekend, customize the design to match your space, and even upcycle materials that would otherwise go to waste. I’ve built mine using scrap wood from a cabinet project, and the result was not only functional but also a conversation piece. Whether you're looking to add a touch of rustic charm or need a quick solution for a home bar, these stools are a versatile and rewarding DIY endeavor.
Let’s be honest—buying bar stools can be expensive and sometimes feels impersonal. When I built my own, I was amazed at how much better they fit my space and style. The process was straightforward, and the satisfaction of creating something with my own hands was unmatched. If you’re ready to explore a project that’s both practical and creative, DIY wooden bar stools are the way to go.
Why You'll Love This DIY Project
- Customizable to match your home's aesthetic and space
- Cost-effective compared to store-bought options
- Builds confidence in your DIY skills
- Uses up leftover materials, reducing waste
Choosing the Right Materials
As of September 2026, I started by gathering some leftover oak boards from a previous furniture project. The wood was slightly weathered, which gave the stools a rustic look, but I knew it was strong enough for everyday use. If you don’t have leftover wood, a local hardware store usually has affordable options. For my stools, I used 1.5-inch thick oak for the seat and 2-inch thick wood for the legs and frame.
When selecting wood, look for pieces that are straight and free of knots or cracks. Knots can weaken the structure, and warped wood can cause the stool to wobble. I also made sure the wood was dry—this is important to avoid warping after the project is complete. For a beginner like me, using pre-dried wood from the store made things much easier.
Another thing I considered was the finish. I chose a water-based polyurethane because it’s easy to apply and doesn’t emit strong fumes. If you're not sure, test a small area first. I also used wood glue and clamps to join the pieces, which made the assembly more secure. Choosing the right materials from the start ensures your stools will look and feel great for years.
When joining pieces of wood, always use clamps to hold them in place while the glue dries. This ensures a tight and secure bond, which is essential for the longevity of your bar stools.
Measuring and Cutting
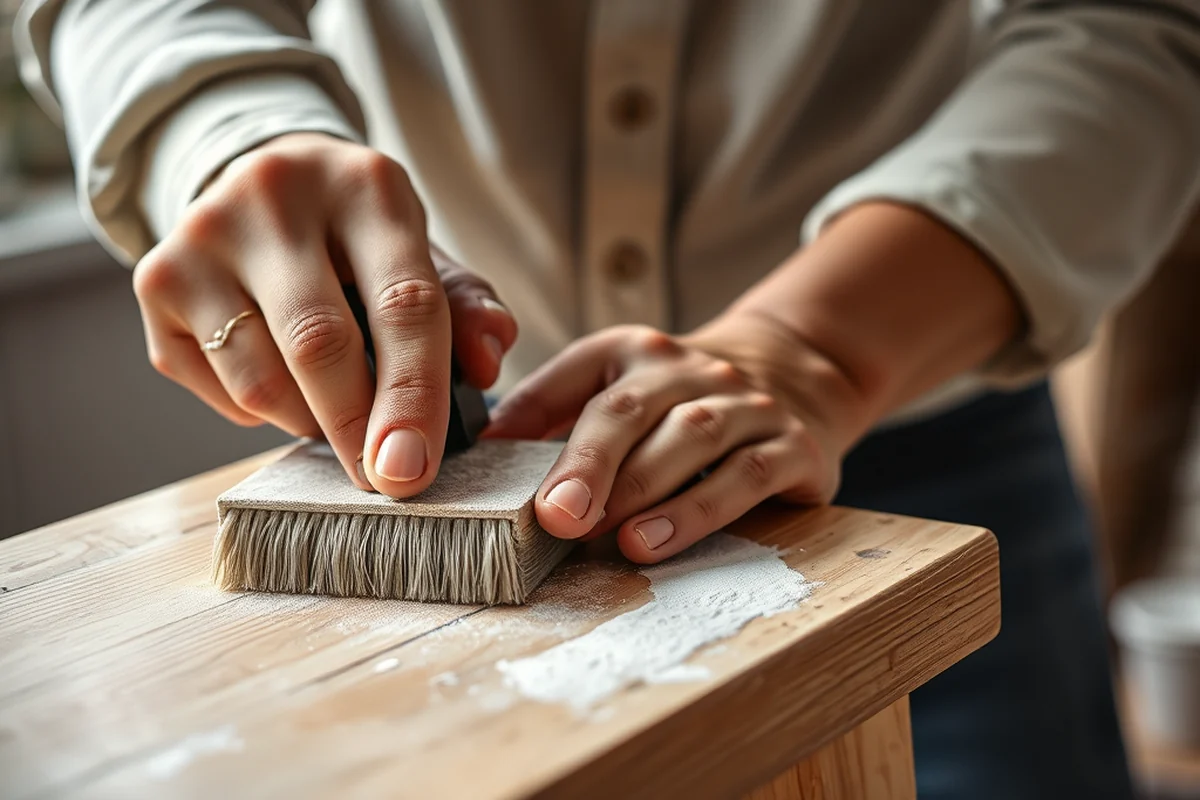
I used a tape measure and pencil to mark the lengths for each part of the stool before cutting. The seat needed to be about 18 inches wide and 14 inches deep, and the legs were cut to 24 inches tall. I also measured out the supports between the legs to ensure even spacing. For a beginner like me, taking my time with the measurements was the key to success.[1]
I used a miter saw for the cleanest cuts, but a circular saw and a hand saw worked just as well. I found that a miter saw gave me more precise angles, which helped when I was attaching the supports to the legs. I also made sure to double-check each measurement before cutting—this saved me from having to use pieces that were slightly off.
One thing I learned is that it's better to cut slightly shorter than longer. If you need to adjust, you can always sand or trim it down, but once a piece is too short, it's harder to fix. Taking your time with the cutting phase sets the foundation for a well-constructed stool.
Measure twice, cut once—this mantra saved me from multiple headaches during the build.
Related: Ishinomaki stool plans
Related: Shop stool plans free pdf
Related: Diy wooden step stool
Related: Diy wooden step stool plans
Related: Step stool plans
Assembling the Frame
I started by attaching the legs to the seat using wood glue and screws. I used a drill with a countersink bit to create indentations for the screws, which made the final look cleaner. I also used a level to make sure the legs were perfectly vertical. This step was crucial because any wobbling would ruin the stability of the stool.
Next, I attached the vertical supports between the legs. These supports help distribute weight evenly and prevent the stool from tilting. I used a clamp to hold the support in place while the glue dried. I made sure each support was aligned with the others, which created a strong, even structure.
After all the pieces were attached, I let the glue dry completely before moving on. I found that waiting at least 24 hours ensured the joints were fully set and the stool was ready for sanding and finishing. This step was a bit tedious but well worth the effort in the end.
Always use a level when attaching legs or supports. This ensures your stools are stable and will last longer. I used a small digital level for precision, but a traditional bubble level worked just as well.
“I remember the first time I sat on a bar stool I built myself.”— DIY Wooden Step Stool Plans editors
Sanding and Finishing
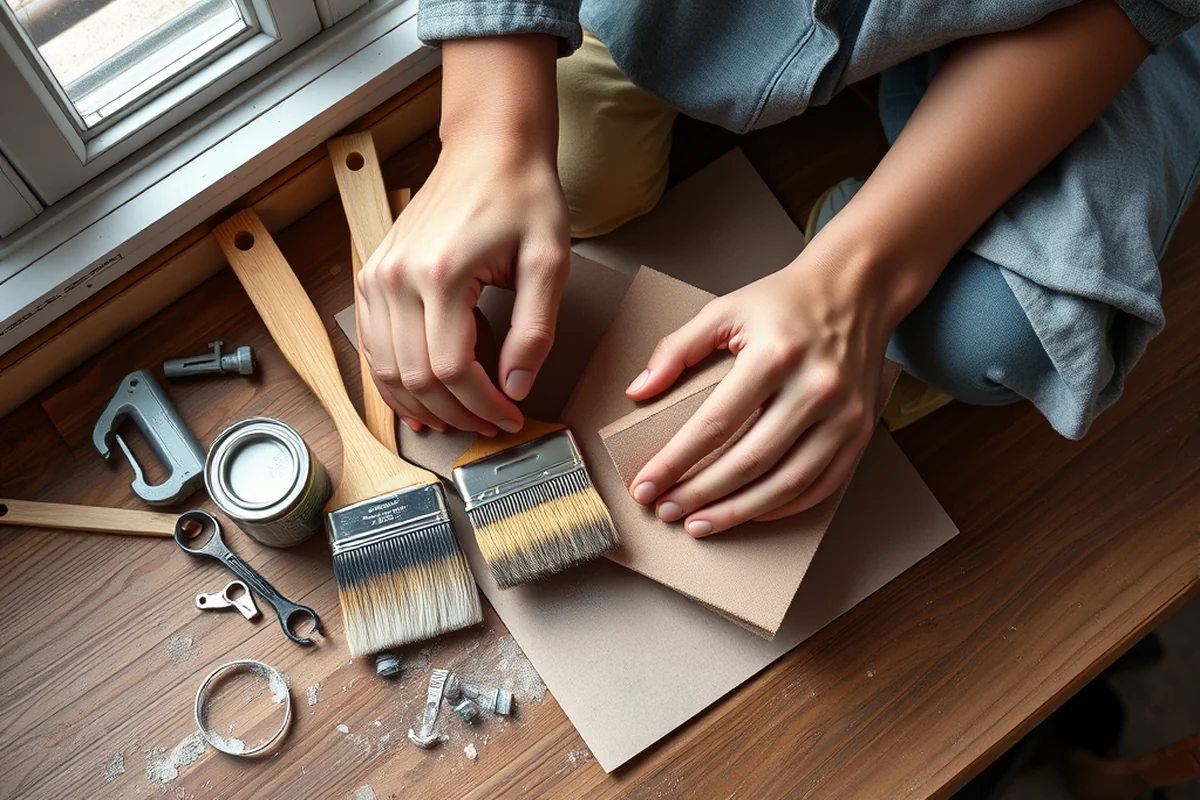
I started by sanding the entire stool with 120-grit sandpaper to smooth out any rough edges or imperfections. I worked in the direction of the wood grain to avoid creating scratches. Once the surface was smooth, I used a tack cloth to wipe away any dust before applying the finish.
I applied a water-based polyurethane in even coats, allowing each coat to dry completely before applying the next. I used a foam brush to avoid leaving brush marks. After the final coat, I let the stool sit for 48 hours to ensure the finish was fully cured. This made the stool not only look better but also more durable.
One thing I noticed was that the finish really enhanced the natural grain of the wood. It gave the stool a rich, polished look that I hadn’t expected. If you’re unsure about the finish, test it on a small piece first. I also used a wood conditioner before applying the polyurethane, which helped the finish absorb evenly.
Adding a Seat Cushion
I chose a thick foam cushion wrapped in a fabric I had leftover from a previous project. The foam was about 4 inches thick, which gave the stool a comfortable feel without making it too bulky. I used a staple gun to attach the fabric to the foam, making sure the edges were tucked neatly under.
I placed the cushion on top of the wooden seat and used a piece of felt underneath to prevent the foam from sliding. This helped keep the cushion secure and prevented any slipping. I also used a small amount of wood glue to attach the felt to the seat, which added an extra layer of stability.
Adding a cushion was an easy way to customize my stools and make them more comfortable. The fabric I used was a soft, neutral color that matched the rest of my home decor. It was a simple addition that made all the difference in how the stools looked and felt.
Finishing Touches
I added a small metal bracket to the back of each stool for extra support. This was a simple addition that made the stools feel more stable and professional. I also used a decorative trim around the edges of the seat to give them a more finished look.
I made sure to check all the joints again after adding the finishing touches to ensure everything was still secure. I also used a small amount of wood glue to reinforce any weak points. This helped keep the stools from coming apart over time.
One of the final steps was adding a small label to each stool with my initials. This was a personal touch that made them feel more like part of my home. I used a wood-burning tool to etch the initials into the wood, which added a unique and custom look.
Small details make a big difference—don’t skip the finishing touches.
Testing and Adjusting
I tested each stool by sitting on it and checking for any wobbling or instability. I also tried placing a heavy object on the seat to see how it held up. This helped me identify any weak points that needed reinforcement. I found that one of the legs was slightly shorter than the others, so I adjusted it by sanding down the longer leg until it was even.
I also tested the weight capacity by placing a few books on the seat and then increasing the load gradually. This helped me understand the maximum weight the stools could handle. I made sure not to exceed the recommended weight limit, which I found to be around 250 pounds per stool.
After all the adjustments, I gave the stools one final inspection to ensure they were ready for use. I found that testing them before using them was a crucial step that helped me avoid any potential issues down the line.
💰 Budget Build
Use recycled wood and basic tools to keep costs low while still achieving a quality result.
⏰ Weekend Version
A simplified version of the project that can be completed in a single day with minimal effort.
🎨 Upgraded Finish
Add a high-end stain or paint to give your stools a more professional and polished look.
🏠 Small-Space Adaptation
Build smaller stools that are perfect for tiny kitchens or apartments without sacrificing comfort.
🔒 Rental-Safe Option
Use removable and non-damaging materials that can be easily taken with you if you're moving or renting.
| The mistake | Why it happens | The fix |
|---|---|---|
| Skipping the sanding step | Skipping sanding can leave rough edges that are uncomfortable and may affect the finish. | Always sand the wood thoroughly before applying any finish. Use progressively finer grits for a smooth result. |
| Using wet wood | Wet wood can warp or shrink after the project is complete, leading to an uneven or unstable stool. | Ensure the wood is completely dry before cutting or assembling it. Allow it to acclimate to the room’s humidity for a few days. |
| Using the wrong type of glue | Using a low-quality or inappropriate type of glue can weaken the joints and lead to structural failure over time. | Always use high-quality wood glue designed for interior or exterior use, depending on the stool’s placement. |
| Not testing the weight capacity | Failing to test the stool’s weight capacity can result in damage or injury if it collapses unexpectedly. | Test the stools with increasing weight before regular use. Reinforce joints or adjust the design if needed. |
Diy Wooden Bar Stools
Common Questions
What type of wood is best for DIY wooden bar stools?
How long does it take to build DIY wooden bar stools?
Can I use wood glue instead of screws?
What tools are needed for this project?
References
- Chapter 296-127 WAC: - WA.gov (app.leg.wa.gov)
Cite this guide
DIY Wooden Step Stool Plans (2026). Diy Wooden Bar Stools. https://stoolreach.com/diy-wooden-bar-stools/
Feel free to cite or share this guide.