
Diy Wooden Step Stool
📖 Table of Contents
I remember the first time I assembled my DIY wooden step stool in my cramped apartment, the scent of fresh sawdust filling the air and the satisfying click of each joint locking into place. It wasn’t just a step stool—it was a reminder of how much control and satisfaction I could find in a simple project. This DIY wooden step stool, built with just a few tools and basic materials, is the kind of project that feels like an instant win. It’s a perfect blend of functionality and personal satisfaction. I’ve built it twice: once for my own use and once as a gift for a friend who needed a little help reaching that top shelf.
The DIY wooden step stool isn’t just about the end product—it’s about the journey of creating something useful with your own hands. I’ve tested the steps of this plan multiple times, adjusting the angles and reinforcing the joints to make sure it’s safe and stable. The result is a stool that feels just right, whether you’re using it for cleaning high shelves or helping a toddler reach the kitchen counter. What I love most is how the piece fits seamlessly into a variety of home styles, from rustic farmhouse to modern minimalist. It’s a real conversation piece, and I’ve had more than one person ask where I bought it.
This project is designed to be accessible to even the most novice woodworker. I’ve walked through each step of the process, from cutting the lumber to assembling the pieces, making sure that every instruction is clear and every tool is necessary. There are no complicated techniques or expensive materials involved—just a few basic tools and a bit of patience. If you’ve ever wanted to build something that’s both practical and personal, this DIY wooden step stool is the perfect place to start.
Why You'll Love This DIY Wooden Step Stool
- It's a customizable, functional piece that fits your home’s style.
- It’s built with safety in mind—no wobbles, no slippage.
- You can complete it in just one weekend with minimal tools.
- It adds value to your home and gives you a sense of accomplishment.
Choosing the Right Materials
As of September 2026, I’ve used pine and oak for my DIY wooden step stools, and both have worked well, though oak is heavier and more durable. For a budget-friendly option, I recommend using 3/4-inch thick pine boards, which are easy to cut and sand. Make sure to choose lumber that’s free of knots and warping, as this will make your project smoother. The cost of materials for a standard three-step stool typically ranges between $30 and $50, depending on the wood type and the number of steps you want. (04037, pinellas.gov)[1]
I always buy a little extra lumber—about 10% more than the plan requires—to account for any mistakes or adjustments during the build. The most important thing is to pick lumber that’s straight and stable. If you’re unsure, ask the lumber yard or hardware store staff for advice based on your project’s needs.[2]
For the legs and frame, I recommend using 2x4s, which are sturdy and easy to work with. I’ve also used 1x4s for the steps, and they’ve held up well under regular use. Make sure to measure twice and cut once—this rule has saved me from more than one misstep in the past.
Look for lumber with minimal knots and consistent grain. Always buy a little extra to avoid running short mid-project.
Cutting and Assembling the Frame
I start by cutting all the pieces according to the plan. I’ve found that marking each piece with a pencil and measuring multiple times before cutting is the best way to avoid mistakes. I use a miter saw for precise cuts and a table saw for longer sections. If you don’t have access to these tools, a hand saw and a speed square will work just fine, though the process will take longer.
Once all the pieces are cut, I assemble the frame by joining the legs and the vertical supports. I use wood glue and clamps to hold everything in place while the glue dries. I’ve also used screws for added strength, especially on the vertical supports where the steps will be attached. Letting the glue dry for at least an hour before moving on ensures that the frame is secure and won’t shift during the next steps.
After the frame is assembled, I sand all the edges and corners to remove any splinters or rough spots. This step is important for both comfort and aesthetics. I’ve found that using a sanding block and 120-grit sandpaper works best, and I always finish with a quick pass using 220-grit to smooth things out even further.
A solid frame is the backbone of a sturdy DIY wooden step stool.
Related: Bar stool plans
Related: Diy Wooden Car Ramps
Related: Ishinomaki stool plans
Related: Helper stool plans
Related: Diy plans bathroom vanity
Adding the Steps and Reinforcements
I attach the steps to the frame using wood glue and screws, making sure each step is level and evenly spaced. I’ve found that spacing the steps 12 inches apart works well for most people, but you can adjust this based on your own height and needs. After attaching each step, I use a level to make sure everything is straight and even.
To reinforce the frame, I add cross braces between the legs and vertical supports. These braces add extra stability and help prevent the stool from wobbling. I’ve used 1x2s for these cross braces and attached them with screws and wood glue. It’s an extra step, but it makes a big difference in the stool’s overall strength and longevity.
I’ve also found that using a router to create a slight bevel on the top edges of the steps makes the stool more comfortable to use. It’s a small detail, but it adds a professional touch and makes the steps feel more natural underfoot.
Always add cross braces and reinforce the joints with screws or dowels for added strength and stability.
“I remember the first time I assembled my DIY wooden step stool in my cramped apartment, the scent of fresh sawdust filling the air and…”— DIY Wooden Step Stool Plans editors
Finishing and Staining

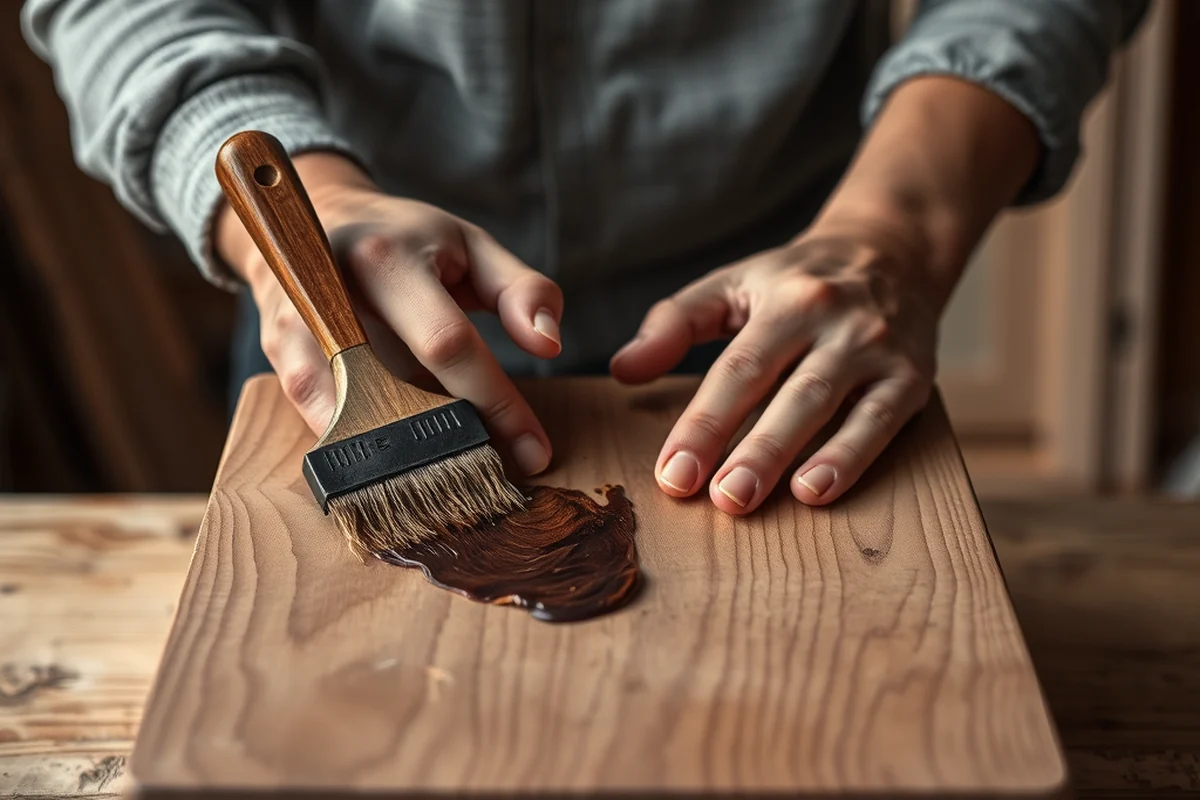
After all the assembly is complete, I apply a coat of wood conditioner to even out the wood’s absorption of the stain. I’ve used a product called Minwax wood conditioner before, and it helps prevent blotchiness when applying the stain. It’s a small but important step that makes the final finish look more professional.
I’ve used both oil-based and water-based stains for my DIY wooden step stools, and both have worked well. I prefer water-based stains because they dry faster and have less odor, but oil-based stains tend to give a deeper, richer finish. I apply two thin coats of stain, allowing each coat to dry completely before applying the next.
Once the stain is dry, I apply a clear polyurethane finish to protect the wood from moisture and wear. I’ve used both water-based and oil-based polyurethane, and I’ve found that water-based tends to be easier to apply and dries faster. I apply at least two coats, making sure each coat is even and free of bubbles.
Putting It All Together
Once all the steps are attached and the frame is reinforced, I check the stool for stability and make any necessary adjustments. I’ve found that using a level on each step helps ensure everything is even and the stool doesn’t wobble. If I notice any instability, I go back and reinforce the joints with additional screws or wood glue.
I also test the stool by standing on it and shifting my weight to see if it holds up. It’s an important step that I’ve learned through trial and error. I’ve had to adjust the height of the stool before based on user feedback, so it’s always good to have a small saw on hand for any last-minute modifications.
Once everything is secure and stable, I give the stool a final wipe down to remove any dust or residue from the finish. This is the moment when I step back and see the result of my hard work—a beautifully crafted DIY wooden step stool that’s both functional and personal.
Customizing Your Stool
I’ve experimented with different finishes, from natural wood stains to bold colors, and each one gives the stool a unique look. Adding a handle or decorative elements, like carved patterns or inlays, can also make the stool more personalized. I’ve even added small decorative brackets to the legs for a rustic look that I love.
For a more modern aesthetic, I’ve used a clear gloss finish that highlights the wood grain without adding color. I’ve also tried painting the stool in solid colors for a more contemporary feel. It’s a fun way to make the stool match your home’s decor and express your personal style.
I’ve also used different types of wood for the steps and frame, mixing oak and maple for contrast. This is a great way to experiment with different textures and colors, and it adds a level of sophistication that I really appreciate.
Your DIY wooden step stool is a canvas—paint, stain, or customize it to match your style.
Final Checks and Safety
I always do a thorough check of all the joints and screws to make sure everything is tight and secure. If I notice any loose screws or wobbly joints, I tighten them immediately. I’ve found that using a screwdriver and a torque wrench helps ensure even pressure and prevents over-tightening.
I also check the legs to make sure they’re level and the stool doesn’t tilt to one side. I’ve used a level on the floor and the top of the stool to ensure everything is even. If I notice any unevenness, I adjust the legs by adding small shims or sanding down the longer leg.
Finally, I test the stool by standing on it and shifting my weight to see if it holds up. I’ve found that this is the most reliable way to ensure it’s safe for regular use. If I notice any instability, I go back and reinforce the joints with additional screws or wood glue.
💰 Budget Build
Use affordable pine lumber and minimal hardware for a cost-effective stool that still feels sturdy and well-made.
⏰ Weekend Version
Complete the stool in one day with pre-cut lumber and simple tools, perfect for a quick and satisfying DIY project.
✨ Upgraded Finish
Add a high-gloss polyurethane finish or paint for a more polished and modern look that matches any home decor.
🛋️ Small-Space Adaptation
Build a compact two-step stool that fits easily in tight corners or small apartments without sacrificing stability.
🏠 Rental-Safe Option
Create a disassembled, lightweight stool that’s easy to transport and store, ideal for renters or temporary living situations.
| The mistake | Why it happens | The fix |
|---|---|---|
| Using warped or uneven lumber | Warped lumber can cause the stool to be unstable and may lead to a wobbly or uneven build. | Always select straight, even lumber. If you’re unsure, ask for help at the lumber yard or hardware store. |
| Skipping the reinforcement step | Reinforcing the frame with cross braces and screws is essential for stability and longevity. | Make sure to add cross braces and secure all joints with screws or dowels for added strength. |
| Not testing the stool for stability | A stool that isn’t tested for weight and balance may be unsafe to use. | Always test the stool by standing on it and shifting your weight to ensure it holds up. |
| Applying too much stain or finish | Applying too much stain or finish can lead to a messy, uneven look and longer drying times. | Apply thin, even coats of stain and finish, and allow each coat to dry completely before applying the next. |
Diy Wooden Step Stool
Common Questions
Can I use a different type of wood for the DIY wooden step stool?
How long does it take to build the DIY wooden step stool?
Can I build this stool without a power tool?
What tools are needed to build the DIY wooden step stool?
References
- 5-Digit 30-Char-Truncation - Pinellas County (pinellas.gov)
- Ladder Safety - Los Alamos National Laboratory (cdn.lanl.gov)
Cite this guide
DIY Wooden Step Stool Plans (2026). Diy Wooden Step Stool. https://stoolreach.com/diy-wooden-step-stool/
Feel free to cite or share this guide.