
How To Build A Tiny House
📖 Table of Contents
- Design and Planning: The Foundation of Your Tiny House
- Choosing the Right Materials: Balancing Cost and Quality
- Building the Frame: The Skeleton of Your Tiny House
- Assembling the Walls and Roof: Bringing Your Design to Life
- Adding the Interior: Making the Space Functional and Cozy
- Finishing Touches: Giving Your Tiny House a Personal Touch
- Moving In and Living the Tiny Life: Embracing the New Chapter
- Make It Your Way
- Frequently Asked Questions
There’s something oddly satisfying about standing in your new tiny house, watching the sun pour through a small window, knowing that you built it with your own hands. I remember the first time I stepped inside the space I had spent three weekends constructing — it felt like a miracle. I had no prior experience with carpentry, but I had a plan, a few tools, and a stubborn determination to create something that was entirely mine. If you’ve ever dreamed of living in a space that’s both cozy and built by you, this is your starting point.[1]
Tiny houses are more than just a trend; they’re a lifestyle choice that’s gaining momentum, especially for those looking to live sustainably, simplify their lives, or just escape the chaos of traditional housing. I built my tiny house on a budget, using reclaimed materials and focusing on functionality over square footage. It wasn’t perfect, but it was functional, and that’s what mattered. If you’re thinking about building your own, whether it’s a weekend project or a full-time endeavor, I’m here to walk you through the process with the same enthusiasm and practicality that got me to where I am now.
Building a tiny house is not just about the final product — it’s about the journey. I learned how to cut lumber, assemble walls, and even install a tiny kitchen. It was messy, it was challenging, and I made mistakes along the way. But I also learned how to budget, how to prioritize, and how to turn a small space into something that felt like home. If you’re ready to dive in and take the first step toward building your own tiny house, this guide is for you.
Why You'll Love This Tiny House Build
- A compact, customizable living space that’s entirely your own design.
- A budget-friendly alternative to traditional housing with minimal material costs.
- A hands-on project that builds skills and self-reliance.
- A sustainable lifestyle that reduces environmental impact.
Design and Planning: The Foundation of Your Tiny House
As of September 2026, I spent a week sketching out my tiny house on paper and using online design tools to see how different layouts would work. I had to figure out where the door would go, how much space I’d need for a kitchenette, and how to maximize the limited square footage. It wasn’t easy, but it was crucial. Without a plan, I would’ve ended up with a cramped, cluttered mess.
Designing a tiny house means thinking creatively. I chose to place the bed on the second floor, using a loft to save space. I also considered the placement of windows to maximize natural light. I used an online calculator to determine the exact dimensions for the walls and roof, which helped me avoid costly mistakes later on.
Once I had a solid plan, I started sourcing materials and tools. I focused on using recycled wood and salvaged materials to keep the costs low. I also made sure to account for the weight of the house, as it would eventually need to be transported on a trailer. Planning ahead made the whole process much smoother.
Before making any cuts, double-check your measurements. Even a small mistake can throw off your entire build and lead to wasted materials.
Part of our Wood home guide.
Choosing the Right Materials: Balancing Cost and Quality
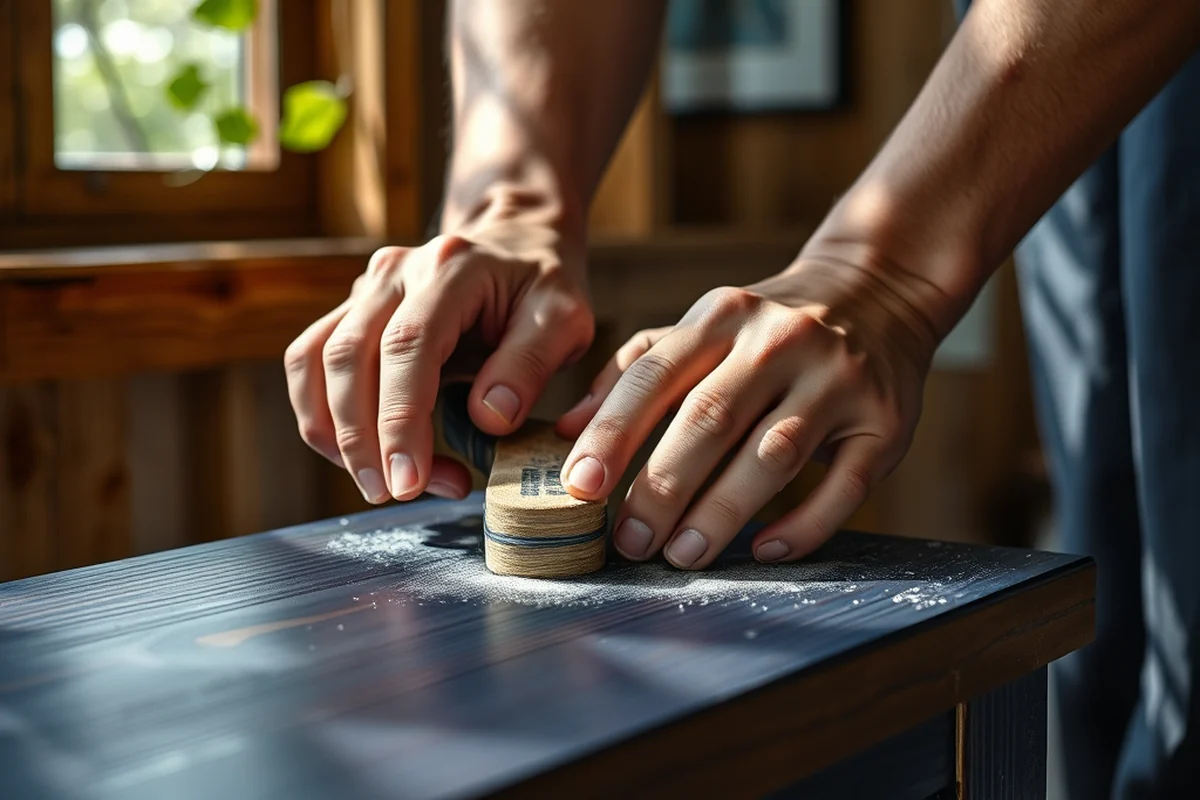
I focused on using affordable materials without compromising on the essentials. For the frame, I used 2x4 lumber from a local hardware store, which was both strong and budget-friendly. I also used OSB (oriented strand board) for the flooring and walls, as it’s lightweight and easy to work with.
For the roof, I opted for corrugated metal sheets that I found at a salvage yard. They were much cheaper than new ones, and they added a rustic charm to the design. I also used leftover paint from a previous project to give the exterior a fresh look without spending extra on new supplies.
I made sure to use treated wood for the base of the house to protect it from moisture. I also added a layer of waterproofing material underneath the flooring to prevent any leaks from the ground. Choosing the right materials helped me keep the cost low while ensuring that the house was durable and functional.
Quality doesn’t always mean expensive — sometimes, it just means being smart with your choices.
Related: What home design
Building the Frame: The Skeleton of Your Tiny House
I started with the floor frame, using 2x4 lumber to create a sturdy base. I made sure to square the corners using a carpenter’s square and a level to ensure everything was even. This step is crucial because any misalignment here will affect the entire structure later on.
Next, I built the walls, cutting the 2x4s to the correct height and attaching them to the floor frame using screws. I used a circular saw to make the cuts and a power drill to secure everything in place. I also added support beams inside the walls to make them more rigid and prevent them from bowing.
Finally, I constructed the roof frame using the same 2x4 lumber and attached it to the top of the walls. I made sure to leave enough space for the roof to slope correctly and install the corrugated metal sheets. Once the frame was complete, I was ready to move on to the next step — adding the exterior walls and roofing.
A level is your best friend when building the frame. Use it to check every part of the structure to ensure it’s perfectly aligned and even.
“There’s something oddly satisfying about standing in your new tiny house, watching the sun pour through a small window, knowing that you built it with…”— DIY Wooden Step Stool Plans editors
Related: How to build wooden steps
Assembling the Walls and Roof: Bringing Your Design to Life
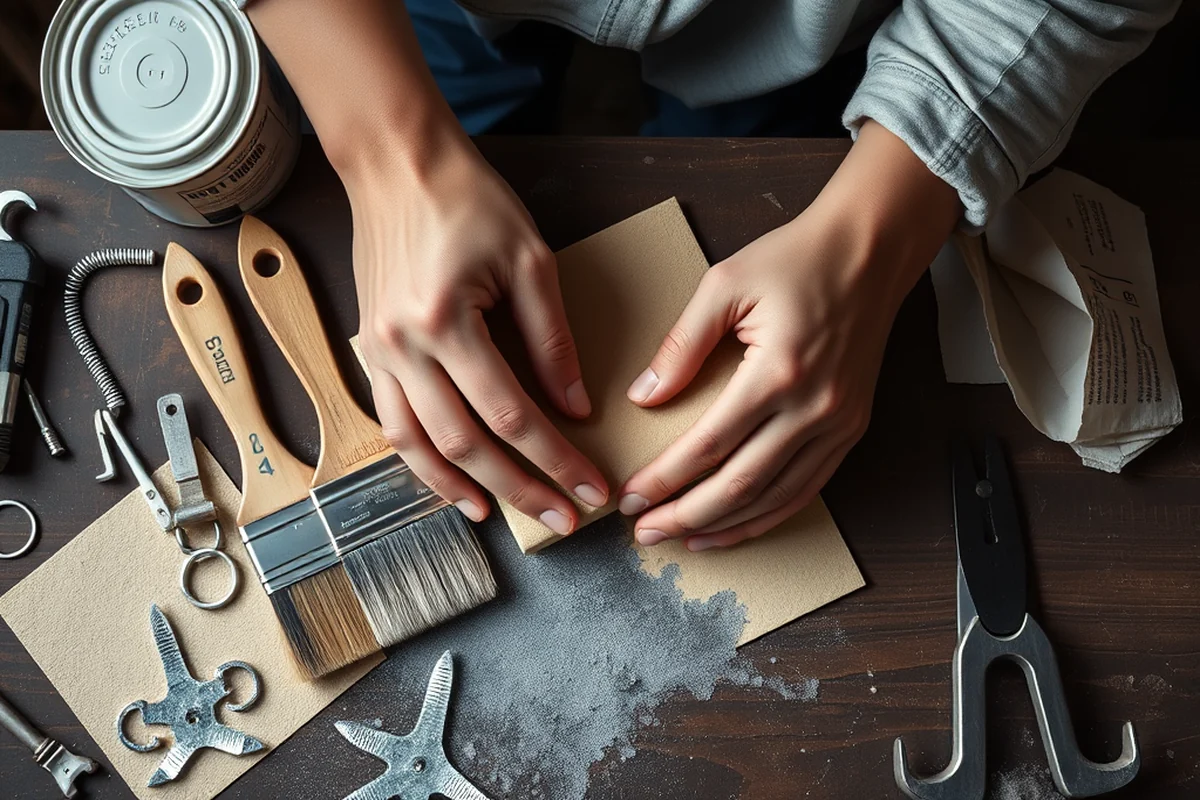
I used OSB panels for the walls, cutting them to fit the dimensions of the frame. I attached them using screws and a power drill, making sure to space them evenly to avoid warping. I also added insulation between the wall panels to keep the house warm in the winter and cool in the summer.
For the roof, I used the corrugated metal sheets I had purchased earlier. I started by attaching the base of the roof to the top of the walls and then installed the metal sheets, overlapping them slightly to ensure they were watertight. I also added a layer of waterproofing material underneath the sheets to provide an extra layer of protection.
Once the roof was in place, I added the final touches, like the exterior trim and window frames. I used leftover materials to keep the cost low and make the house look more finished. At this point, the structure of the tiny house was complete and ready for the interior work.
Related: Diy wood flooring ideas on a budget
Adding the Interior: Making the Space Functional and Cozy
I started by installing the flooring, using the OSB panels I had used for the walls. I laid them down and secured them with screws, making sure they were perfectly aligned. I also added a layer of waterproofing material underneath to prevent any leaks from the ground.
Next, I installed the electrical system. I used a small circuit breaker and a few outlets to power the lighting and a small TV. I also installed a small refrigerator and a microwave, which were essential for my daily needs. I made sure to use low-voltage lighting to keep the energy consumption low and the costs manageable.
Finally, I focused on the furniture. I used a loft bed to save space and added a small kitchenette with a mini fridge, a sink, and a tiny stove. I also added a fold-out table that could be used for dining or extra storage. Every piece of furniture was chosen with functionality in mind, ensuring that the space was both comfortable and efficient.
Related: Diy cheap wood shelves
Finishing Touches: Giving Your Tiny House a Personal Touch
I painted the interior walls with a light, neutral color to make the space feel bigger and more open. I also added some decorative shelves and a few plants to give the house a more personal and inviting feel. I made sure to use eco-friendly paint to keep the space as sustainable as possible.
I installed a small bathroom with a composting toilet and a hand sink. I used a small amount of space efficiently, making sure every inch was used to its fullest potential. I also added a shower, which was installed with a small, compact design that fit perfectly into the corner of the house.
Finally, I added some personal touches, like a few throw pillows, a small rug, and some artwork on the walls. These details helped transform the space from a basic structure into a cozy, livable home. Every part of the tiny house was completed with care and attention to detail.
A home isn’t just about walls and floors — it’s about the little details that make it feel like yours.
Related: How much to build wooden shed
Moving In and Living the Tiny Life: Embracing the New Chapter
Moving into my tiny house was one of the most exciting moments of the entire project. I had spent so much time building it, and now it was finally ready to be lived in. I was amazed at how much space I had managed to create despite the small size of the house.
Living in a tiny house has been a learning experience in itself. I’ve had to be more intentional with my belongings, making sure that every item has a purpose and a place. I’ve also learned to appreciate the minimalism that comes with this lifestyle, as it has helped me reduce stress and live more simply.
Overall, building my tiny house was one of the most rewarding experiences of my life. It taught me the value of hands-on work, the importance of planning, and the satisfaction of creating something that’s entirely mine. If you’re thinking about building your own tiny house, I encourage you to take the first step and start planning your dream home.
💰 Budget Build
Use salvaged materials and free or low-cost tools to create a functional, no-frills tiny house.
⏰ Weekend Version
A simple, modular design that can be built in a single weekend with minimal effort.
✨ Upgraded Finish
Add luxury elements like custom cabinetry, high-end flooring, and smart home features for a more finished look.
📏 Small-Space Adaptation
Design for even tighter spaces, using fold-out furniture and hidden storage solutions to maximize utility.
🏠 Rental-Safe Option
Create a tiny house that can be easily moved and adapted to different rental properties without causing damage.
| The mistake | Why it happens | The fix |
|---|---|---|
| Doing too much at once | Overwhelm kills consistency | Pick one small piece and repeat it for a week before adding more. |
| Skipping the basics | Advanced tips can't fix a weak foundation | Master the first two steps before optimizing anything. |
How To Build A Tiny House
Common Questions
Can I build a tiny house without any prior experience?
How long does it take to build a tiny house?
What are the most important tools I’ll need?
How do I ensure my tiny house is structurally sound?
References
Cite this guide
DIY Wooden Step Stool Plans (2026). How To Build A Tiny House. https://stoolreach.com/how-to-build-a-tiny-house/
Feel free to cite or share this guide.