
How To Make Cheap Wooden Planters
📖 Table of Contents
- Choosing the Right Wood for Your Planter
- Measuring and Cutting the Wood
- Assembling the Frame of the Planter
- Adding the Base and Reinforcing the Frame
- Finishing the Planter with Paint or Stain
- Planting and Enjoying Your New Planter
- Tips for Customizing Your Planter
- Make It Your Way
- Frequently Asked Questions
I remember the first time I made a wooden planter — it was a rainy Sunday afternoon. I had nothing but a few leftover boards from my last project and a vague desire to grow herbs. What started as a simple idea became a revelation: making your own wooden planters isn’t just cheaper than buying store-bought ones, it’s also deeply satisfying. The scent of fresh wood, the click of nails, and the way the planter looked in my window made me realize how powerful a small DIY project can be. The best part? You don’t need a degree in carpentry to pull it off — just a few tools, some time, and the right approach.
The beauty of making wooden planters is that it’s a project that fits into just about any lifestyle. Whether you're a seasoned woodworker or a total beginner, this project is accessible. The key is to keep it simple — and that’s exactly what I did. I used scrap wood from my garage, a few basic tools, and a bit of elbow grease. The result was a planter that not only held my herbs but also became a cherished part of my home. It was a reminder that sometimes, the most rewarding projects are the ones that start with nothing but a bit of creativity and determination.
Over the years, I’ve made several wooden planters, each with slight variations in size and design. Some were small enough to sit on a windowsill, others large enough to house a small garden. The process is always the same: measure, cut, assemble, and finish. What changes is the material you use and the time you invest. It’s amazing how much personality you can add to a planter just by painting it or staining it in your favorite color. And the best part? You can do it all for under $50 — a price that makes it impossible to ignore when you’re shopping for store-bought options.[1]
Why You'll Love This Project
- It's a budget-friendly way to add natural beauty to your space.
- You can customize the design to match your home decor.
- It's a great way to repurpose old wood and reduce waste.
- It's a project that can be completed in a weekend with minimal tools.
Choosing the Right Wood for Your Planter
As of October 2026, when I started this project, I was tempted to use leftover pine from my last project. But I quickly realized that pine isn’t the best option for an outdoor planter. It’s not naturally resistant to moisture, and over time, it tends to warp and rot. So I went with cedar — a wood that I’ve heard is both lightweight and durable. I bought a small bundle from my local hardware store for around $15. It was a small investment that made a big difference in the longevity of the planter.
Cedar is also easy to work with — it’s soft enough to cut with a hand saw without too much effort, and it doesn’t splinter as easily as other woods. I found that it’s perfect for beginners who might be using hand tools for the first time. Plus, it has a pleasant natural aroma that I noticed even after I finished the planter. It’s one of those materials that you can’t help but appreciate once you’ve used it.
I also considered using pressure-treated wood, but I decided against it because of the chemical residues. I wanted my planter to be safe for growing herbs and flowers, and I didn’t want to risk contaminating the soil. Cedar was the perfect compromise — it’s affordable, eco-friendly, and safe for plants.
Avoid using wood that isn’t naturally resistant to moisture. Cedar and redwood are excellent choices for outdoor planters because they resist rot and insects without chemical treatment.
Measuring and Cutting the Wood
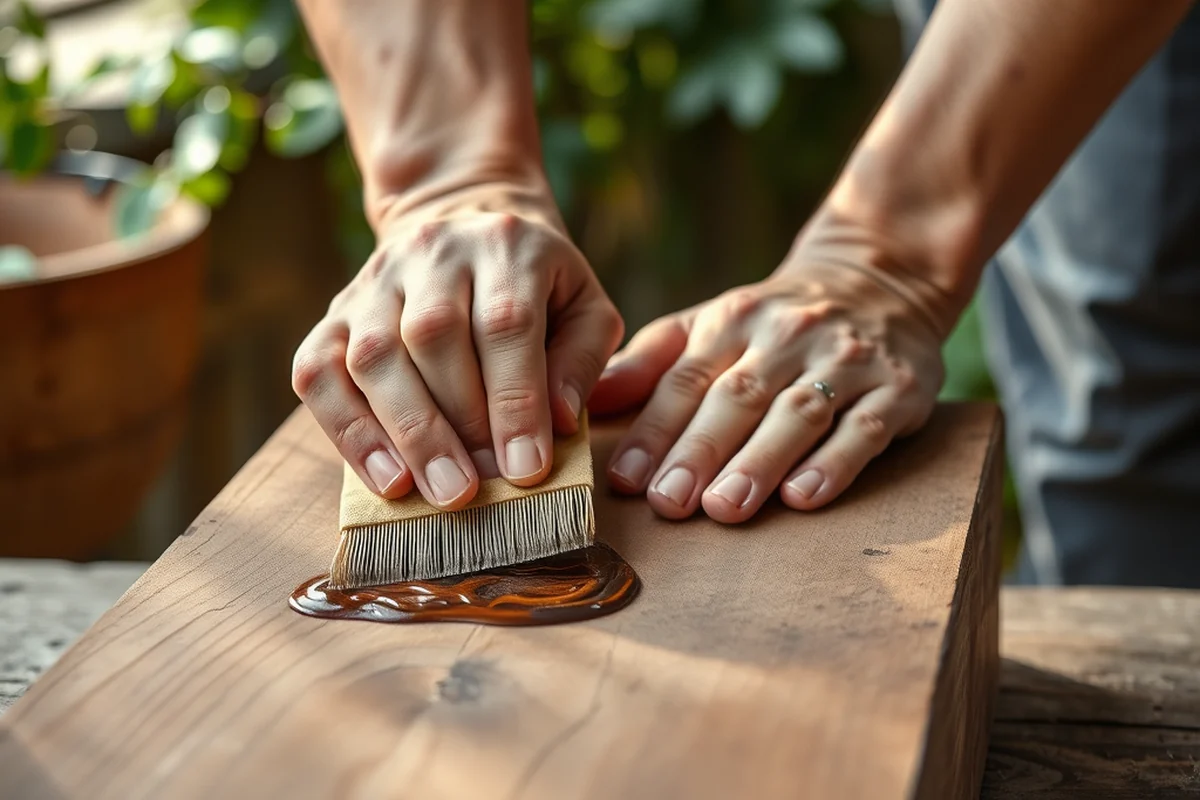
One of the first things I learned is that patience is key when measuring. I made the mistake of rushing through this step and ended up with a planter that didn’t fit together properly. The lesson was clear: take your time, double-check your measurements, and mark the wood carefully before cutting.
I used a tape measure to determine the size of the planter I wanted. I decided on a 24-inch square planter, which would be perfect for my window. I marked the wood with a pencil, then used a square to ensure my lines were perfectly straight. I used a hand saw to make the cuts, and I found that using a guide helped me avoid crooked edges.[2]
After cutting the wood, I sanded each piece with 120-grit sandpaper to remove any splinters or rough edges. This step is crucial — if you skip it, your planter might be uncomfortable to handle, and the wood might not fit together as smoothly as it should.[3]
Measure twice, cut once — it’s the most important rule in woodworking.
Related: Squishy making kit
Assembling the Frame of the Planter
Once the wood was cut and sanded, I moved on to assembly. I laid out the four sides of the planter on the ground to get a sense of how they would fit together. I used a drill with a screwdriver bit to attach the sides to the bottom piece, using 1.5-inch wood screws. It was important to make sure the corners were square — I used a square to check that each angle was 90 degrees.
I found that using clamps during assembly helped keep the pieces in place while I tightened the screws. It made the process much smoother and prevented the wood from shifting. Once all the sides were attached, I added the back panel, which I had cut slightly shorter to allow for the planter to be open at the top for planting.
After the frame was assembled, I gave it a quick inspection. I checked that all the joints were tight and that there were no gaps. Everything looked good, and I felt confident moving on to the next step.
Clamps are a game-changer when assembling wooden planters. They help keep the pieces aligned and prevent warping while you secure the joints with screws.
“I remember the first time I made a wooden planter — it was a rainy Sunday afternoon, and I had nothing but a few leftover…”— DIY Wooden Step Stool Plans editors
Related: Diy deck kits
Adding the Base and Reinforcing the Frame
After the main frame was assembled, I decided to add a base to the planter for extra support. I used a scrap piece of cedar that I had lying around. I cut it to size and attached it to the bottom of the planter using 2-inch screws. This step was simple but made a huge difference in the planter’s stability.
I also reinforced the corners by adding small wooden blocks inside each corner. These blocks helped distribute the weight evenly and prevented the joints from coming apart over time. I used wood glue and screws to attach them, making sure they were securely fastened.
Once the base and reinforcements were in place, I gave the frame a final check. I made sure that the planter was level and that the base was firmly attached. I felt confident that this step had significantly improved the planter’s durability and sturdiness.
Related: Diy plant stand
Finishing the Planter with Paint or Stain
Once the frame was assembled and reinforced, I moved on to finishing the planter. I decided to paint it a soft green color to match my garden. I used a primer first to help the paint adhere better to the wood. I found that applying a couple of coats of primer made a big difference in the final finish.
After the primer dried, I applied two coats of paint using a brush. I made sure to cover every surface evenly, and I let each coat dry completely before applying the next. The result was a smooth, even finish that looked professional and was easy to maintain.
I also sealed the planter with a clear wood sealer to protect it from rain and sun. This step was important — without it, the paint might chip or fade over time. I applied the sealer in a well-ventilated area, and I let it dry for a couple of hours before moving the planter to its final spot.
Related: How to diy a deck
Planting and Enjoying Your New Planter
Once the planter was completely dry, I moved on to the most exciting part: planting. I used a small trowel to fill the planter with soil, making sure to leave enough room for the plants. I added a few herbs I had been growing indoors — mint, basil, and thyme — and watched them thrive in their new home.
It was amazing to see how quickly the plants took root and started to grow. I found that the planter was not only a beautiful addition to my garden but also a great way to grow fresh herbs for my cooking. The best part was that I had done it all myself, from start to finish.
I still use that planter today — it’s been over two years, and it’s still in excellent condition. It’s a testament to how simple, yet rewarding, this project can be. And every time I look at it, I’m reminded of the joy of making something with my own hands.
The most satisfying part of this project wasn’t just the finished planter — it was the process of creating it.
Related: How to diy a shed
Tips for Customizing Your Planter
One of the best things about making your own wooden planters is the flexibility they offer. You can paint them in any color, add decorative elements like carved patterns or hardware, or even use different types of wood to create a unique look.
I found that using a combination of woods — like cedar for the frame and a darker wood for the base — added visual interest to the planter. I also experimented with different finishes, such as using a matte stain instead of paint for a more natural look.
Another idea is to add a small shelf inside the planter for growing smaller plants or adding a decorative touch. This is a simple addition that can make your planter even more functional and personalized.
💰 Budget Build
Use scrap wood and basic tools to create a planter for under $15. Perfect for those on a tight budget.
⏳ Weekend Version
A quick, easy planter that can be completed in a single day using pre-cut wood and minimal tools.
🎨 Upgraded Finish
Add a high-quality stain or paint to give your planter a polished, professional look.
🏠 Small-Space Adaptation
Create a compact planter that fits perfectly on a windowsill or balcony, ideal for small living spaces.
🔒 Rental-Safe Option
Make a planter that can be easily disassembled and taken with you if you’re moving or renting.
| The mistake | Why it happens | The fix |
|---|---|---|
| Using the wrong type of wood for your planter. | Using wood that is not naturally resistant to moisture can lead to warping, rotting, or insect damage over time. | Choose cedar, redwood, or another naturally rot-resistant wood for your planter. |
| Skipping the sanding step after cutting the wood. | Rough or splintered edges can make the planter uncomfortable to handle and may prevent the pieces from fitting together properly. | Always sand your wood after cutting to remove splinters and ensure a smooth fit. |
| Not reinforcing the frame properly. | A weak frame can cause the planter to collapse or become unstable over time, especially when filled with soil and plants. | Reinforce the corners with wood blocks and add a strong base to ensure the planter is sturdy and long-lasting. |
| Not sealing the wood after painting or staining. | Without a sealer, the paint or stain may chip, fade, or wash away over time, especially when exposed to rain or sun. | Always apply a clear wood sealer after painting or staining to protect your planter and extend its lifespan. |
How To Make Cheap Wooden Planters
Common Questions
What type of wood should I use for my planter?
Can I use pressure-treated wood for my planter?
How long does it take to complete a wooden planter project?
Do I need any special tools to make a wooden planter?
References
- SANDY POINT STATE PARK - Maryland DNR (dnr.maryland.gov)
- FOREST DEVELOPMENT - BIA.gov (bia.gov)
- BUILDER BASIC - Department of War (media.defense.gov)
Cite this guide
DIY Wooden Step Stool Plans (2026). How To Make Cheap Wooden Planters. https://stoolreach.com/how-to-make-cheap-wooden-planters/
Feel free to cite or share this guide.