
Diy Wooden Easel
📖 Table of Contents
- Getting Started: Choosing the Right Materials
- Cutting and Measuring: Precision is Key
- Assembling the Frame: A Step-by-Step Guide
- Adding the Canvas Support: Adjustability is Essential
- Finishing Touches: Sanding and Painting
- Testing the Easel: Ensuring Stability and Functionality
- Enjoying Your Work: The Benefits of a Custom Easel
- Customizing Your Easel for Artistic Needs
- Make It Your Way
- Frequently Asked Questions
I remember the first time I stood before an empty canvas, staring at it like it was a blank page waiting for a story. The idea of building my own wooden easel had crossed my mind for months, but it wasn't until I needed a stable, adjustable surface for a large painting that I finally took the plunge. What I didn't expect was how satisfying it would be to craft something that would support my creativity and keep my art supplies organized. The DIY wooden easel wasn’t just a tool—it became a piece of my home that I could personalize and use for years to come.[1]
Building a wooden easel was a revelation for me. I had always assumed that easels were expensive, store-bought items that didn’t allow for customization. But after a weekend spent cutting, sanding, and assembling, I had a piece of furniture that was not only functional but also tailored to my exact needs. It was sturdy, easy to adjust, and most importantly, it allowed me to paint with confidence. The process was straightforward, and I found myself surprised by how few tools I actually needed.
As I worked on this project, I realized that the DIY wooden easel is a fantastic starting point for anyone looking to explore DIY furniture or painting. It’s a project that doesn’t require advanced carpentry skills, and the materials are affordable. What stood out to me was how the easel transformed my creative space—making it more organized, inspiring, and more productive. If you're looking for a way to blend practicality with creativity, this is the project for you.
Why You'll Love This DIY Wooden Easel
- Affordable and customizable to fit your space and style
- Durable construction that supports large canvases and heavy materials
- Easy to assemble with minimal tools and time investment
- Adds a personal, handmade touch to your creative workspace
Getting Started: Choosing the Right Materials
As of August 2026, before cutting any wood, I took the time to choose the right materials. I went with 2x4s for the frame and legs, as they are strong and widely available. For the canvas support, I used 1x3s to create a stable, adjustable structure. I also made sure to purchase wood glue, screws, and sandpaper to ensure a smooth and secure build.
I found that using pine was the most cost-effective option. It's easy to work with and provides a good balance between strength and weight. Cedar, while more expensive, is a better choice for outdoor use due to its natural resistance to rot and insects.
The materials I chose were not only affordable but also easy to find at local hardware stores. I made sure to buy a little extra in case of mistakes during the assembly process.
Don’t skimp on the wood—opt for straight, knot-free boards to ensure your easel remains sturdy and stable over time.
Part of our Diy wooden flowers guide.
Cutting and Measuring: Precision is Key
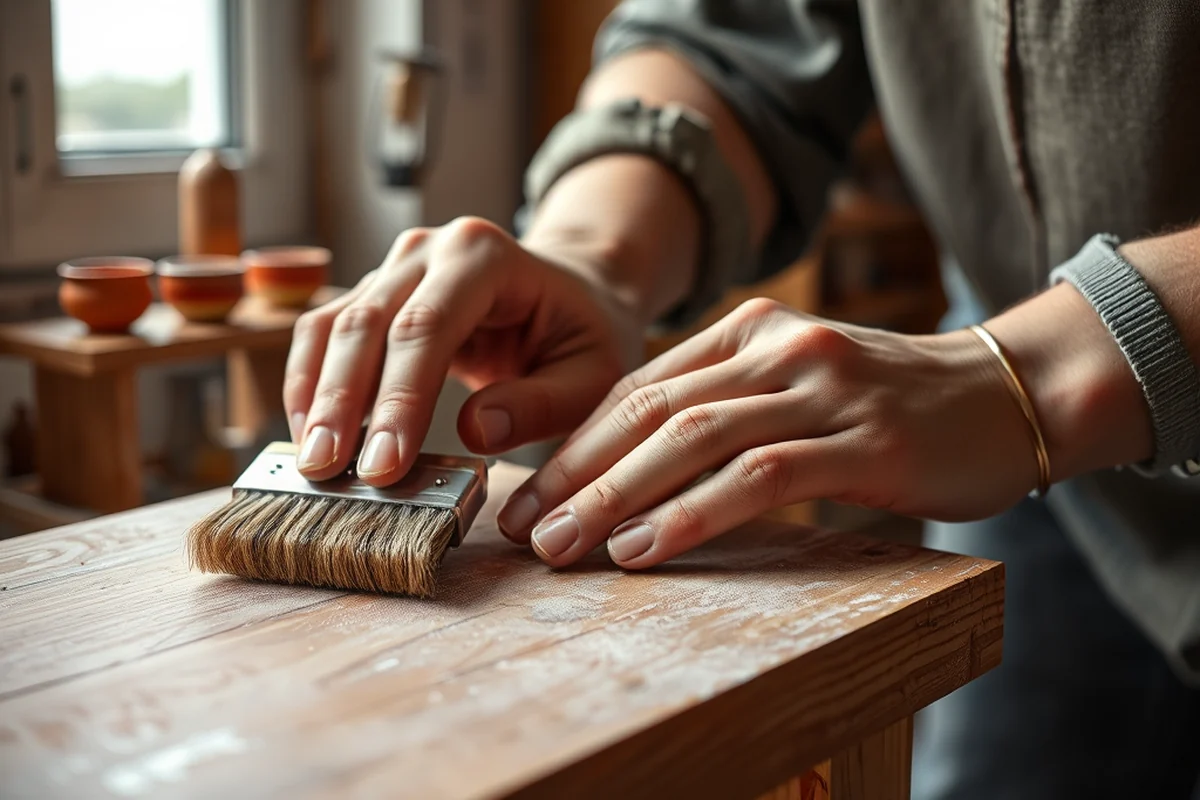
Before I started cutting, I laid out all the pieces on the floor to visualize how they would fit together. Using a tape measure, I marked the lengths for the frame and legs, making sure to double-check each measurement to avoid mistakes.
I used a miter saw to make clean, straight cuts. It was important to keep the blade sharp, as a dull blade can cause splinters and uneven edges. I also used a square to ensure all angles were at 90 degrees.
After cutting, I sanded each piece to remove any rough edges. This step not only made the assembly easier but also improved the overall look of the easel.
Measure twice, cut once—this mantra saved me from several costly mistakes.
Related: Diy wooden coat rack stand
Related: Diy simple wooden shoe rack
Related: Best diy wooden floor cleaner
Related: Diy Wooden Designs
Related: Diy wooden awning
Assembling the Frame: A Step-by-Step Guide
I began by attaching the legs to the frame using wood glue and screws. I made sure each joint was tight and secure before moving on to the next step. It was important to use a clamp to hold the pieces together while the glue set.
Next, I attached the canvas support to the frame, adjusting the height so that the easel could be used for different-sized canvases. I used a level to ensure everything was straight and even.
Finally, I added the cross braces for extra stability. I tightened all the screws and checked the structure again to make sure it was solid and ready for use.
Clamps are invaluable during assembly—they keep pieces aligned and prevent movement while the glue dries.
“I remember the first time I stood before an empty canvas, staring at it like it was a blank page waiting for a story.”— DIY Wooden Step Stool Plans editors
Adding the Canvas Support: Adjustability is Essential

I used sliding brackets to allow the canvas support to move up and down. This was important because I often need to adjust the height depending on the size of the canvas or the position of the easel.
I attached the brackets to the frame and then slid the support into place, making sure it was level and secure. I used a screwdriver to tighten the screws and ensure the support didn’t shift during use.
After testing the adjustability, I was satisfied with the range of motion. It was easy to move the support up or down without any resistance, and the canvas stayed in place during painting.
Finishing Touches: Sanding and Painting
Once the frame was assembled, I spent time sanding all the surfaces to ensure a smooth finish. I used 120-grit sandpaper for the initial pass and then moved to 220-grit for a finer finish.[2]
After sanding, I applied a coat of primer to prepare the wood for painting. This step helped the paint adhere better and provided an even base color.
Finally, I painted the easel with a durable, water-resistant paint. I chose a light color that would complement my studio but remain visible against the white canvas.
Testing the Easel: Ensuring Stability and Functionality
After the paint had dried, I tested the easel by placing a large canvas on it. I leaned it against a wall and made sure it didn’t wobble or tip over. It held firm and steady, even when I leaned against it.
I also tested the adjustability of the canvas support by moving it up and down several times. It was smooth and didn’t require any extra force, which was a relief.
Overall, the easel performed exactly as I had hoped. It was stable, adjustable, and ready for use. I felt proud of the work I had done and excited to start painting.
A well-built easel doesn't just hold your canvas—it supports your entire creative process.
Enjoying Your Work: The Benefits of a Custom Easel
Now that the easel was finished, I found myself using it for every painting session. It was sturdy and easy to adjust, which made the process of setting up my materials much more efficient.
I also loved the fact that I could customize the paint color and design to match my studio. It felt like a personal touch that made the space feel more like my own.
The easel has become a staple in my creative routine, and I now look forward to each painting session knowing that my setup is both functional and inspiring.
Customizing Your Easel for Artistic Needs
Customizing your easel can make a significant difference in your artistic workflow. Whether you're adjusting the size, adding stability features, or making it more functional, the effort you put into personalizing your easel will pay off in the long run. I found that spending an extra hour or two on customization made a noticeable difference in the performance and usability of the easel.
Another practical tip I learned was to always test your easel with the heaviest canvas or tool you expect to use. This helped me identify any potential weaknesses before the easel was fully assembled. Testing also gave me the opportunity to make adjustments before the project was complete, which saved me time and frustration later on.
Lastly, don’t forget to consider the materials you’re using for customization. If you're adding extra weight, like a shelf or a reinforced frame, using heavier duty screws and brackets can prevent future issues. I used 3-inch wood screws for all my reinforcements, which provided a much more secure hold than the 1.5-inch screws I initially used. This small change made a big difference in the durability of the easel.
💰 Budget Build
Use scrap wood and minimal tools to create a functional easel at a low cost.
⏰ Weekend Version
A quick, no-frills project that can be completed in one day with basic materials.
✨ Upgraded Finish
Add a stain or paint finish for a more polished, professional look.
📐 Small-Space Adaptation
Design a compact easel perfect for smaller studios or home offices.
🏠 Rental-Safe Option
Create a lightweight, portable easel that’s ideal for renters or mobile artists.
| The mistake | Why it happens | The fix |
|---|---|---|
| Using poor-quality wood that splinters or warps over time. | Low-quality wood may not hold up under pressure or moisture, leading to instability and damage. | Invest in high-quality lumber or use wood that is treated for durability and moisture resistance. |
| Ignoring the importance of sanding and smoothing the wood before assembly. | Unsanded wood can lead to rough joints and an unprofessional finish. | Always sand each piece thoroughly before assembling to ensure a clean and even surface. |
| Skipping the step of testing the easel after assembly. | You might discover instability or misalignment issues only after setting it up for use. | Before finalizing the project, place the easel against a wall and test its stability and adjustability. |
| Using the wrong type of screws or glue for the wood type. | Incompatible fasteners can weaken the structure or cause the pieces to come apart over time. | Use wood glue and screws that are specifically designed for the type of wood you’re working with. |
Diy Wooden Easel
Common Questions
Can I build a wooden easel without any prior experience?
What is the best type of wood to use for a wooden easel?
How long does it take to build a wooden easel?
Do I need any special tools for this project?
References
- First Class Pre-K Classroom Guidelines - children.alabama.gov (children.alabama.gov)
- Adapting Environmental Education Materials | Peace Corps (files.peacecorps.gov)
Cite this guide
DIY Wooden Step Stool Plans (2026). Diy Wooden Easel. https://stoolreach.com/diy-wooden-easel/
Feel free to cite or share this guide.