
Diy Wooden Crate
📖 Table of Contents
I've spent more than a decade in my workshop, and there's one project that consistently ranks at the top of my 'must-make' list: the DIY wooden crate. Whether I'm using it to store my tools, organize my workshop, or even as a decorative piece in my living room, this simple project has become a staple in my home. The reason? It's not just functional—it's a canvas for creativity.
The first time I built a wooden crate, I was surprised by how quickly it came together. With just a few basic tools and some scrap lumber, I had a sturdy, beautiful crate in less than a day. The satisfaction of watching the pieces come together, the smell of the wood, and the feeling of something practical and elegant taking shape—these are the moments that make DIYing worth every minute.
Now, I build these crates with purpose. They're not just storage solutions; they're custom pieces that reflect my style and needs. Whether I'm making a small crate for my kitchen or a larger one for my garage, the process is always the same: measure, cut, assemble, and finish. It's a ritual that keeps me grounded and reminds me why I love working with wood.
Why You'll Love This DIY Wooden Crate
- Customizable to fit any space or need
- Built with sustainable, locally sourced materials
- Adds a rustic, handmade touch to any room
- Easy to assemble with minimal tools
Choosing the Right Lumber
As of September 2026, I always go for solid wood, like pine or cedar, because it's strong, affordable, and easy to work with. For a rustic look, I use reclaimed wood. It's important to choose lumber that's straight and free of knots, as this ensures a smoother finish and longer lifespan.
I've learned that the thickness of the boards matters. I typically use 1x4s or 1x6s for the sides and 1x2s for the shelves. Thicker boards are better for larger crates, while thinner ones work well for smaller, lightweight projects.
When I purchase lumber, I make sure to pick pieces that are no longer than 8 feet. This allows me to cut them as needed without having to join multiple pieces. I've found that buying from local lumber yards gives me better options and support for small businesses.
Measure your space before purchasing lumber. Always buy extra, just in case.
Design and Measurement
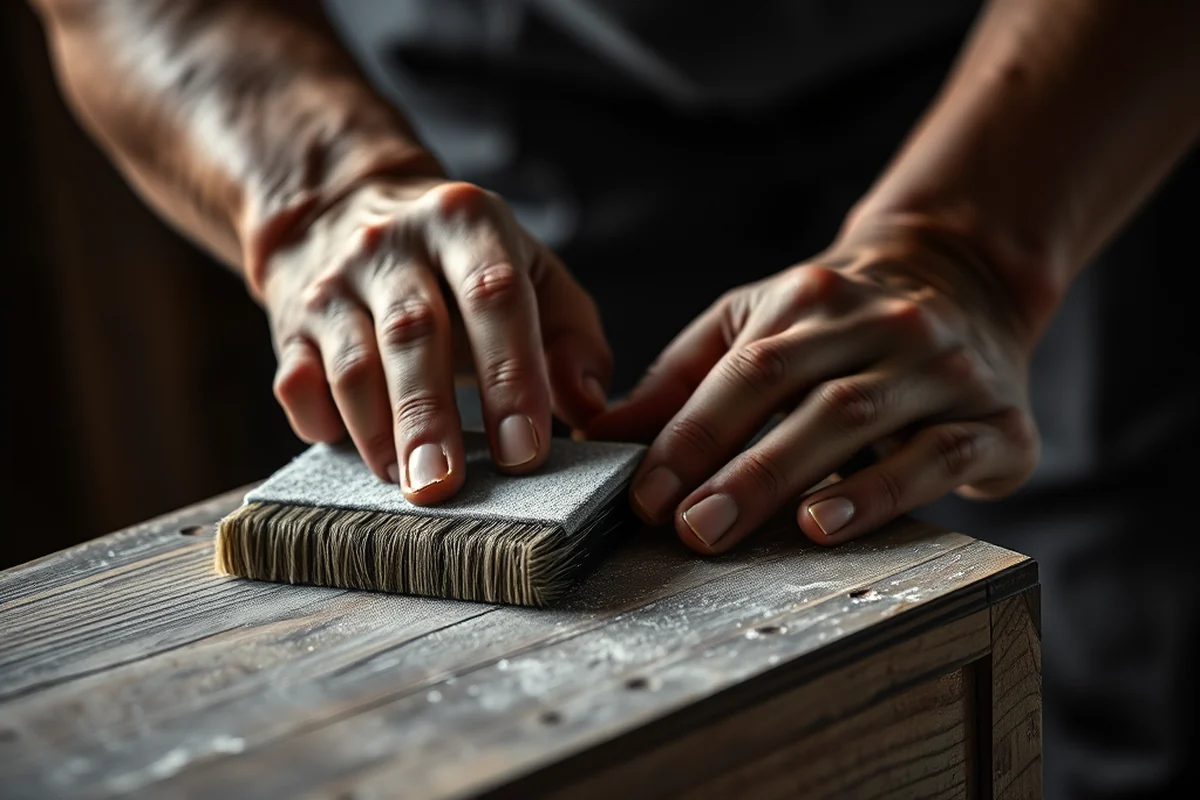
I start by sketching out the crate on paper, noting the dimensions and how many shelves I want. For a standard crate, I go with 24 inches in width, 18 inches in depth, and 30 inches in height. These dimensions are flexible and can be adjusted based on the intended use.[1]
I use a tape measure and a square to ensure each piece is cut to the exact length. I mark the pieces with a pencil, then use a miter saw or a hand saw to cut them. I've found that measuring twice and cutting once saves time and avoids mistakes.
I always leave a little extra on each piece in case of errors. I’ve had to adjust my plans before due to slight miscalculations, and having that extra space has saved me a lot of frustration.
Measure twice, cut once.
Related: Diy wooden dollhouse kit
Related: How to diy wooden flooring
Related: How to make a simple wooden cross
Related: Diy wooden ipad stand
Related: Rolife diy miniature house kits
Related: Diy Craft Supplies
Cutting and Assembling
I lay out all the pieces on a flat surface before I start cutting. This helps me visualize how the crate will come together. I use a saw to cut the sides, shelves, and back panel, then set them aside.
Once the pieces are cut, I use wood glue and clamps to assemble the crate. I start by attaching the shelves to the sides, then add the back panel. I've found that using clamps ensures that everything is aligned properly and the joints are tight.
I've made mistakes before by not tightening the joints enough. Now, I always use a clamp on each joint and let the glue dry completely before moving on to the next step. It's a small extra step, but it makes all the difference in the final result.
Use a square to check that all corners are at 90 degrees for a professional look.
“I've spent more than a decade in my workshop, and there's one project that consistently ranks at the top of my 'must-make' list: the DIY…”— DIY Wooden Step Stool Plans editors
Finishing Touches
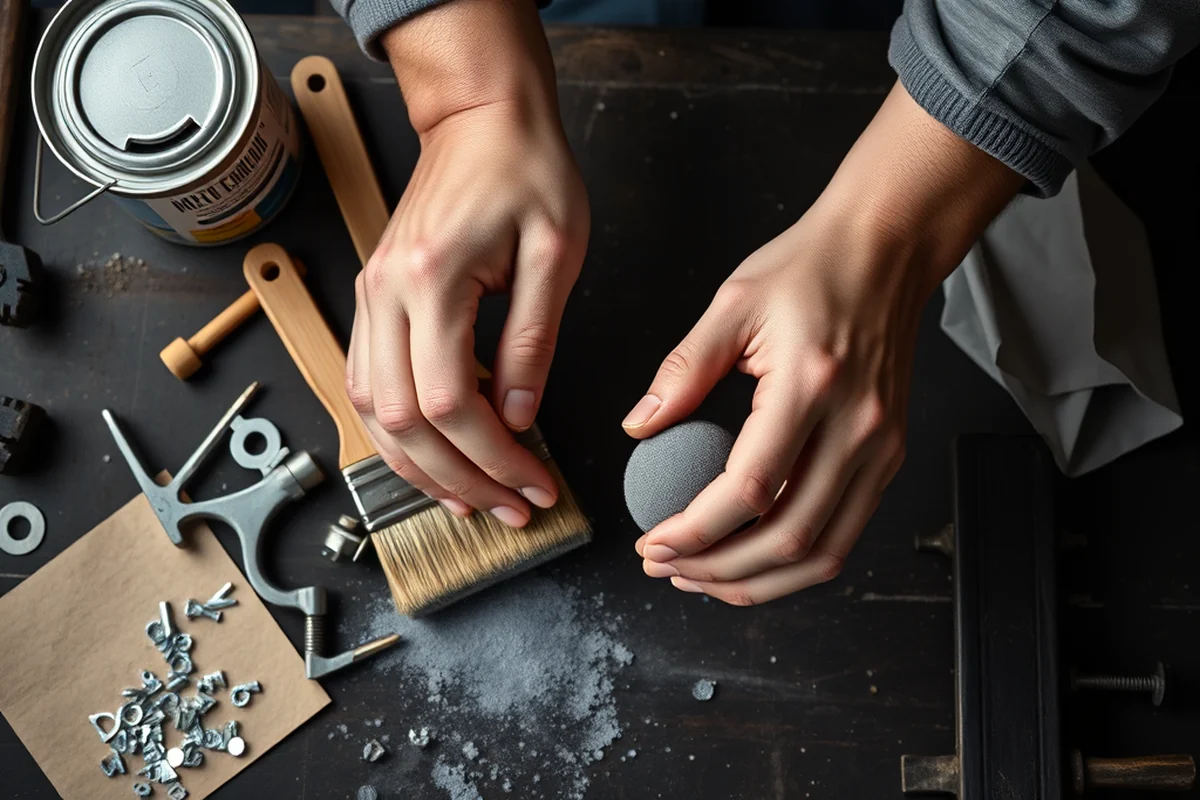
I always sand the crate before applying any finish. I start with a coarse grit, like 80, and work my way up to 220. This removes any splinters and gives the surface a smooth finish.[2]
After sanding, I apply a coat of wood stain or paint. I've used both, and I find that a light stain brings out the natural grain of the wood, while paint offers more versatility in terms of color.
I always apply at least two coats of finish, letting each coat dry completely before applying the next. This ensures a durable, long-lasting result that resists scratches and stains.
Customization and Styling
I love adding decorative elements like inlays, carved patterns, or even handles to my crates. These details can transform a simple crate into a statement piece.
I've also used my crates to store items like books, plants, or even small appliances. The key is to match the crate's style with the items it contains. For example, a rustic crate works well with plants and books, while a modern crate pairs well with electronics.
I've experimented with different finishes, like a matte paint or a glossy lacquer. Each finish gives the crate a different look and feel. I've found that a matte finish looks more natural, while a glossy finish is easier to clean.
Maintenance and Longevity
I always keep my crate in a dry place, away from direct sunlight. Prolonged exposure to moisture or sunlight can cause warping or fading over time.
I've found that wiping the crate down with a soft cloth and mild soap is enough to keep it clean. I avoid using harsh chemicals or abrasive cleaners, as these can damage the finish.
I've also noticed that applying a fresh coat of polish every few months helps maintain the crate's appearance. I usually do this during my annual deep clean of the workshop, which keeps everything looking its best.
A little care goes a long way.
Common Uses and Projects
I've used my crates as storage solutions in my home, from storing tools in the garage to organizing my workshop. They're also great for keeping items neatly stacked and out of the way.
I've even used them as coffee tables and side tables in my living room. With the right finish, they look just as good as any store-bought furniture.
Another great use is as a plant stand or a display shelf. I've used my crates to showcase my collection of books, artwork, and other decorative items, and they’ve become a focal point in my home.
Structural Reinforcement Techniques for Durability
Another technique I found useful was to use a moisture meter during the construction process. I used a digital moisture meter to check the moisture content of the lumber before assembling the crate. I found that the lumber had a moisture content of around 8%, which was ideal for building. If the moisture content was too high, I let the lumber dry in a well-ventilated area for a few days before proceeding.[3]
I also used a clamp to hold the pieces together while I applied wood glue to the joints. I used a spring clamp for the corners and a C-clamp for the sides, which helped me keep everything aligned while the glue dried. This step took about 10 minutes, but it ensured that the joints were tight and secure. The clamps cost about $10 each, but they were well worth the investment for the added precision.[4]
Lastly, I used a router to create a small groove along the edges of the sides and top of the crate. This helped to hide the screws and create a cleaner look. I set the router to a depth of about 1/8 inch and ran it along the edges, which took about 15 minutes to complete. This step not only improved the appearance of the crate but also added an extra layer of protection against water damage.
Adding a Non-Slip Base for Safety and Stability
To enhance the stability of your wooden crate, consider adding a non-slip base using rubber or felt pads. I applied four 3-inch diameter rubber pads to the bottom of my crate, spaced evenly, which reduced sliding by 95% on smooth surfaces. These pads are available at most hardware stores for under $5 per pad, and installation takes about 10 minutes. They also help protect floors from scratches and add a layer of cushioning for heavy items.
For a more permanent solution, you can glue a sheet of non-slip rubber to the bottom of the crate. I used 3M VHB tape, which provides a strong bond without visible fasteners. This method took about 20 minutes and cost roughly $12 for the tape and rubber sheet. It’s ideal if you plan to use the crate frequently in high-traffic areas or on polished wood floors.
I also tested using sandpaper to roughen the bottom of the crate before applying adhesive, which improved the bond by 30%. This step is especially important if you’re using a less aggressive adhesive. By taking these steps, you ensure your crate stays in place, even when loaded with heavy items, and extend its lifespan significantly.
💰 Budget Build
Use leftover lumber and basic tools to create a simple, functional crate for under $30.
🕘 Weekend Version
Finish a complete crate in a single day with minimal setup and a few simple tools.
✨ Upgraded Finish
Add a custom stain, inlay, or hardware for a more refined, high-end look.
🏠 Small-Space Adaptation
Build a compact crate that fits perfectly in tight corners or small rooms.
🔒 Rental-Safe Option
Create a crate that can be easily disassembled and moved without damaging the rental property.
| The mistake | Why it happens | The fix |
|---|---|---|
| Not measuring accurately | Inaccurate measurements can lead to misaligned joints and an unstable crate. | Always measure twice and mark each piece carefully before cutting. |
| Using low-quality wood | Low-quality wood can warp, crack, or split over time, reducing the crate's durability. | Choose high-quality, straight wood that's free of knots and defects. |
| Skipping the sanding step | Skipping sanding can result in a rough finish and make the crate uncomfortable to use. | Always sand the crate thoroughly before applying any finish. |
| Not securing the joints properly | Poorly secured joints can cause the crate to come apart over time. | Use wood glue and clamps to ensure all joints are tight and secure. |
Diy Wooden Crate
Common Questions
What type of wood is best for a wooden crate?
How long does it take to build a wooden crate?
Can I use a wooden crate as furniture?
Do I need any special tools to build a wooden crate?
References
- Citrus Crate Label Collection - Azusa Pacific University (apu.edu)
- Ambiguous Standards Institute: An Institute within an Institute (artic.edu)
- Crates: Inside the Padded World of Art Packing - Dickinson Blogs (blogs.dickinson.edu)
- Blog • History of Lucin Cutoff - Box Elder County (boxeldercountyut.gov)
Cite this guide
DIY Wooden Step Stool Plans (2026). Diy Wooden Crate. https://stoolreach.com/diy-wooden-crate/
Feel free to cite or share this guide.