
Bar Stool Plans
📖 Table of Contents
I remember the first time I tried to build my own bar stool. It was a rainy Saturday afternoon, and I had nothing but a vague idea of what I wanted and a couple of tools. I was determined, but I quickly realized that just having a plan wasn’t enough—it took a specific set of steps, precise measurements, and the right materials. That’s how I learned the value of bar stool plans that are detailed, realistic, and rooted in experience.
Over the years, I’ve built several bar stools, from simple, budget-friendly versions to more elaborate ones with custom finishes and reinforced joints. Each time, I learned something new—whether it was the importance of using the right screws, the benefit of pre-drilling holes, or how to make the stool more comfortable by adjusting the seat height. The process is satisfying, but it’s only as good as the plan you follow.
If you’re looking for bar stool plans that are both practical and inspiring, you’ve come to the right place. This article is the result of countless hours spent in my workshop, testing materials, refining techniques, and learning from mistakes. Whether you’re a first-time DIYer or a seasoned woodworker, these plans will guide you through every step of the way.
Why You'll Love This Bar Stool Build
- Easy-to-follow bar stool plans tailored for all skill levels
- Affordable materials that won’t break the bank
- Adjustable design for different bar heights and seating preferences
- Durable construction that stands the test of time
Design and Planning Your Bar Stool
As of September 2026, I always begin by sketching out my design, considering factors like the height of the bar, the size of the user, and the available space. A standard bar height is around 42 inches, but if you're building for a kitchen island or a counter that's lower, you'll need to adjust accordingly.[1]
I typically use 2x2 lumber for the legs and 1x4 for the seat and backrest. It's sturdy, affordable, and easy to work with. Choosing the right materials at the outset saves time and prevents costly mistakes later on.
For my first stool, I underestimated the importance of the leg height, which made the stool feel unstable. After that, I always measure twice and cut once. It's a simple habit that makes a big difference.
Before cutting any wood, double-check your measurements against your plan. Even a small mistake can throw off the entire project.
Selecting the Right Materials
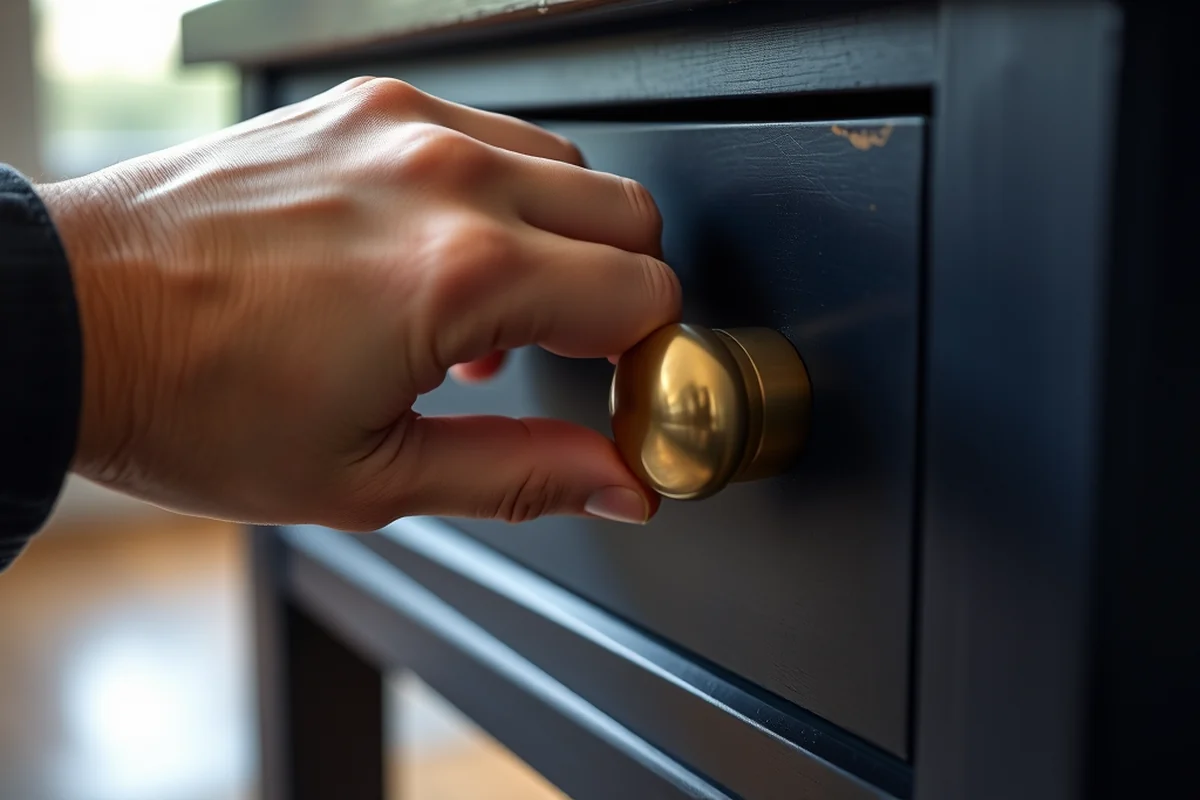
I prefer using solid wood like pine or oak because they’re both strong and easy to work with. Pine is more affordable and ideal for beginners, while oak offers greater strength and a more refined look.
For the seat and backrest, I use 3/4-inch thick wood to ensure comfort and stability. Thinner wood might bend or break under pressure, especially if the stool is used frequently.
I’ve also experimented with MDF and found that it’s a good option for a smooth finish, though it’s not as durable as solid wood. If you're looking for something with a sleek look, MDF can be a cost-effective choice.
Choose your materials wisely—your stool will thank you for it.
Related: Stool plan cad
Related: Diy wooden step stool plans
Related: Diy wooden step stool
Related: Stool chair plans
Related: Diy stool bar
Cutting and Assembling the Frame
I start by cutting the legs and the seat supports to the correct length. Using a miter saw or a hand saw, I make sure each cut is clean and accurate. It’s tempting to rush this part, but taking your time ensures a better result.
After cutting, I use wood glue and screws to attach the legs to the seat frame. Pre-drilling holes is essential to prevent the wood from splitting. I’ve made the mistake of skipping this step before, and the results were less than ideal.
Once the frame is assembled, I sand down any rough edges to ensure smoothness. This step is often overlooked but makes a huge difference in the final look and feel of the stool.
Always pre-drill holes before screwing into wood, especially with hardwoods. This prevents the wood from cracking and ensures a secure connection.
“I remember the first time I tried to build my own bar stool.”— DIY Wooden Step Stool Plans editors
Adding the Seat and Backrest

I cut the seat and backrest to the desired size and shape. For comfort, I recommend rounding the edges of the seat slightly. It’s a small detail, but it makes the stool much more pleasant to sit on.[2]
Attaching the seat to the frame is straightforward. I use wood glue and screws again, making sure the seat is level and centered. I’ve found that using a level during this step is crucial to avoid an uneven stool.
The backrest is attached using the same method. I make sure it’s at an angle that provides good support but isn’t too rigid. It’s a balance between comfort and functionality.
Finishing and Sanding
I always start with coarse-grit sandpaper, like 80 or 100 grit, to remove any rough spots or splinters. Then I move to finer grits, like 120 or 220, for a smooth finish. Sanding is essential for both appearance and comfort.
After sanding, I apply a wood stain or paint, depending on the look I want. I’ve found that using a brush instead of a spray can gives better control and a more even coat. It takes a bit longer, but the results are worth it.
I always allow the finish to dry completely before using the stool. Rushing this step can lead to smudges or damage. It’s tempting to skip this, but patience pays off.
Testing and Adjusting
Once the finish is dry, I sit on the stool to test its comfort and stability. If it feels wobbly, I check the joints again and make sure everything is tight and secure. Even the smallest adjustment can make a big difference.
If the stool is too high or too low, I adjust the legs by cutting them slightly and reattaching them. This is a simple fix but can be crucial for the stool’s functionality.
I’ve learned that testing is a key part of the process. You don’t always get it right the first time, but with a little patience and adjustments, you can create a stool that’s both comfortable and stable.
Test your stool—it’s the only way to know if it works.
Final Touches and Maintenance
I like to add a small cushion or padded seat cover for extra comfort, especially if the stool will be used frequently. It’s an optional step, but it makes a big difference in the overall experience.
I also recommend using a clear wood sealant or furniture wax to protect the finish. This helps prevent scratches and makes the stool easier to clean. I’ve found that applying it every few months extends the life of the stool significantly.[3]
With proper care and maintenance, your bar stool can last for years. It’s an investment that pays off with comfort and durability.
💰 Budget Build
Use affordable materials like MDF and basic hardware for a cost-effective, simple design.
⏰ Weekend Version
A streamlined plan that can be completed in a single day with minimal tools and effort.
✨ Upgraded Finish
Enhance your stool with a custom stain, hardware, or a decorative backrest for a more refined look.
🛋️ Small-Space Adaptation
Create a compact bar stool that fits perfectly in apartments or small kitchens.
🏠 Rental-Safe Option
Build a bar stool using removable parts and non-damaging materials for easy transport and storage.
| The mistake | Why it happens | The fix |
|---|---|---|
| Skipping pre-drilling holes before attaching the legs or seat. | This can cause the wood to split and weaken the joints, making the stool unstable. | Always pre-drill holes before inserting screws, especially with hardwoods. |
| Using warped or uneven wood for the frame. | This can lead to an unbalanced stool that wobbles or feels unstable when used. | Choose straight, even pieces of wood and avoid any with visible warping or knots. |
| Not sanding the edges of the seat and backrest. | This can cause splinters or discomfort, especially when the stool is used frequently. | Spend time sanding all edges and surfaces to ensure a smooth, comfortable finish. |
| Rushing the staining or finishing process. | This can lead to uneven coverage or smudges, which can be difficult to fix later. | Take your time with each coat of stain or paint and allow it to dry completely before moving on. |
Bar Stool Plans
Common Questions
Can I use a different type of wood instead of pine or oak?
How long does it take to build a bar stool from start to finish?
Do I need any special tools for this project?
Can I customize the height of the stool to fit my bar or counter?
References
- 12 CFR Part 225 -- Bank Holding Companies and Change in ... - eCFR (ecfr.gov)
- The effect of advanced age and stool modification on reaching ... (pmc.ncbi.nlm.nih.gov)
- SCA DIRECTORY OF OCCUPATIONS Fifth Edition (dol.gov)
Cite this guide
DIY Wooden Step Stool Plans (2026). Bar Stool Plans. https://stoolreach.com/bar-stool-plans/
Feel free to cite or share this guide.