
Diy Wooden Step
📖 Table of Contents
I remember the first time I built a wooden step stool for my toddler. It wasn't just about the height or the stability — it was about the moment she climbed up with such confidence, her little hands gripping the sanded edges. That's the power of a well-made DIY wooden step. It's not just a functional piece; it's a testament to your craftsmanship, and it's something that can be used for years, growing with your family.
As someone who loves working with wood, I’ve always been drawn to the tactile feel of a finished project — the smoothness of the grain, the weight of the tools in my hands, the satisfying click of a nail into place. A DIY wooden step is a great way to start, and it's one of the most rewarding projects you can do with just a few basic tools. You don’t need to be an expert to make it, and the result will feel like a real piece of furniture you made with your own hands.[1]
The DIY wooden step is a simple but essential item for any home. Whether you’re using it for a child, a pet, or even for reaching high shelves in your kitchen, it’s a versatile and practical solution. It's also an excellent first project for beginners because it doesn’t require advanced techniques or expensive materials. And the best part? You can customize it to fit your space and your style.
Why You'll Love This DIY Wooden Step
- It’s a safe and sturdy solution for children, pets, or even adults.
- It’s a rewarding project that builds foundational woodworking skills.
- It’s customizable to your space and needs — no two steps are alike.
- It’s cost-effective compared to store-bought options.
Choosing the Right Materials and Tools
As of August 2026, for a DIY wooden step, I recommend starting with 3/4-inch thick pine boards. Pine is affordable, easy to work with, and provides a good balance of strength and flexibility. I also suggest using 1x4s for the frame and 2x2s for the legs. The tools you’ll need are a circular saw, a miter saw or hand saw, a drill, a screwdriver, sandpaper, and a measuring tape. You can complete this project with just a few tools, and most of them can be found in any local hardware store.[2]
When I built my first step, I used 3/4-inch pine for the steps and 2x2s for the legs. I made sure to measure and cut the pieces precisely before assembling. It's important to check the measurements twice to avoid mistakes later on. The key is to use the right tools for the job — for example, a circular saw is great for cutting the boards to size quickly, while a miter saw ensures clean, precise angles for the frame.
After cutting all the pieces, I used a sanding block to smooth out the edges. This not only makes the step safer to use, but it also gives it a professional finish. I always take my time with this step — a few minutes of sanding can make a big difference in the final look and feel of the project.
Invest in a good quality circular saw and sanding block — they’ll save you time and effort in the long run.
Part of our Can wooden guide.
Cutting and Assembling the Frame

To cut the frame pieces, I used a circular saw and marked the dimensions on the 1x4s. I cut two pieces for the top and bottom of the frame and two for the sides. Once all the pieces were cut, I laid them out on the floor to form a rectangle. I used a measuring tape to double-check that all sides were equal and that the corners were square.
After verifying the dimensions, I used wood screws and a drill to secure the corners. I made sure to pre-drill holes to prevent the wood from splitting. I used a 1 1/4-inch screw for the frame because it provided enough holding power without being too bulky. It’s important to tighten the screws firmly but not over-tighten, as that can cause the wood to warp.
Once the frame was assembled, I added the legs. I cut the 2x2s to the desired height — I made mine 24 inches tall for a step that could be used by both adults and children. I attached the legs to the bottom of the frame using wood screws and a drill. The frame was now ready for the steps.[3]
Pullquote:
Related: Diy plane
Related: Diy wooden coasters
Related: Diy wooden chair
Related: Diy wooden exterior door
Related: Diy wooden curtain rod
Adding the Steps and Ensuring Stability
I cut the 3/4-inch pine boards to the length of the frame and the width of each step. I made sure each step was 6 inches wide and 3 inches thick. I used a miter saw to make sure the edges were square. After cutting all the steps, I laid them out on the frame and used a measuring tape to ensure they were evenly spaced — I left 4 inches between each step.
To attach the steps, I used wood screws and a drill again. I pre-drilled holes in the frame and steps to prevent splitting. I made sure the steps were level and evenly spaced. I also added a small piece of wood on the bottom of each step to create a slight overhang, which makes the step easier to step on and more comfortable.
Once all the steps were attached, I used a level to check that the frame was straight and that the steps were even. It’s important to take your time with this step — a slight misalignment can make the step wobbly and unsafe. Once everything was secure, I moved on to the final step: sanding and finishing.
Use a level on the frame and steps to ensure everything is even — a small misalignment can cause wobbling.
“I remember the first time I built a wooden step stool for my toddler.”— DIY Wooden Step Stool Plans editors
Sanding and Finishing for Long-Lasting Use
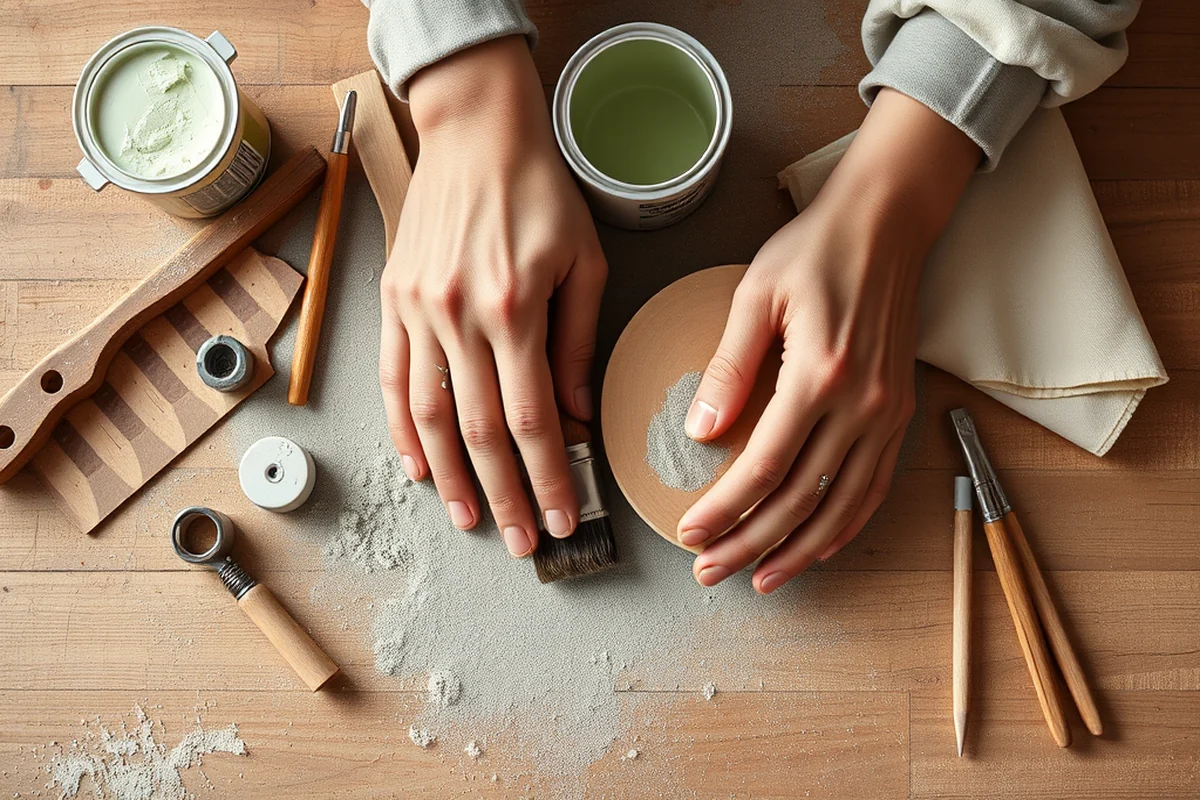
After assembling the frame and steps, I used a sanding block and 120-grit sandpaper to smooth out all the edges and surfaces. I worked in the direction of the grain to avoid creating any scratches. This step is crucial because it removes any splinters or rough spots, making the step safer to use.[4]
Once the wood was smooth, I applied a coat of wood primer using a brush. I made sure to cover all the surfaces evenly. I let the primer dry for about 24 hours before applying the finish. For the finish, I used a water-based polyurethane, which is safe for indoor use and provides a durable, glossy finish.[5]
After the finish dried for 48 hours, I tested the step by standing on it and checking for any wobbling or instability. I was pleased to find it was solid and well-constructed. Now, it’s ready for use — and it looks like a piece of furniture I made with my own hands.
Customizing Your DIY Wooden Step
I like to customize my DIY wooden steps by adding decorative elements like routed edges or painted finishes. I’ve used a router to create a simple bevel along the edges of the steps, which gives it a more professional look. For the finish, I’ve used both oil-based and water-based stains, depending on the look I want. I also added a small handle on the top of the frame to make it easier to carry.
Another way to customize the step is by adjusting the height. I’ve made versions that are 24 inches tall for a step that can be used by both adults and children, and others that are shorter for pets or small children. I’ve even added non-slip pads on the bottom of the steps to prevent slipping on smooth floors.
I also like to add a simple design, like a carved pattern on the top edge of the frame, to give it a personal touch. Whether you want to keep it simple or make it more decorative, the DIY wooden step is a great canvas for your creativity.
Maintaining Your DIY Wooden Step
To keep your DIY wooden step in good condition, I recommend cleaning it regularly with a damp cloth and mild soap. Avoid using harsh chemicals or abrasive cleaners, as they can damage the finish. I also make sure to keep it in a dry place to prevent warping or swelling from moisture.
Over time, the finish may begin to wear. When this happens, I apply a fresh coat of polyurethane or wood oil to protect the surface and restore its shine. I always make sure to let each coat dry completely before applying the next one.
Finally, I check the screws and wood periodically for signs of loosening or splitting. If any screws are loose, I tighten them immediately. If a piece of wood is damaged, I replace it to maintain the integrity of the step.
Safety Tips for Using Your DIY Wooden Step
Before using your DIY wooden step, I always make sure it's placed on a flat, stable surface. Avoid using it on uneven floors or near edges, as this can increase the risk of tipping. I also avoid placing it near heat sources, like radiators or fireplaces, as this can cause the wood to warp or crack over time.
I also make sure to use the step for its intended purpose. For example, I never use it to climb on high shelves or reach into areas that are out of reach — this can put too much weight on the step and cause it to fail. If I need to reach something high, I use a different ladder that is designed for that purpose.
Finally, I always check the step before each use. I look for signs of wear, like loose screws, splinters, or cracks. If I find any damage, I fix it immediately. This simple step can make a big difference in the safety and longevity of your DIY wooden step.
💰 Budget Build
Use scrap wood and free tools from a local hardware store to make a basic step with minimal cost.
🕒 Weekend Version
A simplified version that can be completed in a single day with pre-cut materials and basic tools.
✨ Upgraded Finish
Add decorative elements like routed edges or a custom paint job for a more polished look.
🛋️ Small-Space Adaptation
Build a compact step that fits well in tight spaces like bathrooms or closets.
🏠 Rental-Safe Option
Create a step that can be easily disassembled and moved, perfect for temporary living spaces.
| The mistake | Why it happens | The fix |
|---|---|---|
| Skipping the sanding step | Skipping the sanding step can leave splinters and rough edges that are unsafe to use and can damage the finish. | Always take the time to sand all edges and surfaces before applying the finish. Use 120-grit sandpaper and work in the direction of the grain. |
| Not pre-drilling holes for screws | Not pre-drilling holes can cause the wood to split when you screw in the screws. | Always pre-drill holes with a drill bit slightly smaller than the screws you're using. This will prevent the wood from splitting and ensure a secure fit. |
| Using the wrong type of screws | Using the wrong type of screws can lead to weak joints that may come loose over time. | Use 1 1/4-inch wood screws for the frame and steps. They provide enough holding power without being too bulky. |
| Not checking for level and stability | If the frame is not level or the steps are not evenly spaced, the step can be wobbly and unsafe to use. | Use a level on the frame and steps to ensure everything is even. Take your time with this step — a small misalignment can cause big problems. |
Diy Wooden Step
Common Questions
What type of wood should I use for a DIY wooden step?
How long does it take to build a DIY wooden step?
What tools do I need to build a DIY wooden step?
Can I customize the size of my DIY wooden step?
Cite this guide
DIY Wooden Step Stool Plans (2026). Diy Wooden Step. https://stoolreach.com/diy-wooden-step/
Feel free to cite or share this guide.
References
- (PDF) Understanding Timber Stairs with Video-based Learning: An ... (academia.edu)
- What Wood U Build? - Alabama Cooperative Extension System - (aces.edu)
- USAHEC (ahec.armywarcollege.edu)
- Gauguin's Process | Making Wood-Block Prints (artic.edu)
- Strategies for applying shape grammar to wooden furniture design (bioresources.cnr.ncsu.edu)