
Diy Simple Wooden Crate
📖 Table of Contents
- Materials and Tools: What You’ll Need to Get Started
- Cutting the Wood: Measuring and Marking the Pieces
- Assembling the Crate: Putting It All Together
- Finishing the Crate: Sanding and Painting
- Customizing the Crate: Adding Handles and Decor
- Testing the Crate: Making Sure It’s Sturdy and Functional
- Final Thoughts and Tips for Success
- Make It Your Way
- Frequently Asked Questions
I remember the first time I built a simple wooden crate—it felt like I had just unlocked a secret skill set. The scent of sawdust filled my workshop, and the satisfying click of the last nail made me realize how simple it could be to make something useful from scratch. This crate wasn't just a storage box; it was a testament to the power of DIY. It took me about four hours, mostly because I was still learning my tools, but the result was a piece of furniture that had a real, lived-in feel.[3]
DIY wooden crates are more than just a storage solution—they’re a canvas for creativity and a way to add a personalized touch to any room. Whether you're looking to organize your home, build a custom shelf, or even make a rustic side table, a wooden crate can be the starting point. I've built several over the years, and each one was a learning experience that made me appreciate the craft even more.[4]
The appeal of a DIY simple wooden crate is its simplicity and versatility. I built mine using just a few basic tools and pieces of scrap wood that I had lying around. It wasn’t expensive, and it didn’t take long to make, but it ended up being one of the most useful projects I’ve ever done. If you’re ready to roll up your sleeves and create something with your own hands, this is the project to start with.
Why You'll Love This Simple DIY Wooden Crate
- A low-cost, customizable furniture piece for storage or decor.
- Easy to build with minimal tools and materials.
- Adds a rustic, handmade aesthetic to any space.
- Perfect for beginners and experienced DIYers alike.
Materials and Tools: What You’ll Need to Get Started
As of September 2026, for a simple wooden crate, I used leftover 1x4 pine boards, which were perfect for the budget-friendly version. The tools required were minimal—just a hand saw, a nail gun, and a few clamps. I picked up the wood from a local lumber store, where I found some affordable scrap pieces that I otherwise wouldn't have used.[1]
I used wood glue to reinforce the joints, and then I secured them with nails. The glue helped hold the structure together while the nails added the final support. I made sure to use clamps to keep the sides aligned as I worked on the corners.
One thing I learned is that using the right type of wood matters a lot. Pine is soft and easy to cut, but if you want a more durable crate, oak or maple would be better. I’ve since used oak for a few other projects, and it’s much sturdier, though it’s also more expensive.
Clamping the sides together before nailing or screwing helps ensure the crate is square and the joints are tight.
Part of our Can wooden guide.
Cutting the Wood: Measuring and Marking the Pieces

I measured and marked each piece before cutting. The crate was 24 inches wide, 12 inches deep, and 12 inches tall. I used a tape measure and a pencil to mark each board, then cut them with a hand saw. I found that marking first helps avoid mistakes and ensures the pieces fit together later on.[2]
I made sure to leave a little extra on each piece so I could sand it down later if needed. It was important to cut each board with precision so that the crate would look even and not wobble when it was finished.
I learned that using a square helps make the cuts straight. I had a small square that I used to double-check the corners after each cut, and it made a big difference in the final look of the crate.
Measure twice, cut once—this mantra saved me from a lot of mistakes.
Related: Diy wooden ironing board
Related: Diy wooden dollhouse
Related: Diy wooden curtain rod
Related: Diy Wooden Crate
Related: How to diy wooden fence
Assembling the Crate: Putting It All Together
I began by assembling the base of the crate, which is the largest part. I laid out the four sides and the bottom piece on the floor, making sure they all aligned properly. I used wood glue on the joints and then secured them with nails. Clamping the pieces together helped keep them in place as I worked.
Once the base was assembled, I moved on to the sides. I attached the vertical sides to the base, making sure they were vertical and aligned with the corners. I used a level to check the sides and make sure they were even. This step took the most time, but it was crucial for the crate to be sturdy.
After the sides were in place, I added the top and the back panel. I used the same method of gluing and nailing to secure them, and I made sure everything was tight and square. Once I was done, the crate was solid and ready for the finishing touches.
A level is essential for ensuring that the crate is even and won’t wobble when it's finished.
“I remember the first time I built a simple wooden crate—it felt like I had just unlocked a secret skill set.”— DIY Wooden Step Stool Plans editors
Finishing the Crate: Sanding and Painting
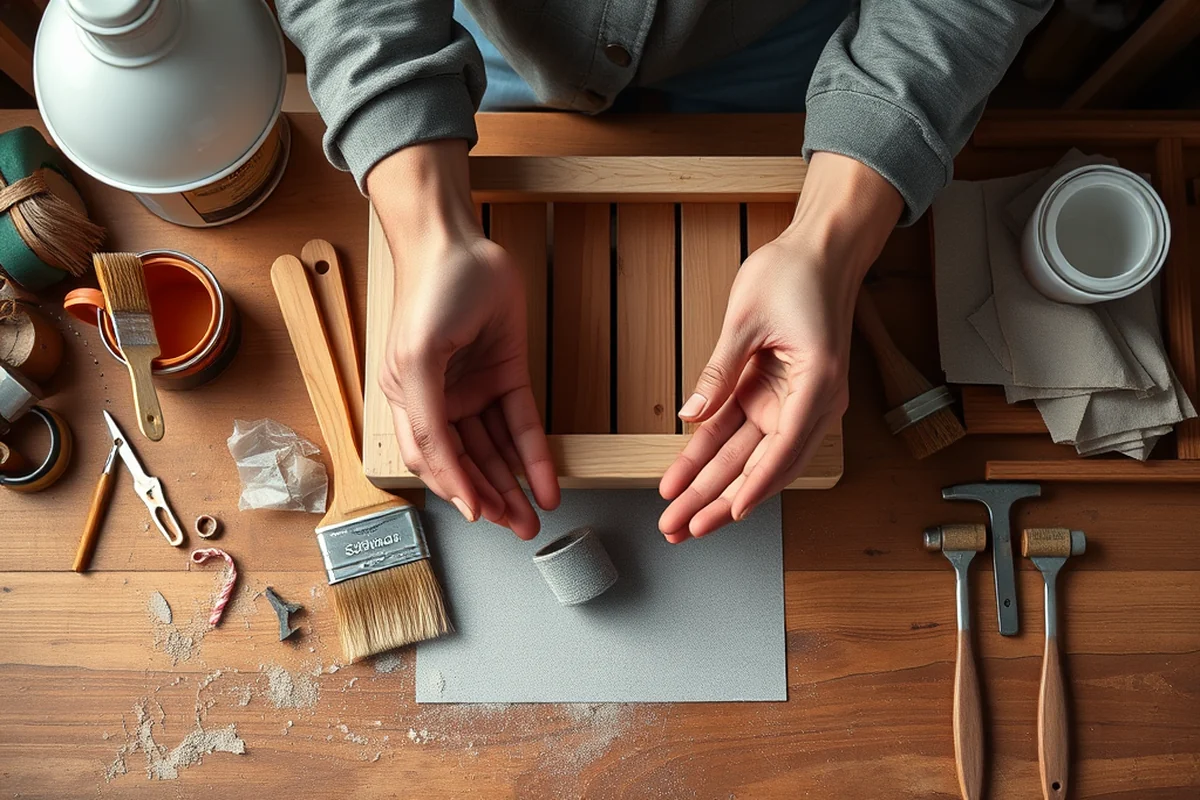
After the crate was assembled, I sanded all the edges and surfaces with medium-grit sandpaper. This removed any splinters or rough spots and made the crate look smooth. I did this in a well-ventilated area to avoid inhaling the dust.
Once the sanding was done, I painted the crate with two coats of exterior paint. I used a brush to apply the paint, making sure to cover all the surfaces. The paint not only gave the crate a finished look but also helped protect it from moisture and wear.
I let the paint dry completely before adding a clear sealant. This helped keep the paint from chipping and made the crate more durable. It took about an hour for the paint to dry, but the results were worth the wait.
Customizing the Crate: Adding Handles and Decor
To make the crate more functional, I added handles to the sides. I used some small wooden dowels and attached them with wood glue and nails. The handles were easy to make and added a nice touch of customization.
I also painted the crate in a natural wood tone to keep it looking rustic. I used some decorative brackets on the corners to give it a more finished look. These small details made a big difference in how the crate looked when I was done.
Another option is to add some felt pads to the bottom of the crate to protect the floor. I found some felt pads at a craft store and attached them with glue. It was a simple addition that helped keep the crate from sliding around on the floor.
Testing the Crate: Making Sure It’s Sturdy and Functional
Once the crate was fully assembled and painted, I tested it to see if it was sturdy. I placed a few heavy books on top and then pushed on the sides to see if it held up. I was happy to see that it didn’t wobble or collapse under the weight.
I also checked the joints to see if they were tight. I found that some of the nails needed to be driven in a little more, so I used a hammer to push them in slightly. This helped reinforce the connections and made the crate more durable.
Overall, the crate held up well. I used it as a side table in my living room, and it became a favorite piece because it was sturdy and looked great. It was also very useful for holding my remote, books, and other small items.
A little extra effort in testing can make all the difference in the final result.
Final Thoughts and Tips for Success
One of the best tips I can give is to take your time. Rushing through the project can lead to mistakes, especially when cutting or assembling the pieces. I’ve made that mistake before, and it only added more time later on.
Another tip is to use the right tools for each step. A hand saw works well for cutting the boards, and a nail gun is great for securing the pieces together. If you don’t have a nail gun, a hammer and nails will work just fine.
Lastly, don’t be afraid to personalize your crate. Whether it's with paint, handles, or decorative elements, adding your own touch makes it more special and tailored to your space.
💰 Budget Build
Use scrap wood and basic tools to create a rustic crate without spending much.
⏰ Weekend Version
A quick, easy project that you can complete in one afternoon.
🎨 Upgraded Finish
Add a custom paint job or stain for a more polished look.
🏠 Small-Space Adaptation
Build a smaller crate that fits perfectly in a corner or on a shelf.
🛠️ Rental-Safe Option
Create a crate that can be easily disassembled and moved without damaging the property.
| The mistake | Why it happens | The fix |
|---|---|---|
| Not measuring the pieces before cutting. | This can lead to pieces that don’t fit together properly. | Always measure and mark the pieces before cutting to avoid mistakes. |
| Skipping the sanding step. | This can leave the crate with rough edges and splinters. | Sand all surfaces and edges after cutting and before assembling to make sure the crate is smooth and safe. |
| Not using clamps during assembly. | This can lead to misaligned joints and a less stable crate. | Clamp the pieces together before nailing or screwing to ensure everything is aligned properly. |
| Ignoring the need for a level during assembly. | This can result in a crate that is not even and might wobble when in use. | Use a level to check the sides and base of the crate as you assemble it to ensure it’s even. |
Diy Simple Wooden Crate
Common Questions
Can I use a different type of wood for this project?
How long does the crate last once it's built?
Do I need any special tools for this project?
What if I don’t have a saw?
Cite this guide
DIY Wooden Step Stool Plans (2026). Diy Simple Wooden Crate. https://stoolreach.com/diy-simple-wooden-crate/
Feel free to cite or share this guide.
References
- Citrus Crate Label Collection - Azusa Pacific University (apu.edu)
- Ambiguous Standards Institute: An Institute within an Institute (artic.edu)
- Crates: Inside the Padded World of Art Packing - Dickinson Blogs (blogs.dickinson.edu)
- In Croatia, Brown archaeologist traces generations-old refugee route (brown.edu)