
How To Draw A Floor Plan
📖 Table of Contents
- Why Floor Plans Matter in DIY Projects
- Understanding Basic Floor Plan Elements
- Getting Started with Your First Floor Plan
- Adding Scale and Proportion to Your Floor Plan
- Using Symbols and Notation in Your Floor Plan
- Making Adjustments and Refining Your Floor Plan
- Finalizing and Using Your Floor Plan
- Make It Your Way
- Frequently Asked Questions
There’s a certain thrill that comes with sketching out your first floor plan, like watching the skeleton of your dream home take shape on paper. I remember the first time I drew out the layout of my tiny studio apartment — it was messy, rough, and full of mistakes, but it was the first step toward something tangible. For anyone looking to build, renovate, or even just visualize a space, learning how to draw a floor plan is an essential skill that opens the door to endless possibilities.
Drawing a floor plan isn’t just about lines and measurements; it’s about understanding the spaces you live in and the way they interact with each other. I’ve spent hours on paper and in software, learning how to translate a vision into a blueprint. Whether you're working on a DIY project or planning your next furniture arrangement, knowing how to draw a floor plan gives you the power to see the bigger picture — literally.
The key to mastering this skill is starting small. I recommend beginning with a simple sketch of a room, using just a pencil and ruler. Over time, you’ll learn to incorporate more details, like scale, proportion, and even furniture placement. By the end of this article, you’ll have the tools and confidence to create your own floor plans — no software required, just a little patience and a lot of curiosity.[1]
Why You'll Love This DIY Project
- It gives you a clear visual guide for any home or furniture project.
- You can easily adjust the layout before committing to any permanent changes.
- It's a skill that saves time and money in the long run.
- It helps in communicating your ideas clearly to contractors or builders.
Why Floor Plans Matter in DIY Projects
As of September 2026, when I first started working on DIY projects, I often skipped the floor plan step, thinking it was unnecessary. But after a few botched attempts at rearranging my furniture or building a shelf that didn’t fit, I realized the importance of planning. A floor plan allows you to see how different elements will interact in space, preventing costly mistakes.
I remember once trying to build a custom bookcase without a floor plan, only to find that it didn’t fit the dimensions of the wall. That experience taught me the value of planning ahead. With a floor plan, you can visualize the entire project before you even pick up a tool.
Whether you're designing a new room or just arranging your existing furniture, a floor plan is an invaluable tool. It gives you the ability to make changes without spending a lot of time and money on trial and error.
Drawing on graph paper or using a grid helps maintain proportion and scale. I always start with a 1:40 scale, which allows me to fit an entire room on a single sheet of A4 paper.[2]
Understanding Basic Floor Plan Elements
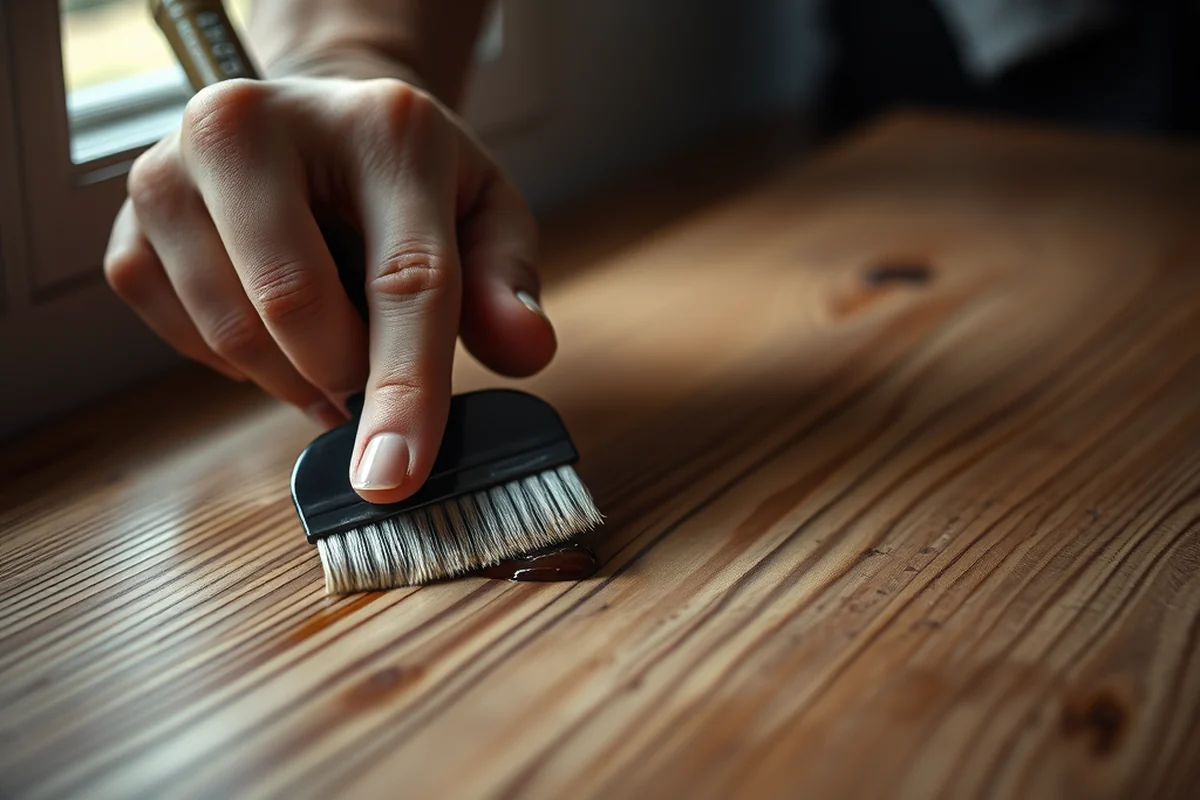
One of the first things I learned was how to represent walls, doors, and windows in a floor plan. I found that using a ruler and a pencil made the process much smoother. I also learned that using different line thicknesses helps distinguish between walls and other elements.
I used a 1:40 scale for my first floor plans, which made it easier to visualize the layout of my room. Using a scale ruler helped me ensure that my measurements were accurate. I also learned that doors and windows can be represented with specific symbols, like a straight line for a door and an arc for a window.[3]
Once I had the basic structure in place, I could start adding furniture. I used simple shapes to represent chairs, tables, and sofas, making sure to leave enough space for movement. This helped me see how the furniture would fit into the room and how it would affect the flow of the space.
A well-drawn floor plan is the blueprint of your space.
Related: Play structure diy plans
Getting Started with Your First Floor Plan
When I first started drawing floor plans, I used a single sheet of graph paper and a pencil. It took a few attempts to get the proportions right, but I quickly realized that practice made perfect. I used a scale ruler to measure the room and mark out the walls and doors.
I always start by sketching the outline of the room, then adding the main elements like doors and windows. Once I had the basic layout, I could add furniture and other details. I found that using a light pencil helped me make changes easily.
After I completed my first floor plan, I realized how much it helped me understand the flow of the space. I was able to see where I needed to move a chair or adjust the placement of a shelf. This gave me the confidence to tackle more complex projects.
Begin with just the outline of the room, then gradually add more details. This helps you avoid feeling overwhelmed and ensures that your plan is accurate from the start.
“There’s a certain thrill that comes with sketching out your first floor plan, like watching the skeleton of your dream home take shape on paper.”— DIY Wooden Step Stool Plans editors
Related: Diy plans for kids picnic table
Adding Scale and Proportion to Your Floor Plan
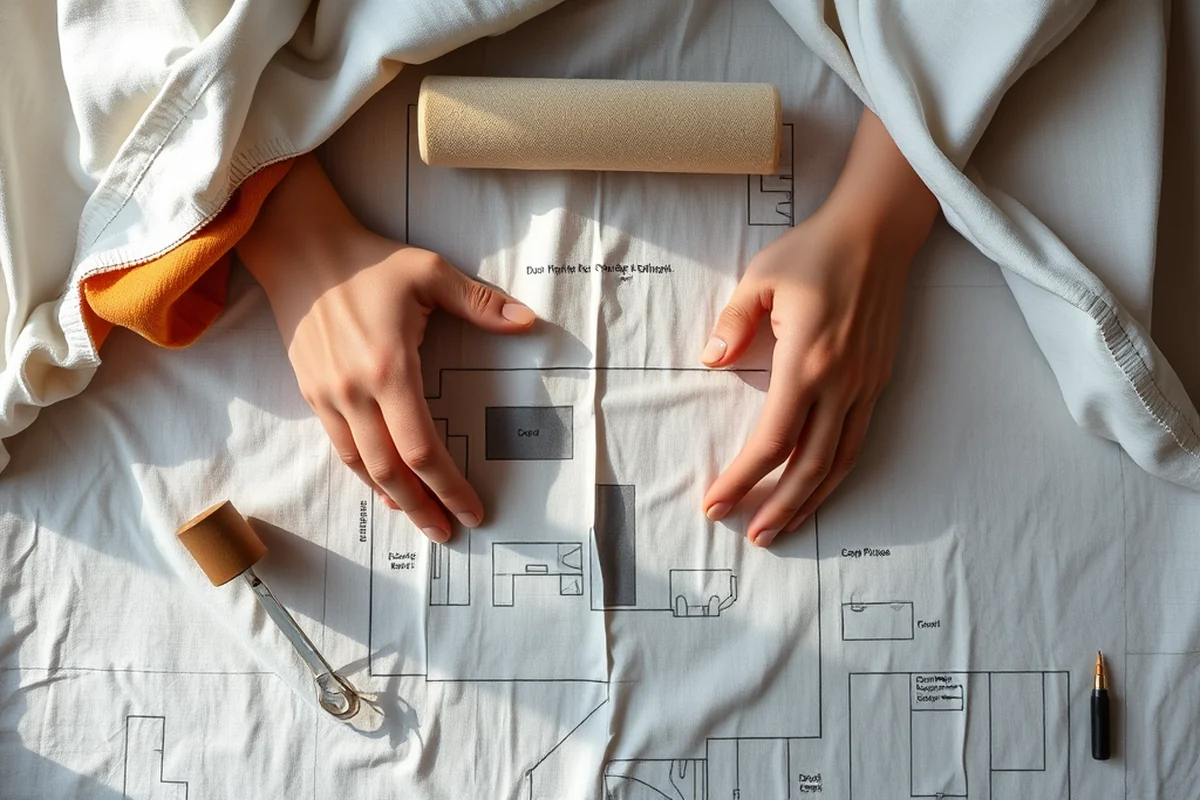
One of the most important aspects of a floor plan is scale. I learned that using a consistent scale, like 1:40, helps you maintain accuracy when measuring and drawing. I found that using a scale ruler made it much easier to measure the room and mark out the walls and doors.[4]
I always start by measuring the room and then dividing the dimensions by the scale factor. This gives me the measurements I need to draw on the paper. I use a ruler to draw the walls and other elements, ensuring that everything is to scale.
After I completed my first floor plan using a consistent scale, I realized how much it helped me understand the layout of the space. I was able to see how much room there was for furniture and how the elements would fit together.
Related: Diy plans for beginners
Using Symbols and Notation in Your Floor Plan
One of the things I learned early on was the importance of using symbols and notation in a floor plan. I found that using standard symbols for doors, windows, and furniture made it easier to understand the layout of the space.
I used a simple symbol for doors, like a straight line with an arc, and an arc for windows. I also labeled the doors and windows with numbers so that I could refer to them later. This helped me keep track of everything and avoid confusion.
After I started using symbols and notation consistently, I found that my floor plans became much clearer and easier to read. This made it easier for me to communicate my ideas to others and made the planning process much smoother.
Related: Diy plans desk
Making Adjustments and Refining Your Floor Plan
After I completed my first floor plan, I realized that there were a few things I needed to adjust. I found that using a light pencil made it easier to make changes and refine the layout. I also used a ruler to ensure that everything was in proportion.
I started by adjusting the placement of the furniture to make sure that everything fit comfortably. I also made sure that there was enough space for movement and that the flow of the room was logical.
As I continued working on my floor plan, I found that making adjustments as I went helped me create a more accurate and practical layout. This made it easier for me to visualize the space and plan for future changes.
Refinement is key to creating a practical and accurate floor plan.
Related: Diy carport kits
Finalizing and Using Your Floor Plan
After I completed my first floor plan, I realized how much it helped me with my DIY projects. I used it as a reference for arranging my furniture and planning my next project. I found that having a clear visual guide made it much easier to execute my ideas.
I also found that using my floor plan helped me communicate my ideas more effectively to others. Whether I was talking to a contractor or a friend, having a visual guide made it easier to explain what I wanted.
Now, I use my floor plans for every DIY project I undertake. They help me visualize the space, plan my materials, and make sure that everything fits together perfectly. This has made a huge difference in the quality of my work and the satisfaction I get from each project.
💰 Budget Build
Use basic materials like graph paper and a ruler to create a simple floor plan without spending much.
⏰ Weekend Version
Complete your floor plan in one weekend, focusing on the essentials like walls, doors, and furniture placement.
🌟 Upgraded Finish
Add color and details to your floor plan, using software or tracing paper for a more polished look.
🛋️ Small-Space Adaptation
Create a floor plan tailored for small spaces, emphasizing efficient use of every inch.
🔒 Rental-Safe Option
Design a floor plan that can be easily removed or adjusted, perfect for renters who can't make permanent changes.
| The mistake | Why it happens | The fix |
|---|---|---|
| Not using a consistent scale | This can lead to inaccuracies in your measurements and make it difficult to use the plan for real-world applications. | Always use the same scale throughout your plan, and double-check your measurements with a ruler and scale tool. |
| Neglecting to include all necessary elements | Missing doors, windows, or furniture can result in an incomplete or impractical plan. | Make sure to include all elements in your plan, even if they seem minor. This helps in visualizing the space accurately. |
| Drawing too large or too small | This can make your plan hard to read or too detailed to be practical. | Use a scale that fits the size of your paper and the complexity of your project. 1:40 is a good starting point. |
| Failing to label or annotate the plan | Without labels, it can be hard to understand the details of your plan, especially for others who might see it. | Label all elements clearly, and use symbols or notes to explain different parts of the plan. |
How To Draw A Floor Plan
Common Questions
Do I need any special software to draw a floor plan?
What scale should I use for my floor plan?
How can I ensure my measurements are accurate?
Can I use my floor plan for multiple rooms?
References
- floor plan general notes - acton-ma.gov (actonma.gov)
- FLOOR PLAN - Bremerton, WA (bremertonwa.gov)
- FACILITY SKETCH (Floor Plan) (cdss.ca.gov)
- SITE PLAN/FLOOR PLAN INSTRUCTIONS - City of Cerritos (cerritos.gov)
Cite this guide
DIY Wooden Step Stool Plans (2026). How To Draw A Floor Plan. https://stoolreach.com/how-to-draw-a-floor-plan/
Feel free to cite or share this guide.