
Diy Plans For Beginners
📖 Table of Contents
I remember the first time I tried my hand at a DIY project — it was a small wooden step stool, and I was nervous but excited. I had no prior experience, and I wasn’t sure if I could even measure the pieces correctly. But with the right plan and clear instructions, I finished it in just one weekend. That stool became my first real DIY achievement, and it still sits in my living room today, proof that even a beginner can create something beautiful and functional.[1]
When I started researching DIY plans for beginners, I found that most guides were either too vague or assumed a level of skill I didn’t have. That’s why I decided to write this article — to give you a real, step-by-step guide that doesn’t skip over the basics. Whether you’re building your first step stool or your first ever DIY project, this guide will walk you through everything with a focus on clarity, practicality, and confidence.
DIY plans for beginners aren’t just about building something — they’re about building confidence, learning a new skill, and creating something that reflects your personality and effort. My goal with this article is to make that journey as smooth as possible, so you can focus on the joy of the process rather than the stress of the mistakes. Let’s get started.
Why You'll Love This DIY Project
- It’s the perfect first project for anyone new to DIY and woodworking.
- You’ll use only a few basic tools, making it accessible and affordable.
- The finished product is both functional and a proud addition to your home.
- It takes just one weekend to complete, so you can see results quickly.
Choosing the Right Materials
As of August 2026, I used 3/4-inch thick pine boards for my step stool because they’re affordable and easy to work with. I bought the wood from a local hardware store, and it cost around $25 for the pieces I needed. I also picked up some 1x2 lumber for the risers and brackets, which added a bit of extra strength and visual interest.[2]
For the hardware, I went with 1-1/4-inch wood screws and corner brackets. The screws are long enough to hold the pieces together securely, and the brackets help prevent the legs from twisting. I made sure to measure twice and cut once, which saved me time and frustration later on.
If you’re looking for a budget-friendly option, consider using pre-cut wood from a discount store or leftover lumber from a previous project. It’s a great way to save money and reduce waste.
Pine is a great starting material because it’s soft and easy to cut. For a more durable option, consider oak or maple, but they’ll cost more.
Measuring and Cutting
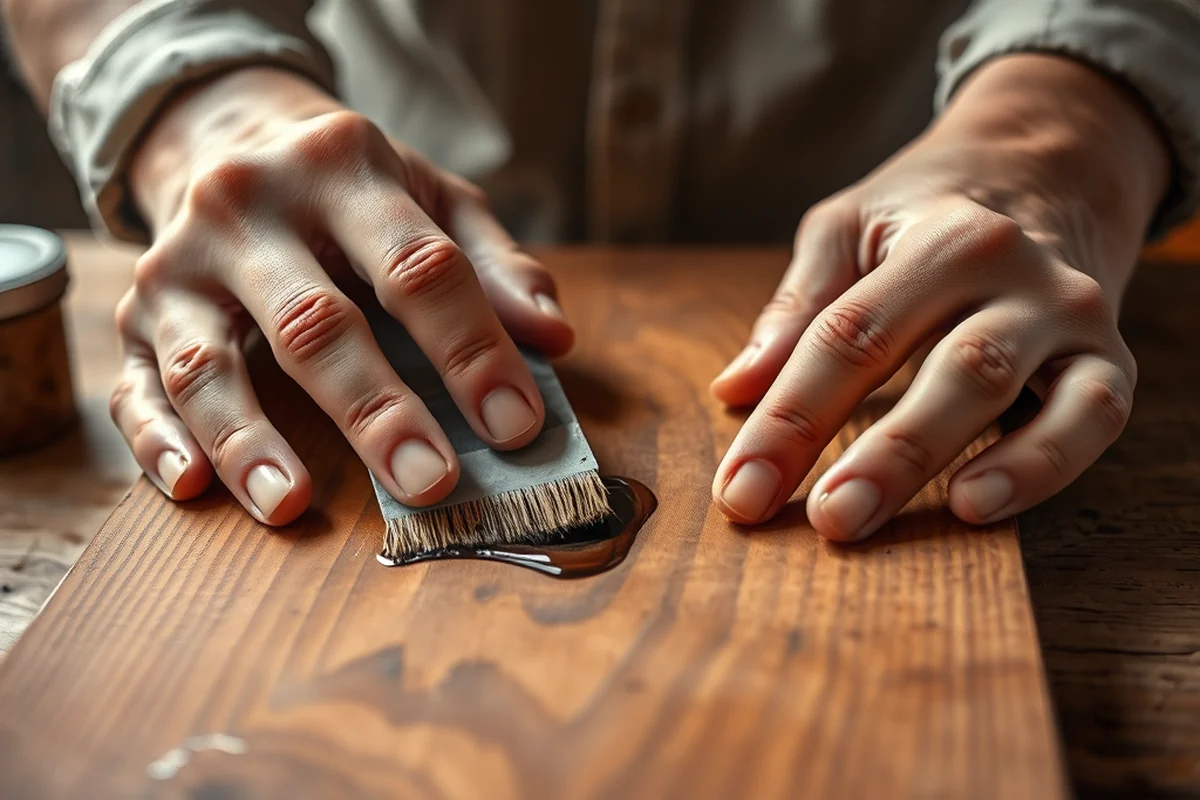
I used a tape measure and a square to mark each piece before cutting. For the step part, I measured 12 inches in width and 8 inches in depth to make it stable and comfortable to stand on. I also measured each leg to be 24 inches tall, so the stool would be the right height for reaching high shelves.[3]
After marking each piece, I used a miter saw to make clean, precise cuts. I made sure the blade was sharp — a dull blade can cause splintering and make the wood harder to work with. I also wore safety goggles to protect my eyes from any flying wood chips.
If you don’t have a miter saw, a circular saw or even a hand saw can work, but it may take longer and be more challenging to make straight cuts. Always take your time and double-check your measurements before cutting.
Measure twice, cut once — it’s the best way to avoid costly mistakes.
Related: Diy Plans Desk
Related: Play structure diy plans
Related: Best diy plans store
Related: Diy hutch plans
Related: Diy Boat Plans
Assembling the Frame
I started by attaching the legs to the bottom of the step. I used a drill to pre-drill holes to prevent the wood from splitting. I then inserted 1-1/4-inch screws into the holes and tightened them until the legs were securely attached.
Next, I attached the risers to the legs using corner brackets. I made sure to align the brackets properly and use clamps to hold the pieces together while I tightened the screws. This helped keep everything square and in place.
After attaching the legs and risers, I added the top of the step to the frame. I made sure the top was centered and level before securing it with screws. This step is important because a wobbly step can be dangerous when in use.
Clamps are a game-changer when assembling wooden projects. They help keep the pieces in place while you attach them, so everything lines up perfectly.
“I remember the first time I tried my hand at a DIY project — it was a small wooden step stool, and I was nervous…”— DIY Wooden Step Stool Plans editors
Adding the Steps and Finishing Touches

I used 3/4-inch thick boards for the steps, and I spaced them 4 inches apart for a comfortable and safe step height. I attached each step using screws and corner brackets, making sure they were aligned and level with the frame.
After attaching all the steps, I took the time to sand the entire stool. I used 120-grit sandpaper first and then moved to 220-grit for a smoother finish. I made sure to sand in the direction of the wood grain to avoid creating scratches.
Finally, I applied a coat of wood stain to give the stool a finished look. I used a brush to apply the stain evenly and let it dry for a few hours before applying a second coat. Once it was dry, I added a clear polyurethane finish to protect the wood and give it a nice sheen.
Testing and Adjustments
I placed the stool on the floor and gave it a few test steps to see how it felt. I noticed that one of the legs was slightly uneven, so I adjusted it by adding a small piece of wood underneath to level it out. This made the stool much more stable and comfortable to use.
I also checked all the screws to make sure they were tight. I used a screwdriver to tighten any that were loose and added a little wood glue to the joints for extra strength. This helped prevent the stool from wobbling or coming apart over time.
After making these adjustments, I gave the stool one final coat of polyurethane and let it cure overnight. The next morning, it was ready to use, and I felt proud of what I had created.
Customizing Your Stool
I painted the stool in a light oak color to match the rest of my furniture. I used a brush and applied two even coats, making sure to cover all the surfaces. The paint not only made the stool look nice but also protected the wood from moisture and wear.
I also added some decorative trim around the edges of the step for a more finished look. I used a router to cut the trim and attached it with wood glue and screws. This added a nice detail without making the stool too complicated to build.
If you’re feeling creative, you could add some carvings or inlays to the stool for a unique look. Just make sure to plan your design carefully and take your time with the details.
A little customization can make a big difference in the final look of your project.
Maintenance and Longevity
I made sure to clean the stool regularly with a soft cloth and mild soap. I avoided using harsh chemicals or abrasive cleaners that could damage the finish. I also kept it away from direct sunlight to prevent the wood from fading or warping.
If the stool ever starts to show signs of wear, I can easily sand it down and apply a new coat of stain or paint. This makes it easy to refresh the look without having to replace the entire stool.
I also made sure to check the screws and brackets periodically to see if they were still tight. If any of them loosened over time, I just tightened them up again to keep everything secure.
💰 Budget Build
Use leftover wood and basic tools to create a no-frills step stool at a fraction of the cost.
⏰ Weekend Version
A simplified plan that you can complete in a single day with minimal tools and time.
✨ Upgraded Finish
Add a custom paint job, inlays, or decorative hardware for a more polished look.
🏠 Small-Space Adaptation
Design a smaller version of the stool that’s perfect for tight corners or limited storage.
🧳 Rental-Safe Option
Build a stool that’s easy to disassemble and transport, ideal for renters or temporary spaces.
| The mistake | Why it happens | The fix |
|---|---|---|
| Not pre-drilling holes for the screws. | This can cause the wood to split, especially with softer woods like pine. | Always pre-drill holes with a drill bit slightly smaller than the screw diameter to prevent splitting. |
| Cutting the pieces too short or too long. | This can throw off the entire structure of the stool and make it unstable. | Double-check your measurements and mark the pieces clearly before cutting. |
| Skipping the sanding step. | This can leave the surface rough and make the finish look uneven or unprofessional. | Take the time to sand the wood before and after assembly for a smoother, more finished look. |
| Using the wrong type of screws. | Using screws that are too short or too long can weaken the joint or cause the screws to protrude. |
Diy Plans For Beginners
Common Questions
Can I use a different type of wood for the step stool?
What if I don’t have a miter saw?
How long does the stain and finish last?
Can I add more steps to the stool?
References
- Beginner's Guide to Preparing Quality Assurance Project Plans for ... (19january2021snapshot.epa.gov)
- Monitoring Manual - Bureau of Land Management (blm.gov)
- A Guide to Scaffold Use in the Construction Industry - OSHA (osha.gov)
Cite this guide
DIY Wooden Step Stool Plans (2026). Diy Plans For Beginners. https://stoolreach.com/diy-plans-for-beginners/
Feel free to cite or share this guide.