
How To Make Floor Plans
📖 Table of Contents
I remember the first time I sat down with a blank sheet of paper and a ruler, trying to figure out how to make floor plans for my tiny apartment. It was overwhelming, but once I got the hang of it, it felt like unlocking a secret language that let me design my space exactly how I wanted. Whether you're a seasoned DIY-er or just starting out, learning how to make floor plans is an essential skill that can transform how you approach furniture layout and home projects.
Floor plans aren’t just for architects or interior designers—they're a powerful tool for anyone looking to plan their living space, whether you're building a custom home or rearranging a room in your current place. I’ve used them countless times to visualize everything from where to place my DIY step stool to how to maximize storage in my workshop. The key is to start simple, using real measurements and a clear system that makes sense to you.
I’ve found that making floor plans doesn’t have to be complicated. With the right tools and a bit of patience, you can create a layout that’s both accurate and aesthetically pleasing. I’ve spent countless hours experimenting with different styles and tools, and I’m here to share what I’ve learned. So if you're ready to dive in and start designing your dream space, let's get started.
Why You'll Love This DIY Floor Planning Guide
- It helps you visualize your space before making any permanent changes.
- You can optimize room layouts for functionality and aesthetics.
- It gives you a clear reference for furniture placement and measurements.
- It empowers you to make confident, informed decisions about your home.
Getting Started with the Basics
As of September 2026, before you begin, it's important to gather the right tools. I always keep a ruler, graph paper, and a pencil on hand for my DIY projects. These simple tools are all you need to create a basic floor plan. I prefer using 1/4-inch graph paper because it makes it easier to scale your measurements accurately. The key is to start by measuring your space thoroughly and recording all the dimensions.
Once you have your measurements, it's time to sketch your layout. I like to start with the walls and doors, as they form the foundation of any floor plan. From there, I place furniture and other elements based on the measurements I've taken. This process helps me visualize how everything will fit together before making any real changes to my space.
For a more accurate plan, I recommend using a tape measure and noting all the key points in your room. I've found that taking multiple measurements and cross-checking them helps reduce errors. This step is crucial, especially if you're working with an irregularly shaped room or if there are any obstructions you need to account for.
Use a digital measuring app like RoomPlanner for quick and accurate measurements, or stick with a good old tape measure and pencil for a more hands-on approach.
Understanding Scale and Proportion

When making a floor plan, understanding scale is crucial. I typically use a 1:48 scale, which means that every 1 inch on the paper represents 4 feet in real life. This scale works well for most rooms and makes it easier to fit everything on a single sheet of paper. I've found that this scale is particularly useful when working with smaller spaces, as it allows me to see the layout clearly without overcrowding the drawing.[1]
Proportion is just as important as scale. I always make sure that the furniture I place on the floor plan is in proportion to the room. This means that a sofa shouldn't be larger than the room, and the table should fit comfortably in the space. I've learned that paying attention to proportions helps create a more realistic and functional layout.
I've also experimented with different scales to see what works best for different projects. For example, I use a 1:24 scale for larger rooms or for detailed projects like building a custom DIY step stool. This allows me to get more precise measurements and visualize the layout more clearly.[2]
Scale and proportion are the unsung heroes of any floor plan.
Related: Diy jukebox plans
Related: Diy plans
Related: Diy plans desk
Related: Cheapest Home Floor Plans
Related: What Is A Modular Home Floor Plans
Related: Americas Best Floor Plans
Laying Out the Room with Precision
When I start laying out the room, I always begin by drawing the walls. This is the most straightforward part of the process, and it sets the stage for everything else. I use a ruler to ensure that the walls are straight and that the corners are square. This step is crucial for creating a realistic and accurate floor plan.
Next, I add doors and windows. I've found that this helps me visualize how people will move through the space and how much natural light will enter the room. It's also a good idea to note the direction of the doors and windows, as this can affect the flow of the room.
I've made a few mistakes in the past by skipping this step, and it's led to some awkwardly placed doors or windows that didn't fit well with the overall layout. Taking the time to get this right from the beginning has saved me a lot of headaches later on.
Grid paper or graph paper makes it easier to draw straight lines and maintain consistent measurements throughout your floor plan.
“I remember the first time I sat down with a blank sheet of paper and a ruler, trying to figure out how to make floor…”— DIY Wooden Step Stool Plans editors
Related: Diy project plans
Related: Diy cabin plans
Adding Furniture and Fixtures
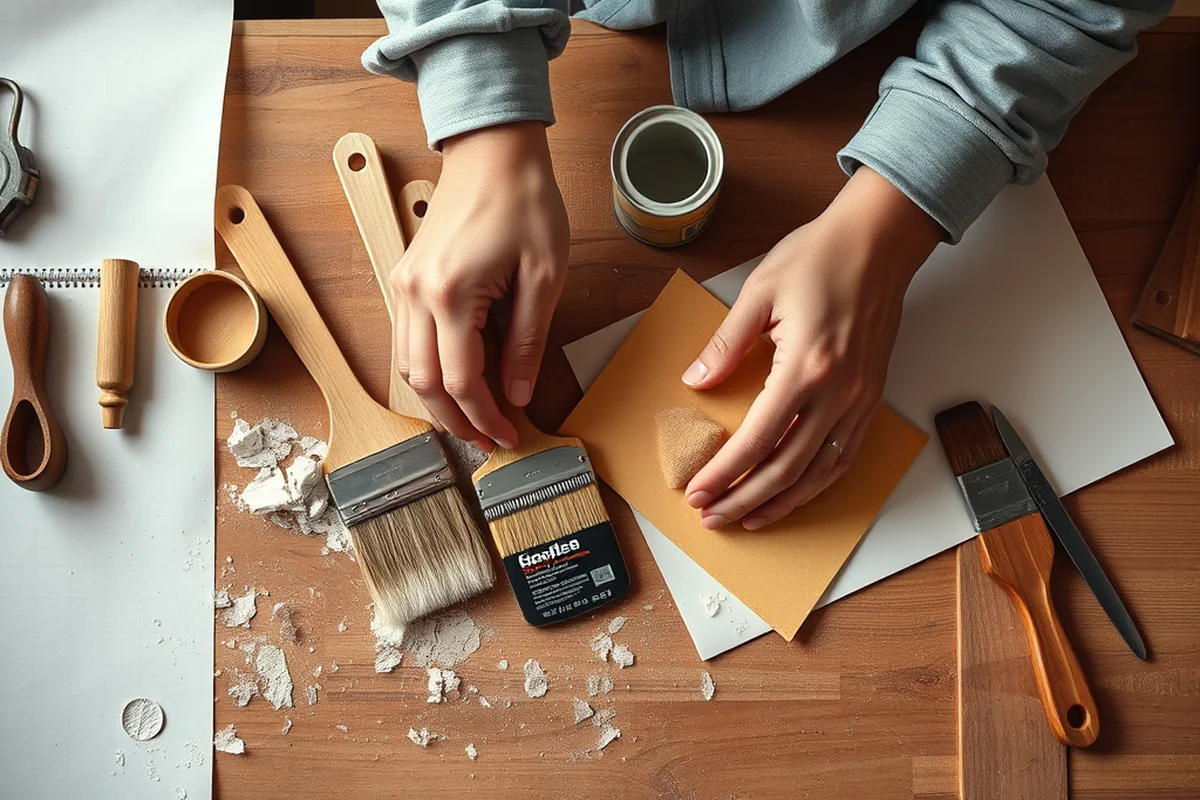
After the room is laid out, it's time to add the furniture. I like to start with the largest pieces, such as the bed or sofa, and then work my way down to the smaller items. This helps me visualize how everything will fit together and ensures that I don't overcrowd the space.
I've found that using furniture templates or tracing paper can be helpful for this step. I've used these templates to get the right proportions and positions for each piece of furniture. This is especially useful when I'm working with custom furniture or when I want to experiment with different layouts.
I also like to note the height and width of each piece of furniture, as this helps me create a more accurate and realistic layout. This step is particularly useful when I'm working on a DIY project, such as building a custom step stool, as it ensures that everything fits perfectly in the space.
Using Software for More Detailed Plans
While drawing by hand is a great way to start, using software can take your floor plans to the next level. I've used a few different apps over the years, and I've found that RoomPlanner and SketchUp are both excellent options for creating detailed floor plans. These apps allow me to adjust measurements and layouts with ease, and they also provide a more realistic representation of the space.
One of the benefits of using software is that it allows me to experiment with different layouts and see how they look in 3D. This is especially useful when I'm working on larger projects or when I want to visualize how everything will look in the final space.
I've also found that using software is a great way to save your work and make changes later. This is particularly useful if you're working on a complex project, as it allows you to go back and adjust your plan without having to start from scratch.
Finalizing and Reviewing Your Plan
Once you've added all the furniture and fixtures, it's time to review your plan and make any necessary adjustments. I like to walk through the space and see if everything looks right from different angles. This helps me identify any issues or areas that need improvement.
I've also found that it's a good idea to get feedback from others, such as family or friends. This helps me see the plan from a different perspective and identify any potential problems that I may have missed.
Finally, I like to print out my plan and place it in my workspace so I can refer to it easily. This has been especially useful when I'm working on DIY projects, as it helps me stay on track and make sure everything fits perfectly in the space.
A good floor plan is one that feels right in every way.
Using Your Floor Plan for Real Projects
After I've finalized my floor plan, I use it to guide my real-life DIY projects. Whether I'm building a custom step stool or rearranging my living room, having a clear plan helps me stay organized and make sure everything fits perfectly.
I've found that using a floor plan is especially helpful when I'm working on complex projects, such as building a custom furniture piece. It allows me to visualize how everything will fit together and ensures that I don't make any mistakes in the process.
I've also used my floor plan to help with other home improvement projects, such as installing shelves or planning a kitchen layout. This has been especially useful when I'm working with limited space, as it helps me make the most of every inch.
💰 Budget Build
Use free drawing apps and basic tools like graph paper and a ruler for a low-cost floor plan.
⏰ Weekend Version
Create a quick sketch with rough measurements to get a general idea of your space layout.
✨ Upgraded Finish
Use CAD software and print your floor plan on professional-grade paper for a polished, detailed layout.
🛋️ Small-Space Adaptation
Use a smaller scale and focus on multi-functional furniture to make the most of limited space.
🏠 Rental-Safe Option
Create temporary floor plans with markers and removable tape to avoid damaging rental walls or floors.
| The mistake | Why it happens | The fix |
|---|---|---|
| Ignoring scale when measuring | Failing to maintain a consistent scale can lead to inaccurate floor plans that don’t reflect the real space. | Always use a ruler and a consistent scale, such as 1:48, to ensure accuracy. |
| Overlooking furniture proportions | Furniture that is too large or too small for the space can make the layout look unrealistic or impractical. | Measure each piece of furniture and place it on the floor plan in proportion to the room. |
| Skipping the review process | Not reviewing your plan can lead to errors and poor layout choices that are hard to correct later. | Take time to review your plan and make any necessary adjustments before finalizing it. |
| Using the wrong type of paper | Using paper that isn’t suitable for drawing can result in smudges, inaccuracies, and poor-quality floor plans. | Use graph paper or a high-quality sketchpad to ensure your floor plan is clear and precise. |
How To Make Floor Plans
Common Questions
Can I make a floor plan without any special tools?
What scale should I use for my floor plan?
How do I ensure my floor plan is accurate?
Can I use software to create my floor plan?
References
- Understanding Floor Plans and Scale in Basement Design (graduateschool.edu)
- Field Projects - NOAA National Severe Storms Laboratory (nssl.noaa.gov)
Cite this guide
DIY Wooden Step Stool Plans (2026). How To Make Floor Plans. https://stoolreach.com/how-to-make-floor-plans/
Feel free to cite or share this guide.