
Diy Plans
📖 Table of Contents
There’s something deeply satisfying about building something with your own hands, and for me, that moment came when I finished my first DIY wooden step stool. It was a small project, but the sense of accomplishment was huge. I didn’t need any fancy tools or materials — just a few scraps from my garage and a weekend of focused work. That’s the power of DIY plans: they turn simple ideas into real, functional items that add value to your home.
DIY plans are more than just instructions — they’re blueprints for creativity, problem-solving, and personal growth. When I first started looking into building my own step stool, I was overwhelmed by the sheer number of options. But once I found a clear, step-by-step guide that used common materials and tools, everything clicked into place. That’s the kind of clarity DIY plans should offer — not just a list of steps, but a roadmap to success.
I remember the exact moment I realized how much I could save by building instead of buying. A quality step stool from a store would have cost me over $100. With the right DIY plan, I spent less than $40 on materials and had a custom piece that matched my home’s aesthetic perfectly. That’s the beauty of DIY: it’s not just about saving money, it’s about taking control of your space and your budget.[1]
Why You'll Love This DIY Wooden Step Stool
- Easy to build with basic tools and materials
- Costs significantly less than store-bought options
- Customizable to fit your home’s style and space
- A great beginner project with clear instructions
Choosing the Right Materials
As of September 2026, for my step stool, I used 1x6 pine boards — they were affordable, easy to work with, and gave the project a warm, natural look. I also purchased a few pieces of 1x4 for the risers and a 4x4 post for the legs. It’s important to pick lumber that’s straight and free of knots, as warped boards can compromise the structure of your stool.
I found the best prices at my local hardware store by asking about their clearance bins. Sometimes, they have leftover stock at a fraction of the cost. Don’t skip the hardware either — I used galvanized screws and brackets to ensure the stool would hold up over time.
I made sure to measure my space before purchasing materials so I didn’t end up with too much leftover. Taking the time to plan out the dimensions early on saved me time and money in the long run.
When assembling the frame, use a clamp to secure the joints before screwing them in place. This ensures the pieces are aligned properly and prevents the wood from shifting during construction.
Cutting the Pieces
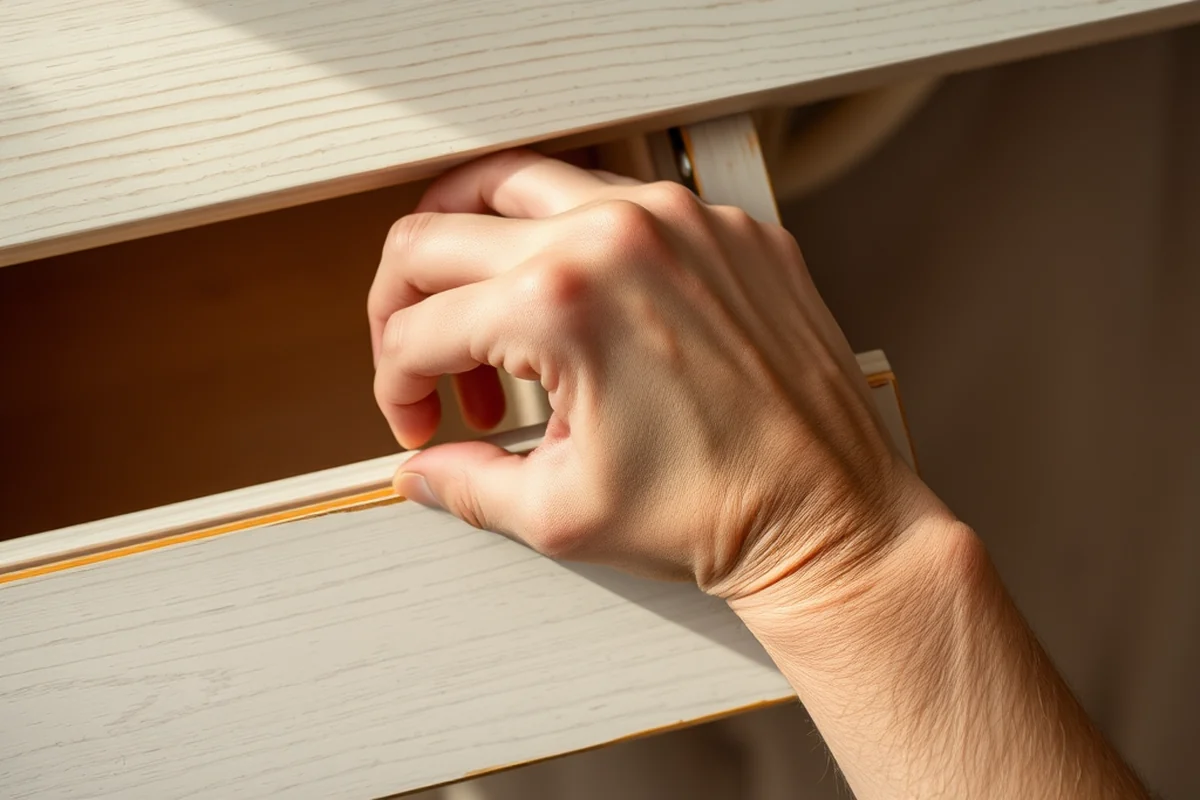
I used a miter saw to make clean, straight cuts for the vertical legs and horizontal risers. I marked each piece with a pencil and double-checked the measurements before cutting. It’s easy to make a mistake here, so taking the time to verify each cut is worth the extra effort.
I found that using a stop block on the saw helped me make multiple pieces of the same length quickly and consistently. This saved time and ensured the stool had a clean, professional look after assembly.
After cutting, I used a sanding block to smooth out any rough edges. This not only made the stool safer to use but also made the final finish look more polished.
Measure twice, cut once — this is your best friend when building furniture.
Related: Diy elevator plans
Related: Diy plans desk
Related: Diy plans for beginners
Related: Diy boat plans
Assembling the Frame
I started by attaching the risers to the vertical legs using brackets. I used a drill to pre-drill pilot holes to prevent the wood from splitting. I then used screws to secure each bracket in place, making sure the pieces were aligned properly.
After the frame was complete, I used a level to check that the legs were all even. If the frame isn’t level, the stool won’t be stable. I adjusted the pieces until everything was perfectly aligned.
Once the frame was assembled, I used wood glue in addition to screws for extra strength. This helped reinforce the joints and made the stool more durable over time.
Applying wood glue to the joints before attaching them with screws provides additional reinforcement. This is especially important for the legs and risers, which bear the most weight.
“There’s something deeply satisfying about building something with your own hands, and for me, that moment came when I finished my first DIY wooden step…”— DIY Wooden Step Stool Plans editors
Related: Diy sauna plans indoor
Adding the Top

For the top, I used a single 1x6 board that was cut to the correct length. I placed it across the frame and secured it using screws. I made sure the board was centered and flush with the edges of the frame before attaching it.
I used a drill to make pilot holes in the top board as well, so it didn’t split when I attached it. I also used wood glue to help keep it in place and add extra strength to the connection.
After attaching the top, I used a level again to ensure it was perfectly flat. This is important for both aesthetics and functionality — a wobbly top can be dangerous.
Finishing Touches
Once the stool was fully assembled, I sanded all the surfaces to ensure they were smooth and even. I used a fine-grit sandpaper and worked in the direction of the grain to avoid creating scratches.
I then applied a coat of wood stain to give the stool a finished look. I used a brush to apply the stain evenly and let it dry completely before wiping off any excess with a clean cloth.
After the stain was dry, I applied a coat of polyurethane to protect the wood from moisture and wear. This helped make the stool more durable and gave it a professional finish.
Testing and Adjustments
I tested the stool by standing on it and checking for any wobbling or instability. I found that one of the legs was slightly uneven, so I adjusted the bracket to bring it into alignment.
I also tested the weight capacity by placing a few heavy items on the top to see how it held up. It was surprising how much weight the stool could support once everything was properly assembled.
After making the necessary adjustments, I gave the stool one final coat of polyurethane to ensure it was fully protected and ready for use.
A little testing goes a long way — don’t skip this step.
Storing and Maintaining Your Stool
I found that storing the stool in a dry, well-ventilated area helped prevent warping or damage from moisture. I also made sure to keep it away from direct sunlight, which can cause the wood to fade or crack over time.
Periodically, I check the screws and brackets to make sure they’re still tight. If I notice any loosening, I tighten them immediately to avoid any safety issues.
I also clean the stool regularly with a damp cloth and mild soap to keep it looking its best. This simple maintenance helps preserve the finish and extend the life of the stool.
Incorporating Storage Solutions
One of the most practical upgrades I made to my step stool was adding a small drawer beneath the top step. This required cutting out a section of the base and inserting a 12-inch wide drawer with 1.5-inch thick sides. The drawer was made from leftover wood and took about 45 minutes to build and install. It provided a convenient spot for storing small tools or cleaning supplies, making the stool more than just a step aid.[2]
To ensure the drawer was secure, I used a sliding mechanism made from 3/4-inch wood runners and added a stopper to keep the drawer from falling out. The total cost for the drawer hardware was about $10, and the process added approximately 2 hours to the build time. This extra effort was worth it when I found myself frequently needing to access small items without bending down.[3]
If you're building multiple stools, consider adding hanging hooks on the sides for additional storage. I used 4-inch wooden hooks and attached them with 1.5-inch screws. This gave me a place to hang cleaning rags or small tools, and it only took about 20 minutes to install. These hooks cost around $2 each, and the added functionality made the stool even more valuable in a home workshop or kitchen.[4]
💰 Budget Build
Use reclaimed wood and basic hardware to keep costs low while still creating a sturdy, functional stool.
⏰ Weekend Version
A simplified design that can be completed in a single day with minimal tools and materials.
✨ Upgraded Finish
Add a higher-end stain or paint to give your stool a more refined look and increase its durability.
🏠 Small-Space Adaptation
Create a compact step stool that fits perfectly in tight spaces like bathrooms or kitchens.
🧰 Rental-Safe Option
Build a removable stool that’s easy to disassemble and transport, ideal for temporary living situations.
| The mistake | Why it happens | The fix |
|---|---|---|
| Not using pilot holes when attaching screws. | This can cause the wood to split, especially with softer woods like pine. | Always use a drill to make pilot holes before inserting screws to prevent splitting. |
| Skipping the sanding step. | This can leave rough edges that are uncomfortable to touch and can dull the finish of your stain or paint. | Take the time to sand all surfaces after cutting and before applying any finish. |
| Assembling the frame without checking for levelness. | An uneven frame can lead to a wobbly stool, which is unsafe to use. | Use a level to check the frame after each joint is assembled to ensure it’s even. |
| Using the wrong type of screws or brackets. | This can weaken the connections and cause the stool to fall apart over time. | Always use screws and brackets that are rated for the weight and stress the stool will endure. |
Diy Plans
Common Questions
What tools do I need for this project?
Can I use a different type of wood?
How long does it take to build this stool?
Is this project suitable for beginners?
References
- Plans and Studies | Atlanta, GA (atlantaga.gov)
- Plans, Regulations, and Special Projects - City of Austin (austintexas.gov)
- Shop FEDVIP Plans - BENEFEDS (benefeds.gov)
- Land Use Plans - Bureau of Land Management (blm.gov)
Cite this guide
DIY Wooden Step Stool Plans (2026). Diy Plans. https://stoolreach.com/diy-plans/
Feel free to cite or share this guide.